Table of Contents
Tired of your bathroom looking like a sterile, uninspired space? Yearning for a touch of warmth and natural beauty? Then prepare to dive headfirst into the world of wood accent wall bathroom ideas. It's a game-changer. A carefully chosen and installed wood accent wall can transform your bathroom from blah to spa-worthy in a weekend. This isn't your grandma's wood paneling, though. We're talking about stylish, modern designs that range from rustic reclaimed wood to sleek, contemporary planks. In this guide, we'll explore a range of stunning wood accent wall ideas, offering inspiration for every style and budget. We'll also break down the DIY installation process, so you can confidently tackle this project yourself. Plus, we will guide you through selecting the perfect wood for a moisture-prone environment like a bathroom, ensuring your accent wall looks fantastic for years to come. Finally, we'll give you some pro styling tips to integrate your new wood accent wall seamlessly into your existing bathroom décor. Get ready to unlock the potential of wood and create a bathroom you'll love spending time in.
Elevate Your Bathroom: Stunning Wood Accent Wall Ideas
Elevate Your Bathroom: Stunning Wood Accent Wall Ideas
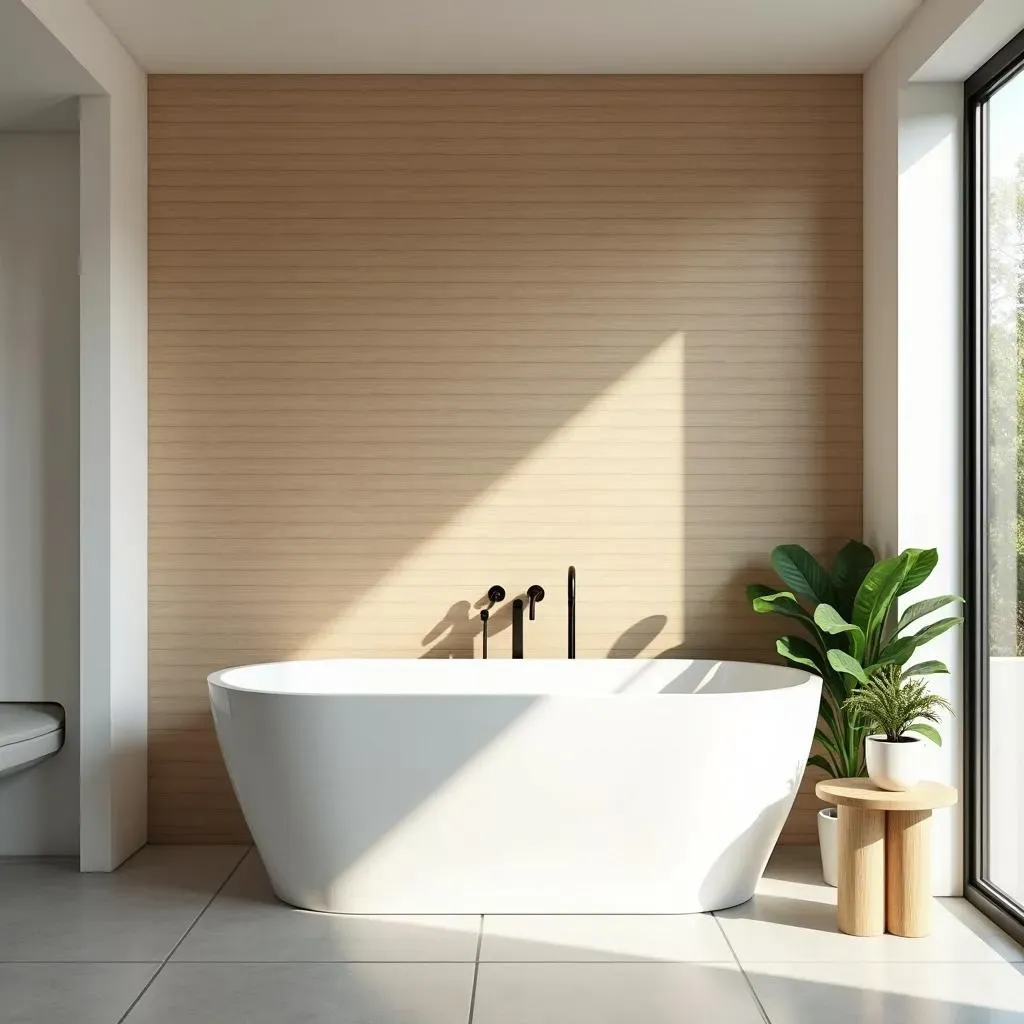
let's talk about making your bathroom a total knockout with wood accent walls. Seriously, this is where the magic happens. Forget boring beige and predictable paint – we're going for a transformation that'll make you actually want to spend time in your bathroom. Think spa vibes, rustic retreats, or even a touch of modern glam. The possibilities are endless, and it all starts with choosing the right wood and design.
First off, consider the overall style you're aiming for. Are you dreaming of a cozy, farmhouse-inspired bathroom? Reclaimed wood with its weathered texture and unique character might be just the ticket. Or maybe you're leaning towards a more contemporary look? In that case, sleek, horizontal planks of cedar or bamboo could be the perfect choice. Don't be afraid to mix and match wood tones and textures to create a truly one-of-a-kind statement wall.
Now, let's get into some specific ideas. A vertical shiplap accent wall can add height and visual interest to a small bathroom, making it feel more spacious. A herringbone pattern using thin wood strips can create a sophisticated and eye-catching focal point. Or, for a truly unique look, consider using wood slices of varying sizes to create a textured, organic wall. The key is to choose a design that complements your existing bathroom fixtures and décor.
DIY Wood Accent Wall: Easy Installation for Bathrooms
DIY Wood Accent Wall: Easy Installation for Bathrooms
Prep Like a Pro: Essential Steps Before You Start
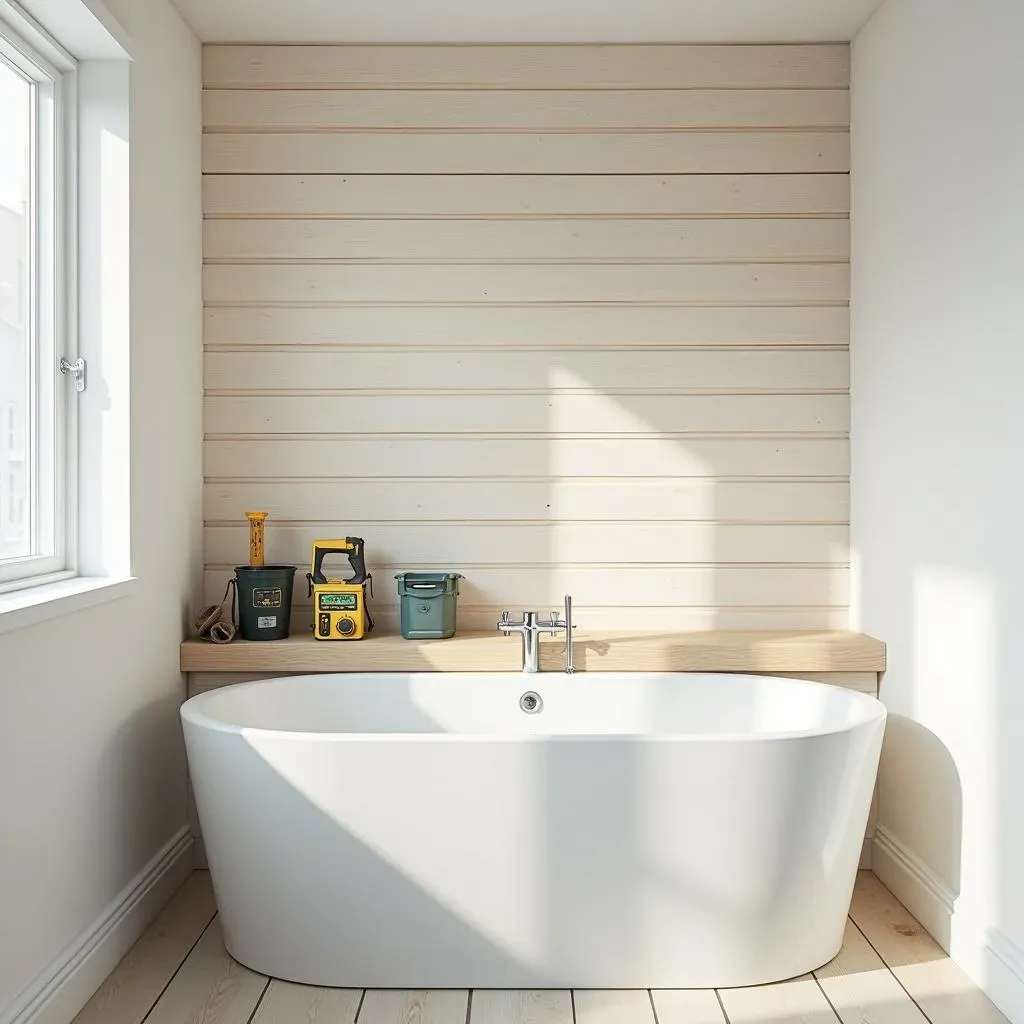
Alright, so you're ready to roll up your sleeves and tackle this DIY wood accent wall project? Awesome! But hold up a sec – before you even think about picking up a saw, let's talk prep work. Trust me, spending a little extra time on this stage will save you a ton of headaches later on. First things first, gather your tools: a measuring tape, level, stud finder, saw (circular or miter saw recommended), nail gun or drill, construction adhesive, sandpaper, and safety glasses. Got 'em? Good.
Now, inspect your wall. Is it smooth and clean? If not, give it a good scrub and fill any holes or imperfections with spackle. Next, find those studs! A stud finder is your best friend here. Mark the location of each stud with a pencil – you'll need these as anchor points when attaching your wood planks. Finally, measure your wall carefully and calculate how much wood you'll need. It's always a good idea to add a little extra (around 10%) to account for cuts and mistakes.
Don't skimp on safety either. Safety glasses are a must to protect your eyes from flying debris, and earplugs can help reduce the noise from power tools.
Tool/Material | Purpose |
|---|---|
Measuring Tape | Accurate measurements for cuts and placement |
Level | Ensuring planks are straight and even |
Stud Finder | Locating studs for secure attachment |
Saw (Circular or Miter) | Cutting wood planks to size |
Nail Gun/Drill | Attaching planks to the wall |
Construction Adhesive | Providing extra hold |
Sandpaper | Smoothing rough edges |
Safety Glasses | Eye protection |
From Plank to Wall: The Installation Process
with all that prep work done, you are ready to start installing your wood planks. Begin by applying construction adhesive to the back of your first plank. Place it against the wall, ensuring it's level, and then secure it to the studs using a nail gun or drill. Repeat this process for each plank, working your way up the wall. Use spacers between the planks to create consistent gaps, if desired.
As you go, double-check your measurements and make sure everything is still level. If you encounter any obstacles, like outlets or pipes, carefully measure and cut the planks to fit around them. Once all the planks are installed, sand down any rough edges and apply a sealant to protect the wood from moisture. Step back and admire your handiwork – you've just created a stunning wood accent wall that will transform your bathroom!
If you're using reclaimed wood, consider leaving some of the imperfections intact for a more rustic look. Just be sure to sand down any splinters or sharp edges.
Choosing the Right Wood: Materials for Bathroom Accent Walls
Choosing the Right Wood: Materials for Bathroom Accent Walls
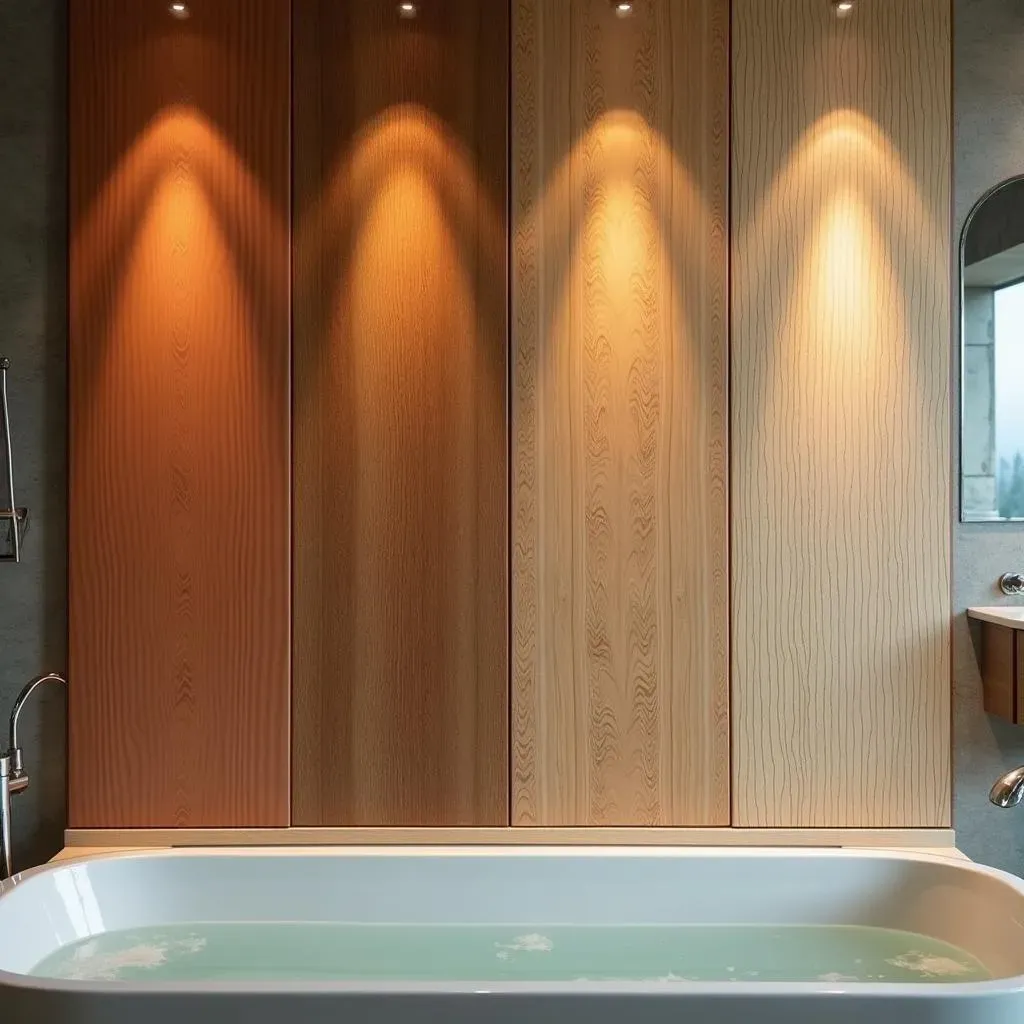
Alright, let's dive into the nitty-gritty of wood selection. Not all wood is created equal, especially when it comes to the humid environment of a bathroom. You need to consider factors like moisture resistance, durability, and of course, aesthetics. Think of it this way: you're not just picking a pretty face; you're choosing a material that needs to withstand splashes, steam, and the occasional rogue towel toss. So, what are your best bets?
Cedar is a fantastic option, naturally resistant to moisture, decay, and even insects. Plus, it has a beautiful reddish hue and a distinctive aroma that can add a spa-like feel to your bathroom. Teak is another excellent choice, known for its exceptional durability and water resistance – it's often used in boat building, which tells you something! Reclaimed wood can bring a rustic charm, but make sure it's properly sealed to prevent moisture damage. And then there's bamboo, technically a grass but often used like wood, it's eco-friendly, water-resistant, and adds a modern touch.
Whatever wood you choose, make sure to seal it properly with a waterproof sealant. This will protect the wood from moisture damage and help it last for years to come.
Wood Type | Pros | Cons | Best For |
|---|---|---|---|
Cedar | Moisture resistant, aromatic, beautiful color | Can be more expensive | Spa-like bathrooms, rustic designs |
Teak | Extremely durable, water-resistant | Expensive, can be difficult to source | High-end bathrooms, modern designs |
Reclaimed Wood | Rustic charm, eco-friendly | Requires sealing, can be uneven | Farmhouse bathrooms, unique looks |
Bamboo | Eco-friendly, water-resistant, modern | Can be less durable than other options | Contemporary bathrooms, sustainable designs |
Styling Your Wood Accent Wall Bathroom: Design Tips & Tricks
Styling Your Wood Accent Wall Bathroom: Design Tips & Tricks
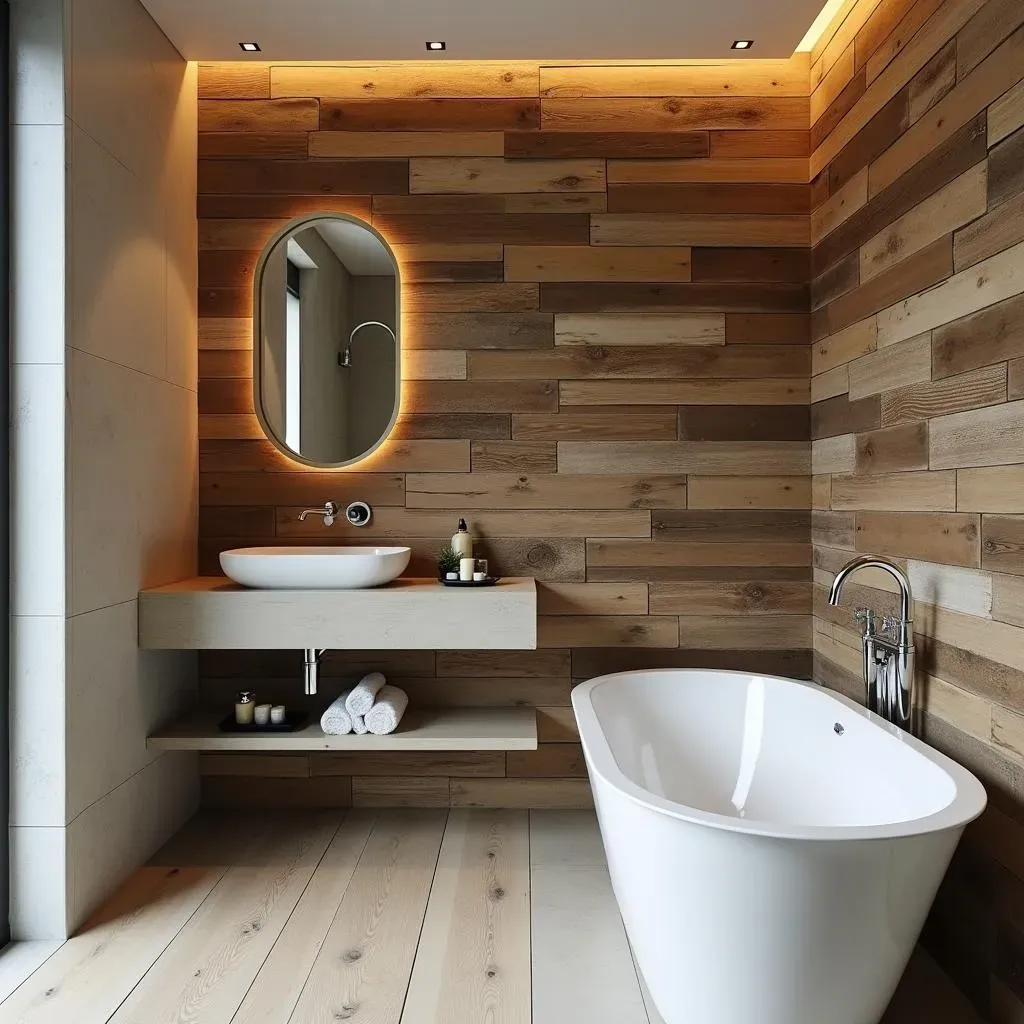
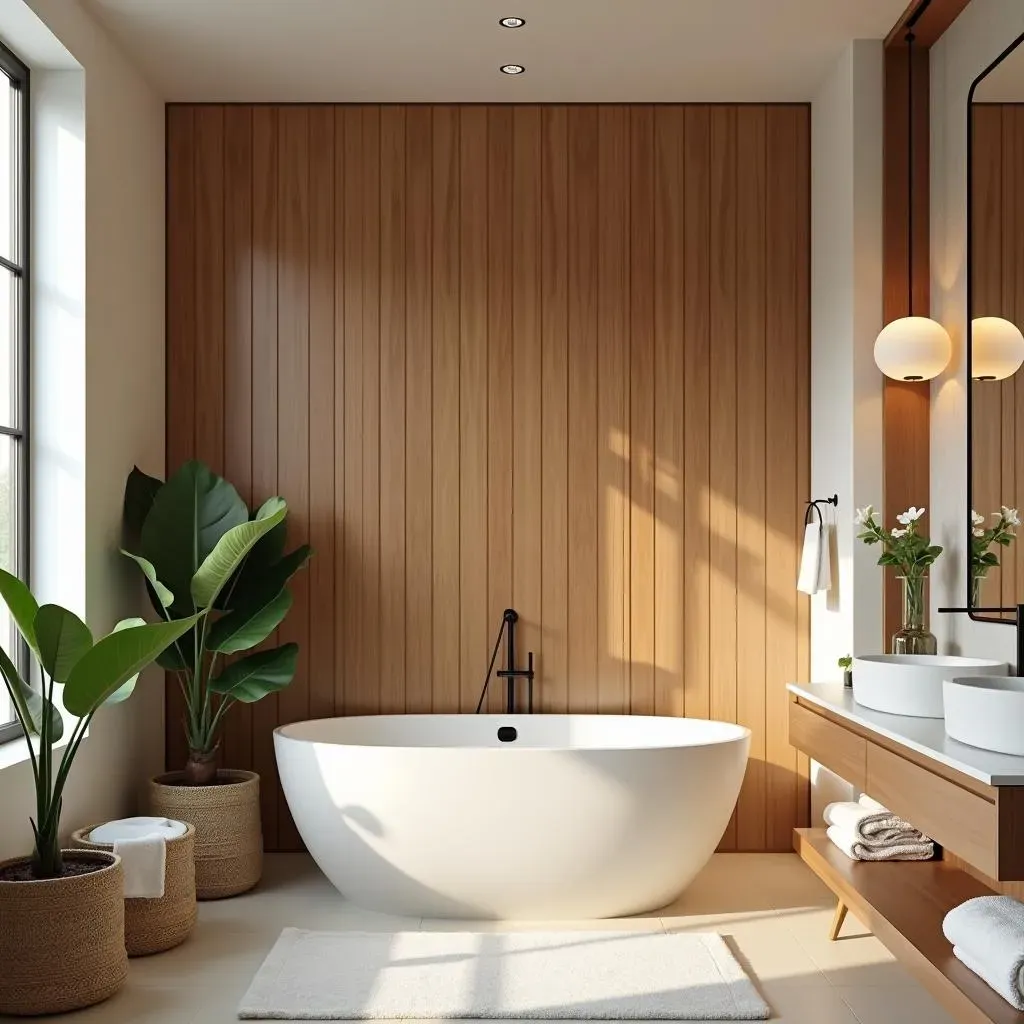
so you've got this amazing wood accent wall in your bathroom – now what? It's time to think about styling! This is where you can really let your personality shine and create a cohesive, inviting space. The key is to balance the warmth and texture of the wood with other elements in the room, creating a look that's both stylish and functional. First, consider your color palette. Wood is a natural neutral, so it pairs well with a wide range of colors.
However, to create a sense of harmony, choose colors that complement the wood's undertones. For example, if you have a warm-toned wood like cedar, consider pairing it with earthy greens, soft creams, or even pops of terracotta. If you have a cooler-toned wood like reclaimed wood, try pairing it with cool grays, blues, or whites. Don't be afraid to experiment with different textures too. Soft, fluffy towels, woven baskets, and smooth ceramic accessories can all add visual interest and create a sense of depth.
Lighting is also crucial. A well-lit bathroom will not only be more functional but will also highlight the beauty of your wood accent wall. Consider adding sconces on either side of the mirror, or a pendant light above the tub. And don't forget about plants! A few strategically placed greenery can add a touch of life and freshness to your bathroom, creating a spa-like atmosphere.
Element | Tips |
|---|---|
Color Palette | Choose colors that complement the wood's undertones. |
Textures | Mix and match soft and smooth textures for visual interest. |
Lighting | Add sconces, pendant lights, or recessed lighting to highlight the wood. |
Accessories | Choose accessories that complement your overall style. |
Plants | Add greenery for a touch of life and freshness. |
Wrapping Up: Your Dream Wood Accent Wall Bathroom Awaits
So, there you have it: a comprehensive guide to bringing the warmth and style of wood into your bathroom. From initial inspiration and DIY installation tips to choosing the right materials and mastering the art of styling, you're now equipped to transform your space with stunning wood accent wall bathroom ideas. Remember, the key is to personalize the project to reflect your own unique taste and needs. Don't be afraid to experiment with different wood types, layouts, and design elements until you achieve the perfect look. With a little creativity and effort, you can create a bathroom that's not only beautiful but also a true sanctuary – a place where you can relax, rejuvenate, and escape the stresses of daily life. Now go forth and create the bathroom of your dreams!