Table of Contents
Tired of staring at the same old boring bedroom walls? You're not alone. Many of us crave a space that feels both stylish and relaxing, a true haven where we can unwind after a long day. That's where the magic of a shiplap accent wall comes in. It's not just about slapping some wood on a wall; it's about adding texture, character, and a touch of rustic charm that can completely transform your bedroom. In this article, we'll explore why shiplap is such a fantastic choice, giving you creative shiplap accent wall bedroom ideas, and even sharing some easy DIY tips to get you started. Think of it as your personal guide to creating a bedroom that feels both modern and cozy, all while boosting your home's style factor. So, if you're ready to ditch the drab and embrace a stylish upgrade, let's dive into the world of shiplap accent wall bedroom ideas!
Why Choose Shiplap for Your Bedroom Accent Wall?

Why Choose Shiplap for Your Bedroom Accent Wall?
Texture and Character
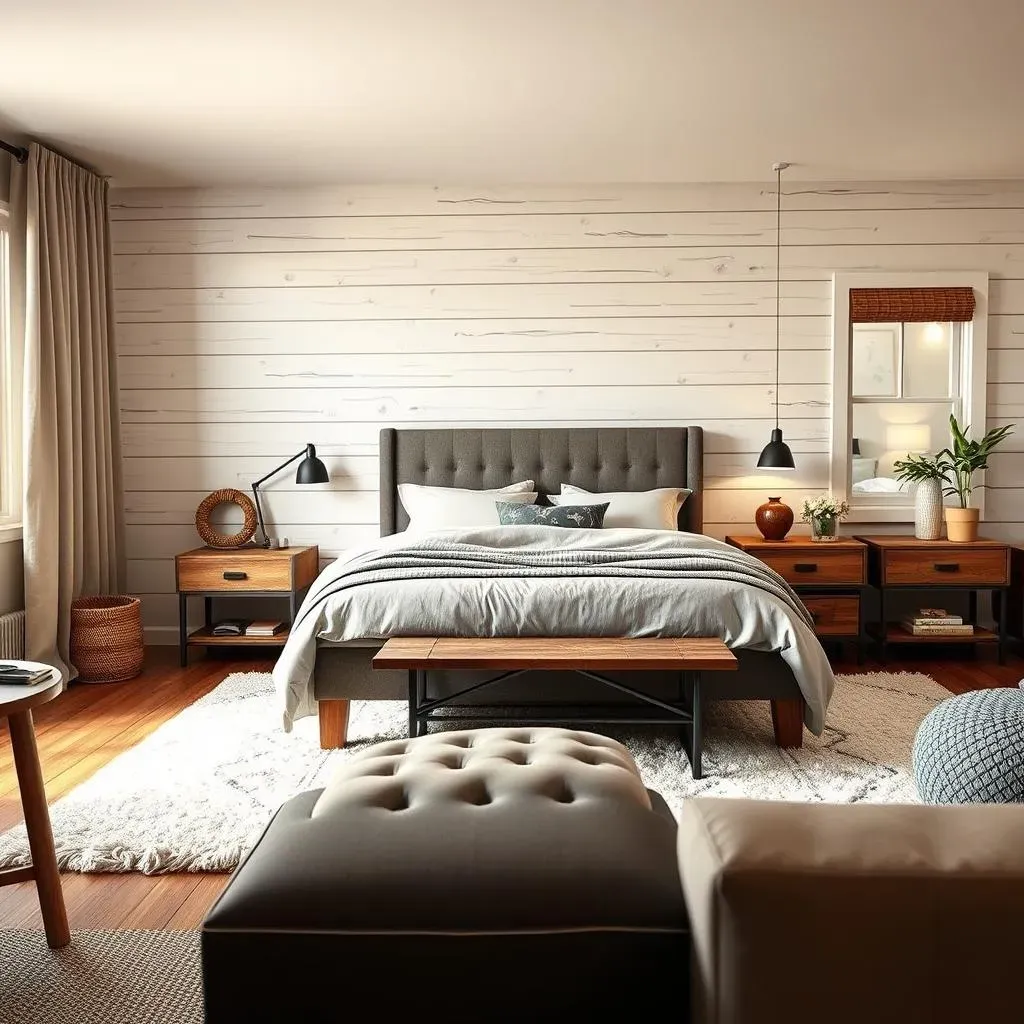
let's be real, plain walls can be boring. They're like a blank canvas that's just, well, blank. Shiplap changes that. It adds instant texture and depth, which is something paint alone just can't achieve. The subtle grooves and lines create shadows that shift with the light, making your walls come alive. It’s like giving your bedroom a personality transplant. You know, from a bland wallflower to a super interesting person. Think of it like adding a subtle 3D effect to your room without needing fancy glasses. It's a game changer.
Plus, shiplap has this amazing ability to blend in with almost any style. Whether you're into farmhouse, modern, or even a bit of bohemian, shiplap can work its magic. It's like that one friend who can fit in at any party. It’s not just about looks either, it brings a certain kind of warmth and character to a room, making it feel more inviting and lived-in. It's that "missing piece" that can tie the whole room together, and it will make people think you're way more stylish than you probably are.
Versatility and Style
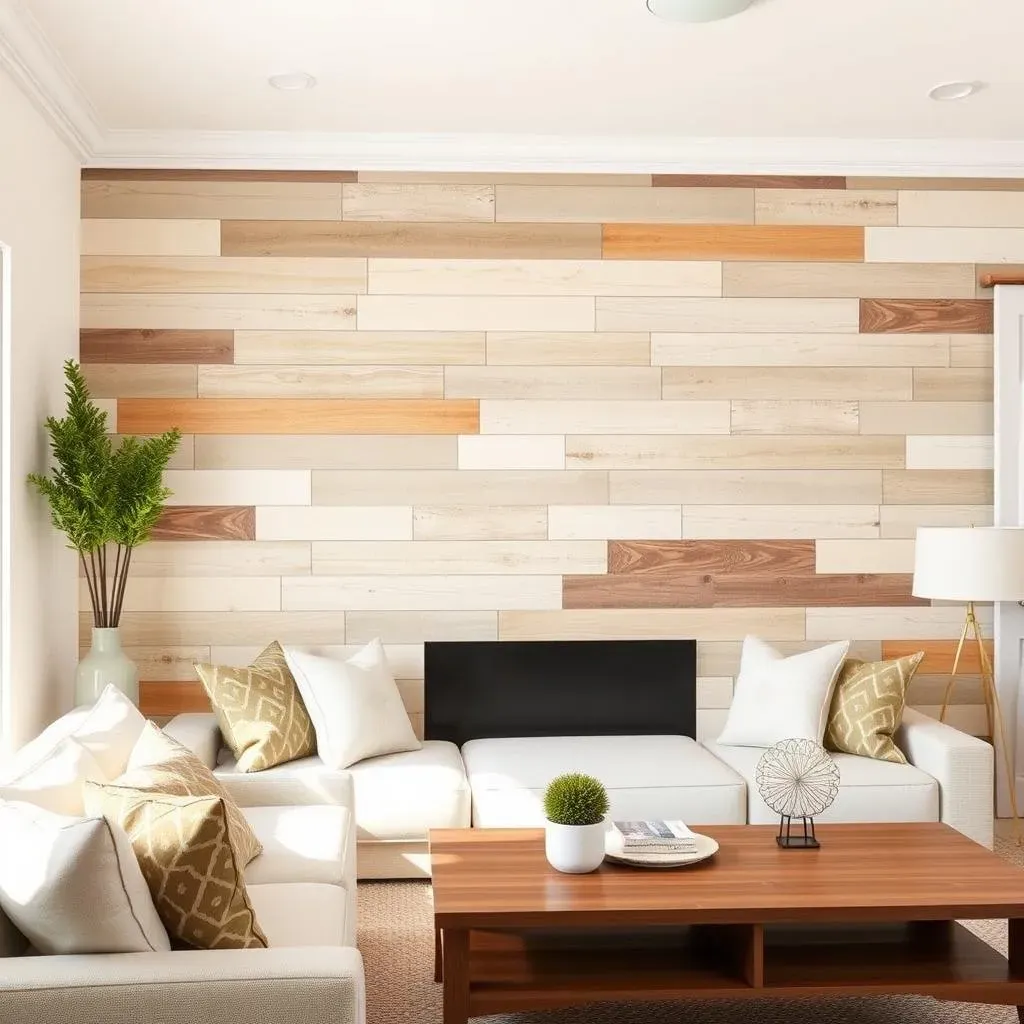
Shiplap isn't a one-trick pony; it's super versatile. You can paint it any color you want, from bright whites to deep moody hues, making it fit seamlessly into your bedroom's color scheme. It’s like having a chameleon on your wall, adapting to whatever vibe you're going for. You can even use different widths of boards or create unique patterns to really customize the look. Imagine a herringbone design, or a vertical stripe to make your ceilings seem higher. The possibilities are endless, and you're the artist.
It’s also incredibly timeless. Unlike some trends that come and go faster than you can say "avocado toast," shiplap has been around for ages and continues to be a favorite among designers and homeowners. It brings a sense of history and charm without feeling dated. It's like wearing a classic denim jacket, always in style, always cool. So, you can be confident that your shiplap accent wall will look good for years to come. It's an investment in your home that keeps paying off in style.
Feature | Benefit |
|---|---|
Texture | Adds visual interest and depth |
Versatility | Fits various design styles and colors |
Timeless | Remains stylish for years |
Creative Shiplap Accent Wall Bedroom Ideas
Creative Shiplap Accent Wall Bedroom Ideas
The Classic White Shiplap
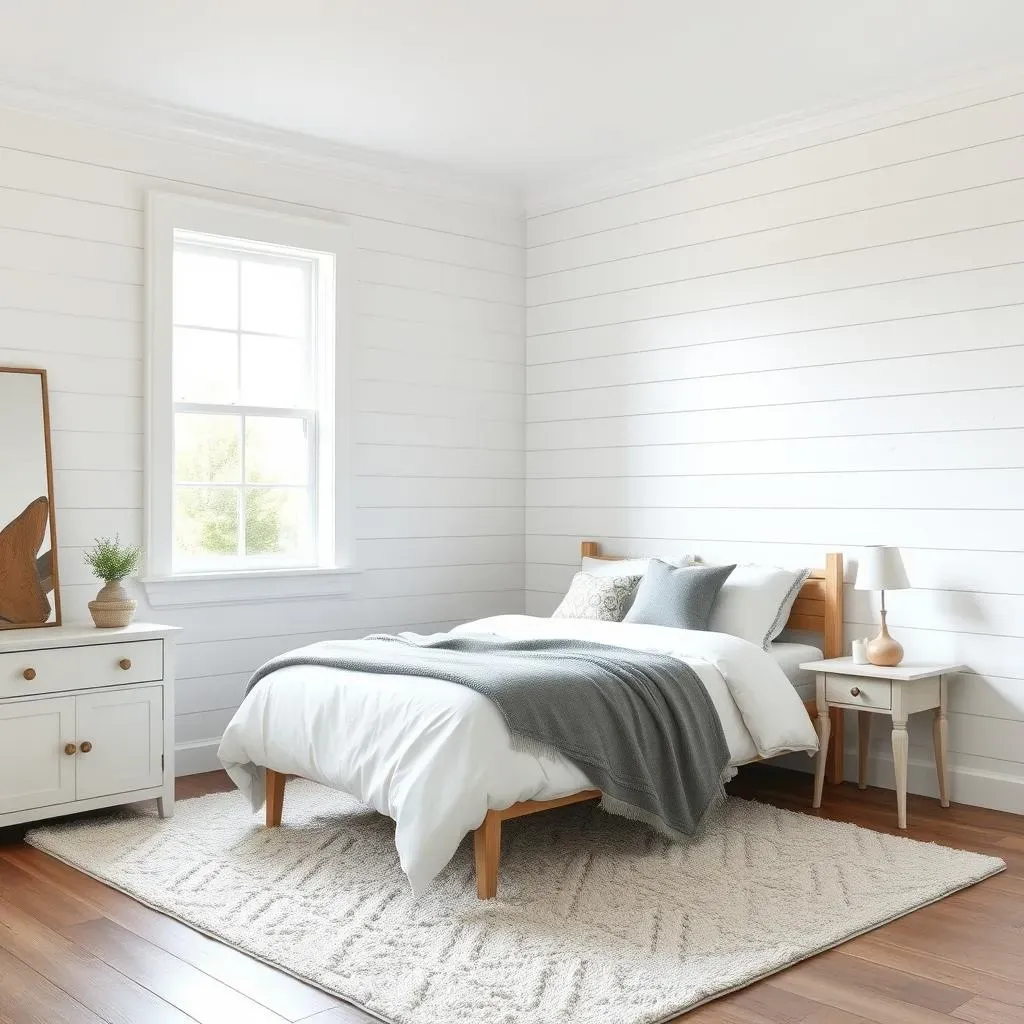
Let's start with a classic, shall we? White shiplap is like the little black dress of interior design; it never goes out of style. It's clean, bright, and makes any room feel instantly larger and more airy. You could use it to create a serene, coastal vibe, or pair it with some bold-colored furniture and accessories for a modern look. It's like a blank canvas, ready for you to layer on your personality. Imagine waking up in a room that feels like a cloud – that’s the magic of white shiplap. And, let's be honest, who doesn't love a good, clean aesthetic?
Don’t think that white is boring, either. You can play with different shades of white, from cool to warm, or even add subtle textures to the boards themselves. A matte finish gives a modern feel, while a slightly glossy one can bounce light around the room. It's all about the details, my friend. You can use white shiplap to make a statement, no need for crazy colors. Think of it as the perfect base for any bedroom masterpiece.
Going Bold with Color
Alright, let's kick things up a notch. If you're feeling a bit daring, why not try painting your shiplap a bold color? Think deep navy blue for a sophisticated, moody vibe, or a vibrant forest green for a touch of nature. It's like giving your room a shot of espresso—it’ll wake things up in a hurry. A colored shiplap wall can be a real focal point, drawing the eye and adding a dramatic flair to your bedroom. It's all about making a statement that reflects your personality.
You can also use color to create different effects. For instance, a light pastel color can make your room feel more calming, while a dark color can make it feel more intimate and cozy. You can even go for a two-toned look, painting the shiplap one color and the rest of the walls another. It's like having a secret weapon in your design arsenal, allowing you to create a unique and personalized space. You're not just decorating; you're crafting an experience. Imagine the compliments you'll receive!
Idea | Description |
|---|---|
Classic White Shiplap | Clean, bright, and versatile, makes the room feel larger |
Bold Color Shiplap | Dramatic, adds personality, can create different moods |
DIY Tips for Installing Your Shiplap Accent Wall
DIY Tips for Installing Your Shiplap Accent Wall
Gather Your Tools and Materials
so you're ready to get your hands dirty? Awesome! Before you start ripping boards, let's make sure you have everything you need. You'll need shiplap boards, of course (measure your wall carefully!), a level, a measuring tape, a pencil, a saw (a miter saw is ideal but a hand saw will do), a nail gun or hammer and nails, and some construction adhesive. Don't forget safety glasses and maybe some gloves too – you don't want to end up with a splinter for a souvenir. It's like preparing for a battle, but a stylish one.
Also, consider the type of shiplap you want. You can buy pre-cut shiplap boards at most hardware stores or you can use plywood ripped into strips. Pre-cut boards are easier, but ripping your own can be more budget friendly. Just make sure whatever you choose is straight and in good condition. It's like picking the perfect ingredients for a recipe; if your base is good, the end result will be fantastic. And remember, measure twice, cut once – that’s the golden rule of DIY projects.
Step-by-Step Installation Guide
Alright, let's get to the fun part! Start by locating the studs in your wall, you can usually find them by tapping or using a stud finder. Mark them with your pencil, because you'll want to nail your shiplap boards into those studs for a secure hold. Then, apply a bead of construction adhesive to the back of your first board, place it on the wall (make sure it’s level!) and nail it in place. I would start at the bottom or the top, and work your way up or down, depending on what you prefer. It's like laying the first piece of a puzzle, once you have one, the rest will fall into place.
Continue adding boards, making sure you leave a small gap between each for that classic shiplap look – you can use a coin or spacers to ensure consistent gaps. Stagger the seams for a more visually appealing look. It's like creating a pattern, each board building on the last. Don't worry if it's not perfect, the beauty of shiplap is in its slightly rustic charm. Once you've covered your wall, you can add trim to the edges for a clean, finished look. It’s like putting the final touches on a painting, making it look polished and professional. Now, step back and admire your masterpiece!
Step | Action |
|---|---|
1 | Gather tools and materials |
2 | Locate and mark studs |
3 | Apply adhesive and nail first board |
4 | Continue adding boards, leaving small gaps |
5 | Add trim for a finished look |
Finishing Touches and Tips
Once your shiplap is up, it’s time for the finishing touches. Fill any nail holes with wood filler, sand them smooth, and then paint your shiplap with your chosen color. You can use a brush, roller, or even a paint sprayer for a smooth finish. This is where you can really make it your own. It's like adding the perfect glaze to a cake, making it look irresistible.
Here’s a pro tip: If you're painting your shiplap a dark color, consider priming it first to prevent the wood from absorbing too much paint. And don't rush the process! Take your time, enjoy the experience, and remember that even if you make a small mistake, it's part of the learning process. It’s like learning a new dance; it might be a bit awkward at first, but with practice, you’ll get the hang of it. And hey, if all else fails, you can always call in a professional. But I bet you'll do great!
Wrapping Up Your Shiplap Journey
So, there you have it, a deep dive into the world of shiplap accent walls for your bedroom. From understanding why it's such a great choice to exploring different design ideas and even getting some DIY tips, you're now armed with the knowledge to transform your space. Remember, it's all about creating a bedroom that feels like *you*, a place where you can relax and recharge. Don't be afraid to experiment with different colors, textures, and layouts to find the perfect shiplap accent wall that fits your style. Whether you go for a classic white look or something a little more bold, the key is to have fun and enjoy the process. Go ahead, make your bedroom the stylish haven you've always dreamed of!