Table of Contents
Ever looked at a plain wall and thought, "This needs something... more?" I have, and my solution? Reclaimed wood. Forget those boring, cookie-cutter walls! We're talking about adding texture, history, and a whole lot of character with a reclaimed wood accent wall. This isn't just about slapping some old boards on a wall; it's about crafting a statement piece that screams "you." If you're curious about how to give your home that cool, rustic edge, you're in the right spot. This article will walk you through finding the perfect wood, the nitty-gritty of putting it up, and finally, how to style your space to make your new reclaimed wood accent wall the star of the show. Get ready to explore some awesome reclaimed wood accent wall ideas and turn your bland wall into a masterpiece. So, let's get our hands dirty and get started on your very own reclaimed wood project.
Finding the Right Reclaimed Wood for Your Accent Wall

Finding the Right Reclaimed Wood for Your Accent Wall
Where to Begin Your Wood Hunt
so you're ready to dive into the world of reclaimed wood? Awesome! But before you go tearing down old barns, let's talk about finding the right stuff. Think of it like treasure hunting, but instead of gold, we're after wood with character. I’ve found some of my best pieces from old fences, believe it or not. Check out local salvage yards, they're goldmines for unique planks. Don't forget about online marketplaces like Craigslist or Facebook Marketplace, where people often sell off old materials from renovations. The key is to be patient and always keep an eye out; you never know when you’ll stumble upon the perfect stash for your project.
And hey, don't be afraid to ask around, I once scored a bunch of old barn wood from a farmer just by chatting about my project. It's amazing what you can find when you start looking. When you do find it, make sure to check it for any big cracks or signs of rot. You want wood that's going to last, not fall apart as soon as you put it up.
What Kind of Wood Works Best?
Not all reclaimed wood is created equal, and that's okay! You've got a variety of options to choose from, each with its own unique charm. For instance, barn wood, with its weathered look and nail holes, is fantastic for adding a rustic vibe, like the kind you see in those magazines. Then there's pallet wood, which is usually cheaper and easier to find, but it might need a bit more prep work. I've even used old floorboards before, which gave a really cool, vintage feel. The trick is to think about the kind of look you're going for and pick wood that matches that vibe. Some woods are softer, some are harder. Softer woods like pine are easier to cut, but harder woods like oak will be more durable and have a denser grain pattern.
Another important thing to think about is the thickness of the wood. You want something that's thick enough to be sturdy, but not so thick that it's a pain to work with. Usually, something around half an inch to an inch thick is a good range. And remember, the color of the wood doesn't matter too much, you can always stain it to match your room's décor.
Wood Type | Best For | Things to Consider |
|---|---|---|
Barn Wood | Rustic, aged look | May have nails, needs cleaning |
Pallet Wood | Budget-friendly projects | Requires careful dismantling, may have splinters |
Old Floorboards | Vintage, unique patterns | Thickness may vary |
Fencing | Easy to find, often treated | Can be thin, may have paint |
DIY Reclaimed Wood Accent Wall Installation Tips and Tricks

DIY Reclaimed Wood Accent Wall Installation Tips and Tricks
Prep Work is Key
Alright, so you've got your reclaimed wood, and it's looking all rustic and awesome. Now it's time for the not-so-glamorous but super important part: prep work. Trust me, skipping this step is like building a house on sand. First things first, give those boards a good scrub. You'd be surprised what kind of dirt and grime can be hiding in those crevices. I usually use a stiff brush and some soapy water. And If you want the wood to look more like what you see in those fancy magazines, use a wire brush to remove any loose bits.
Once they're clean, let them dry completely. We don't want any mold growing behind our wall. After that, check for any nails or screws still sticking out. You can use a hammer and nail punch to get them out. Then give the boards a light sanding, you just want to remove any splinters. Don't go too crazy, we still want that rustic look. Finally, if you want to stain or seal the wood, now's the time to do it. This will protect it and give it that perfect finish.
Putting It All Together
the wood is prepped, you're ready to get this show on the road, right? Before you start sticking boards to the wall, lay them out on the floor. This will help you figure out the pattern. I like to mix up the colors and textures to make it look more random. Once you're happy with the layout, it's time to start installing. I like to use construction adhesive and finish nails. The adhesive will hold the boards in place, and the nails will keep them from moving while the glue dries. Start from the bottom and work your way up, using a level to make sure everything is straight.
When you get to the top, you might need to cut some of the boards to fit. Don't worry, it doesn't have to be perfect, the beauty of reclaimed wood is that it has character! If you have any gaps between the boards, you can fill them with wood filler or just leave them as they are, it's all about your personal style. Once all the boards are up, give them a final look. You might want to add some trim around the edges to make it look more finished. And boom, you've got your own reclaimed wood accent wall!
Step | Action | Why It Matters |
|---|---|---|
1 | Clean the wood | Removes dirt and grime |
2 | Remove nails | Prevents accidents |
3 | Sand lightly | Eliminates splinters |
4 | Stain/seal | Protects and finishes the wood |
5 | Plan layout | Ensures you're happy with the pattern |
6 | Install with adhesive and nails | Securely attaches the wood to the wall |
Styling Your Space with Reclaimed Wood Accent Wall Ideas
Styling Your Space with Reclaimed Wood Accent Wall Ideas
Making Your Wall a Focal Point
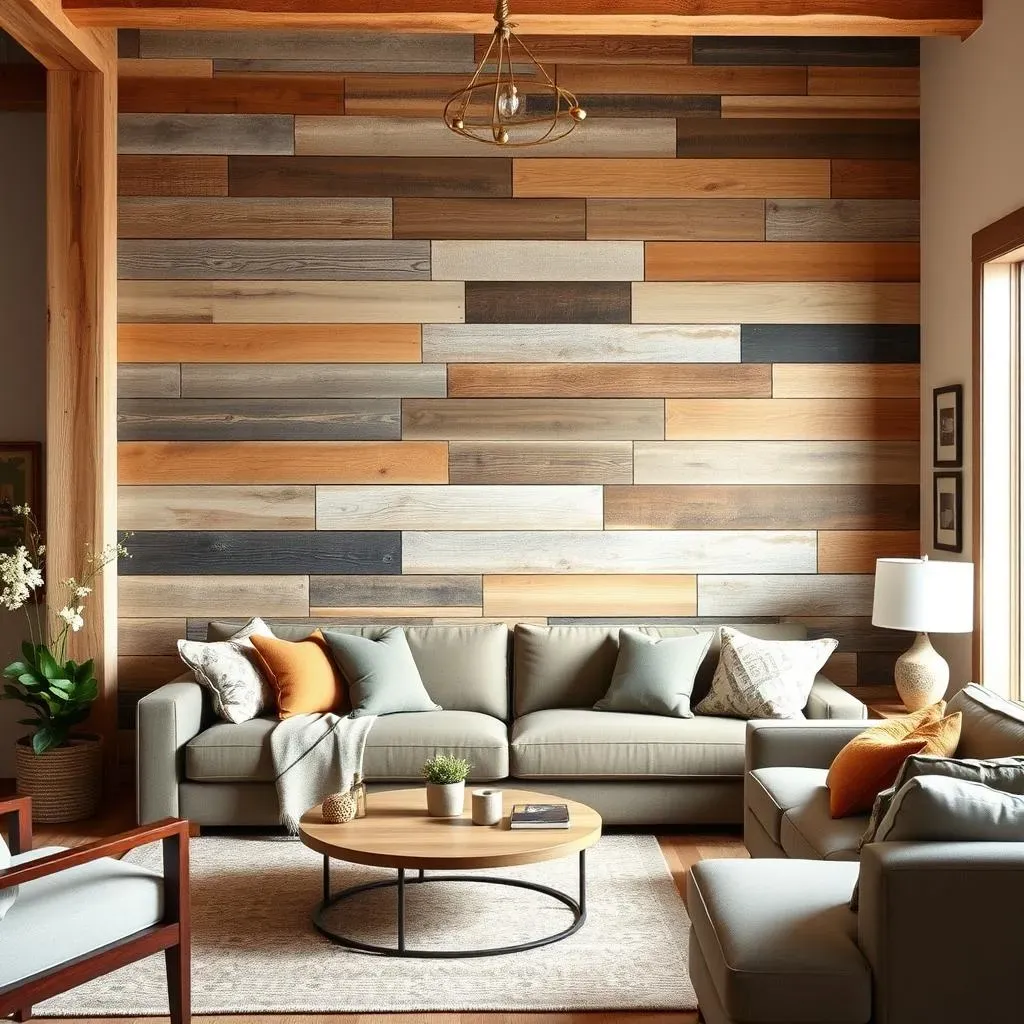
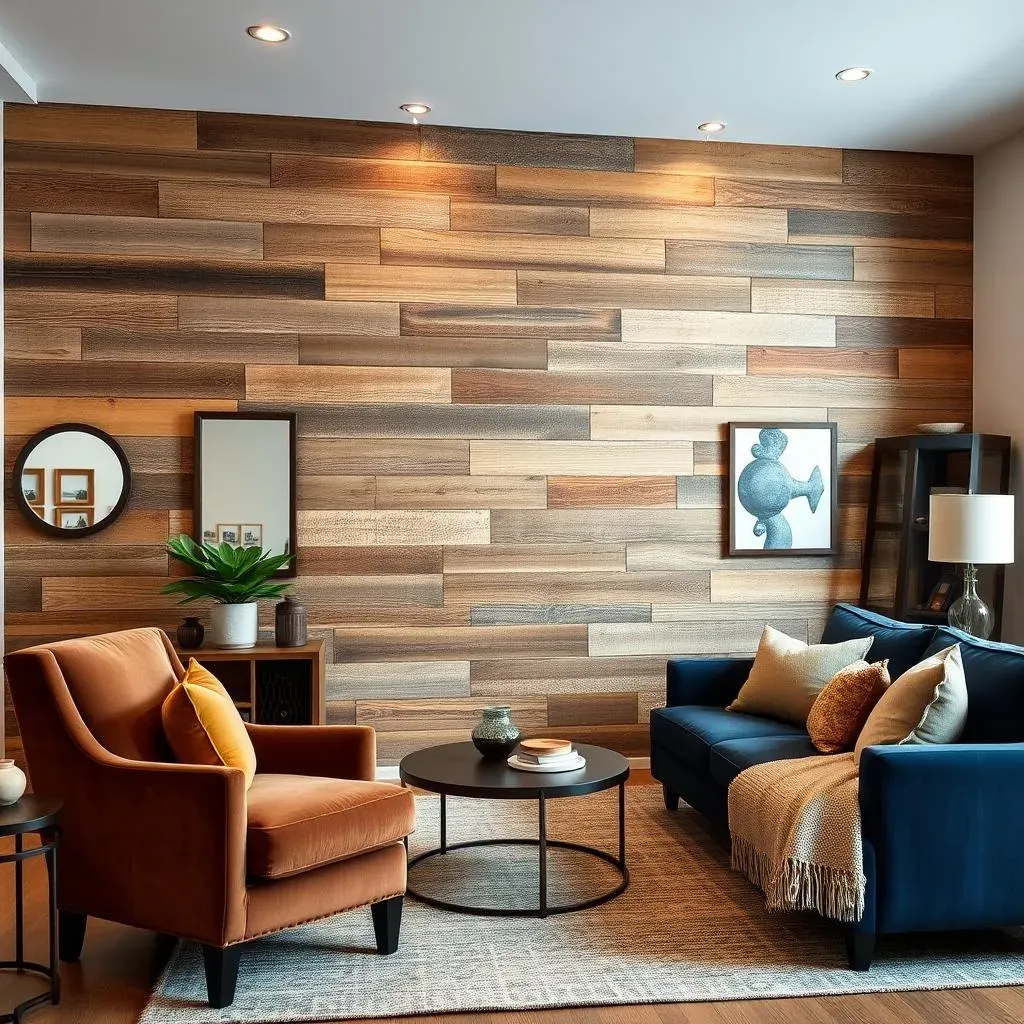
so you've got this awesome reclaimed wood accent wall, now what? It’s time to make it the star of the show! I like to think of it as a canvas, and the rest of your room is the art. For example, if your wood has a lot of warm tones, you might want to pair it with cool colors in your furniture and decor. Think of a deep blue couch against a wall with rich brown wood – it just pops, right? And don't be afraid to play with textures. A soft, fluffy rug can balance out the rough feel of the wood. I once paired my wall with a velvet chair and it was a match made in heaven. The key is to create contrast, that way your wall doesn't just blend in.
Lighting also plays a huge role. I've seen a simple wall transform with the right lighting. Spotlights can highlight the unique textures and colors of the wood, while softer ambient lighting will make the space feel cozy. And hey, don’t forget about the stuff you put on the wall. Mirrors can create the illusion of more space, and artwork can add a splash of personality. I’ve hung up everything from vintage maps to quirky prints, and they always look amazing against the wood. Ultimately, it's all about creating a space that reflects your unique style, just have fun with it!
Room-by-Room Ideas
Let's talk specifics, shall we? In the bedroom, a reclaimed wood accent wall behind your bed can create a warm and inviting atmosphere. I like to add string lights or wall sconces to create a soft glow. In the living room, it can be the backdrop for your entertainment center, or it can be a feature wall that showcases your favorite art pieces. And hey, don't think that you can only use it in living spaces. I’ve seen it look great in an office, a dining room, even a bathroom! The trick is to adapt the style to the room. For example, in a bathroom, you might want to use a lighter wood to keep the space feeling bright and airy. In an office, a darker wood can add a sense of sophistication. It's all about thinking outside of the box and seeing where your creativity takes you.
And if you are not sure, start small. Try it on a small wall in a less-used room, it’s a good way to get comfortable with the look and feel before you commit to a bigger project. You can always build up on your design over time as you get more ideas. Don't be afraid to experiment with different colors, textures, and patterns. The beauty of reclaimed wood is that it’s unique, so your wall should be too. And if you're feeling really ambitious, you can even create a reclaimed wood headboard to match your wall. It’s all about creating a cohesive look that you love.
Room | Style Suggestions | Lighting Tips |
|---|---|---|
Bedroom | Warm tones, soft fabrics | String lights, wall sconces |
Living Room | Contrasting colors, mixed textures | Spotlights, ambient light |
Office | Darker woods, sophisticated decor | Task lighting, desk lamps |
Bathroom | Lighter woods, bright accents | Vanity lighting, natural light |
Wrapping Up Your Reclaimed Wood Wall Adventure
So, there you have it. From sourcing the perfect weathered planks to nailing down that final piece, creating a reclaimed wood accent wall is a journey worth taking. It’s more than just a DIY project; it’s about adding a piece of history, a dash of texture, and a whole lot of personality to your space. Whether you go for a random pattern or a carefully arranged design, your reclaimed wood wall will be a conversation starter and a unique reflection of your style. Now, go forth, grab some reclaimed wood, and make that wall a masterpiece. And hey, don't be afraid to get a little sawdust on your clothes; that's part of the fun.