
Table of Contents
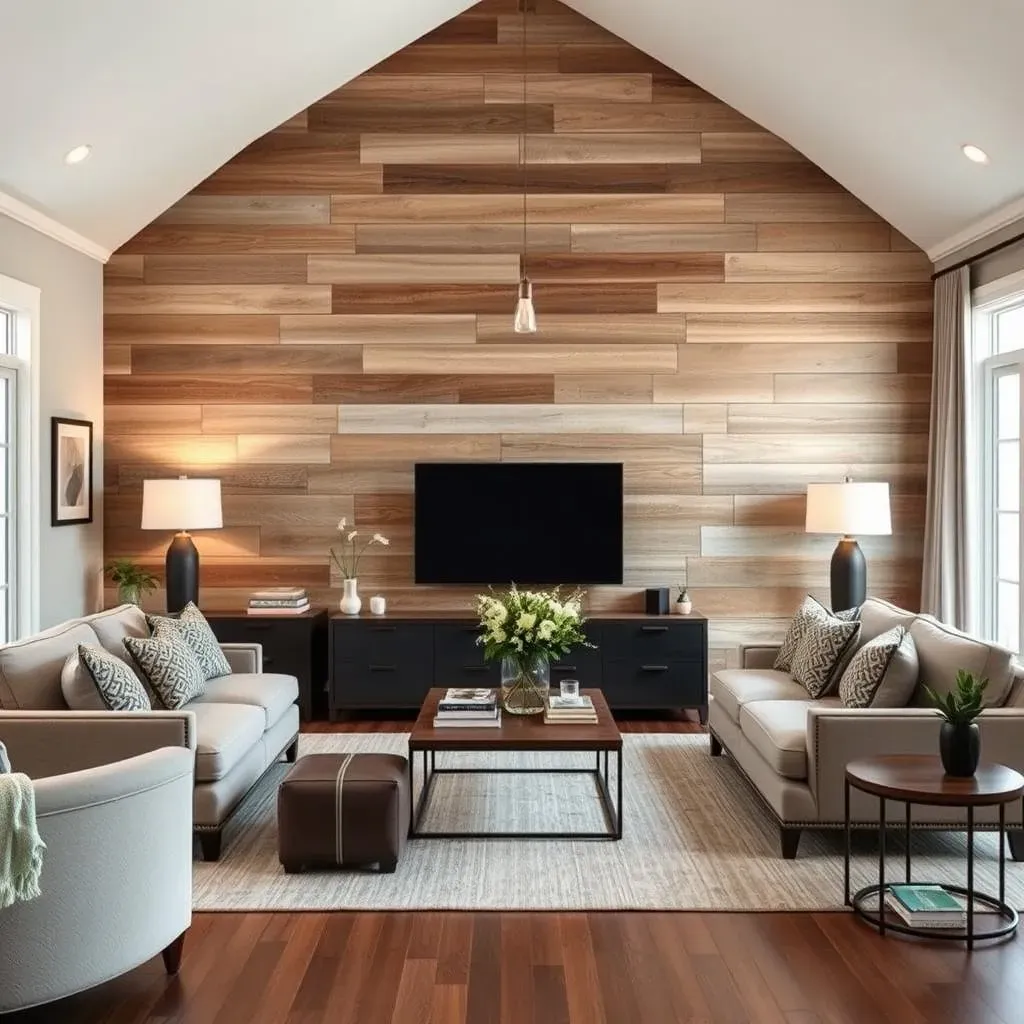
Ever scrolled through Pinterest and been stopped in your tracks by a stunning wood accent wall? I know I have. Those warm, textured walls can instantly transform a room, adding character and a touch of rustic charm. But how do you bring that Pinterest dream into your actual home? That's the question we're tackling today. This isn't just about admiring pretty pictures; it's about understanding how those gorgeous "pinterest wood accent wall" ideas become a reality. We'll explore where to find inspiration, look at how others have pulled off their own wood wall projects, and, most importantly, arm you with the knowledge to create your own. Get ready to go beyond the screen and make your space truly unique with a wood accent wall that's both stylish and achievable. We'll cover everything from sourcing the right wood to the best installation tricks, so even if you're not a DIY expert, you'll feel confident in taking the leap.
Finding Inspiration: Pinterest Wood Accent Walls
Finding Inspiration: Pinterest Wood Accent Walls
The Pinterest Rabbit Hole
let's be real, Pinterest is where most of us start when dreaming up a home makeover. And when it comes to wood accent walls, it's a goldmine. You can find everything from sleek, modern designs to rustic, reclaimed wood looks. The key is not to get overwhelmed by the sheer volume of ideas. Start by searching for specific terms like "bedroom wood accent wall" or "reclaimed wood living room" to narrow things down. Then, save the images that really speak to you. I usually create a specific board just for wood wall ideas so I can easily go back and see what I liked. Think of it like building a mood board, but digitally. And don't be afraid to get really specific, like "herringbone wood wall" or "white-washed wood planks." The more specific you are, the better you'll be able to refine your vision.
It’s easy to fall down the rabbit hole, I know, but this initial step is crucial. It helps you figure out what style and finish you're drawn to. Are you into the clean lines of shiplap, or do you prefer the character of mismatched planks? This is also the time to consider the overall vibe of your space. Do you want the wall to blend in or stand out? Pinterest is great for visual inspiration, but don't forget to read the descriptions and comments. Sometimes people share valuable information about where they sourced their materials or how they tackled the project. It's like getting free advice from a bunch of super-enthusiastic DIYers.
Style | Description | Good For |
|---|---|---|
Shiplap | Clean, horizontal planks | Modern, coastal, farmhouse |
Reclaimed Wood | Mismatched, rustic planks | Rustic, industrial, eclectic |
Herringbone | Angled, zig-zag pattern | Bold, geometric, contemporary |
Beyond the Pretty Pictures
Once you have a good collection of saved images, it's time to look beyond the aesthetics. Start paying attention to the details. What kind of wood are they using? Is it solid wood, plywood, or something else? What's the finish like – stained, painted, or natural? And most importantly, how is the wood attached to the wall? This step is where you start to think about the practicalities of your project. Don't just focus on the final look; think about the steps it takes to get there. Look at the different techniques people have used for installation. Are they using nails, adhesive, or a combination of both? The more you analyze the details, the better prepared you'll be when it's time to start your own project. It's like detective work, but for interior design.
Another great tip is to look for the "before" and "after" shots. This can give you a sense of the transformation that a wood accent wall can bring to a space. It can also help you get a feel for what types of rooms benefit most from this type of feature. Also, check out the comments section, people often leave useful tips or ask questions that you might not have considered yet. It's like having a community of wood accent wall enthusiasts to help you along the way. And remember, Pinterest is a starting point, not the end-all-be-all. Use it as a tool to gather ideas and inspiration, but don't be afraid to put your own spin on things and create a wood accent wall that's uniquely yours.
Customer Creations: RealWorld Wood Accent Wall Projects

Customer Creations: RealWorld Wood Accent Wall Projects
Beyond the Pinterest Board: Real Homes, Real Wood
so we've all spent some time drooling over those perfectly staged Pinterest photos, but let's get real for a second. What do these wood accent walls look like in actual homes? I'm talking about the projects people have tackled themselves, not just the ones that look straight out of a magazine. That’s where the fun really begins, because you start seeing the possibilities in everyday spaces. It's one thing to see a professionally lit photo, it's another to see what someone did in their own living room with their own two hands. I find that seeing real-world examples makes the whole process feel less intimidating and way more achievable.
For instance, I saw one project where a family used reclaimed barn wood to create a stunning wall in their dining room. They didn't just buy new planks; they literally salvaged wood from an old barn. That's what I call dedication! The imperfections and knots in the wood gave the wall so much character, you just can’t get that from the store. And it wasn't even a huge, fancy space, just a regular dining room in a regular house. That's the beauty of it, a wood accent wall can elevate any space, no matter the size or style. Another project I stumbled upon used thin plywood strips to create a modern, geometric pattern. It’s amazing how creative people get. It really shows you the versatility of wood as a design element.
Learning from Others' Successes (and Mistakes)
The best part about looking at these real-world projects is that you can learn from others' experiences. You can see what worked well, and what didn't. Pay attention to the details, like how they handled tricky corners or uneven walls. Did they use a specific type of adhesive? How did they cut the wood? These are the kinds of things you won't necessarily find in a Pinterest caption. Some people even share their "oops" moments – like when they used the wrong type of saw or didn't measure correctly. It's those kinds of honest stories that make the whole process feel less daunting and more relatable. It’s good to know that even the most beautiful walls have a little bit of trial and error behind them.
I once saw a blog post where someone detailed their entire wood accent wall project, from start to finish. They included a list of all the tools they used, the type of wood they chose, and even the specific stain they applied. It was like a complete, step-by-step guide, and it was incredibly helpful. This kind of resource is invaluable, especially if you're a first-timer. So, as you're looking at these real-world projects, don't just admire the finished product. Try to learn from the process. Look for those behind-the-scenes details, and you'll be much better equipped to tackle your own wood accent wall project.
Project Type | Wood Used | Key Takeaway |
|---|---|---|
Reclaimed Barn Wood Wall | Old barn planks | Character comes from imperfections |
Geometric Plywood Wall | Thin plywood strips | Modern look with simple materials |
Shiplap Bedroom Accent | Pre-cut shiplap boards | Clean lines and easy installation |
DIYing Your Dream: How to Create a PinterestWorthy Wood Accent Wall
DIYing Your Dream: How to Create a PinterestWorthy Wood Accent Wall
Planning & Prep: The Unsung Heroes
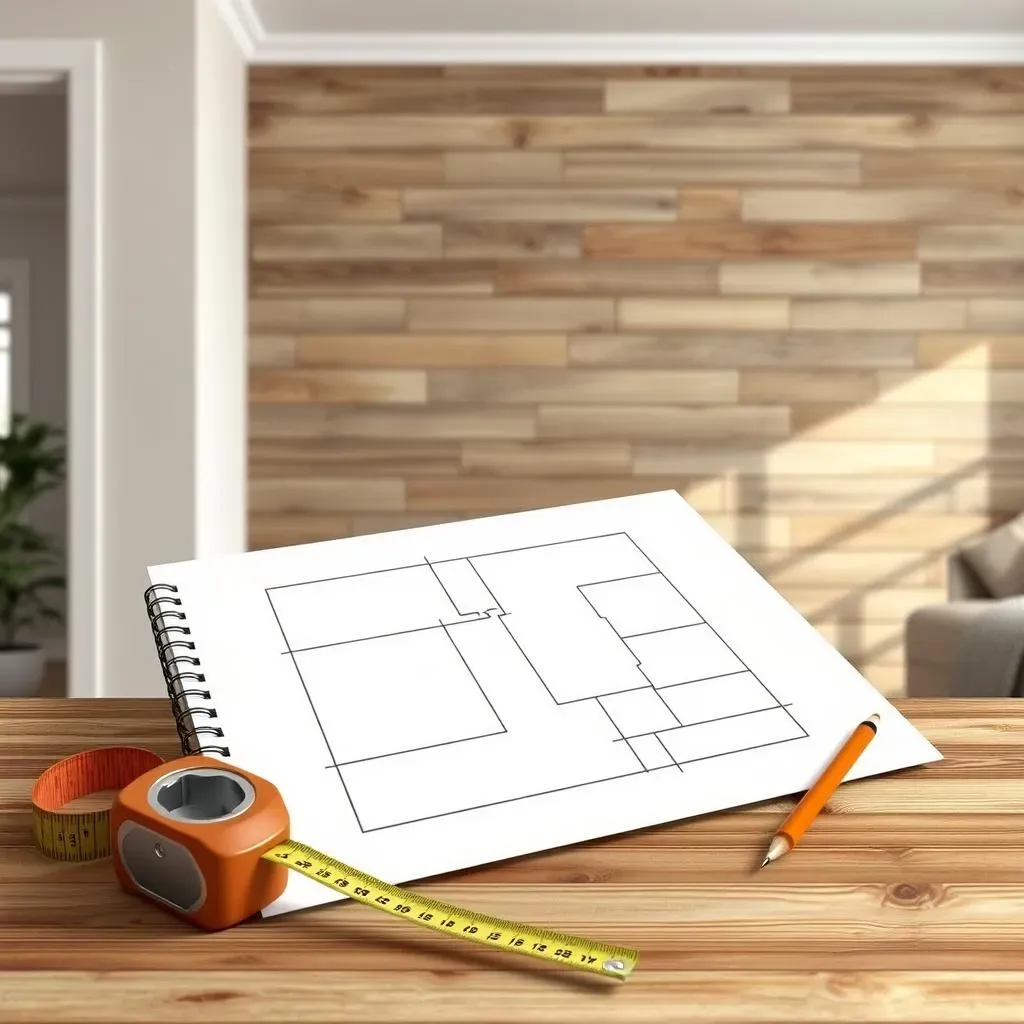
so you’re ready to ditch the Pinterest scrolling and start building, right? Hold up just a sec. Before you even think about picking up a hammer, let's talk planning. This is the part that might not be as exciting as the actual building, but trust me, it's crucial. First, measure your wall, and then measure it again. You'd be surprised how many people jump in without accurate measurements only to find themselves short a plank or two. Then, consider your design. Do you want horizontal planks, vertical, or maybe a fun pattern like herringbone? Sketch it out on paper, or use a digital tool if you're feeling fancy. This step will help you figure out how much wood you’ll actually need, and will save you a lot of frustration down the road. It’s like making a roadmap for your project, so you don't get lost along the way.
Next, gather your materials. This isn't just about the wood itself. You’ll also need things like nails, adhesive, a level, a saw, and safety glasses. I've learned the hard way that having all your supplies ready to go is a total game changer. It prevents those annoying mid-project runs to the hardware store. Also, think about how you'll finish the wood. Will you stain it, paint it, or leave it natural? If you're using reclaimed wood, you might need to clean it and sand it down before you start. The prep work might seem tedious, but it’s the foundation of a successful wood accent wall project. It's like prepping ingredients before cooking a meal, you wouldn't skip it right? Trust me, a little planning goes a long way.
The Nitty-Gritty: Getting Your Hands Dirty
Alright, let’s get into the fun part, the actual building. Start by marking your studs on the wall. This is where you'll want to nail your wood planks for extra stability. A stud finder is your best friend here. If you're using adhesive, apply it to the back of each plank before you put it on the wall. Make sure to use a level to make sure your planks are straight. No one wants a crooked wood accent wall. I like to use a combination of nails and adhesive for a secure hold. If you’re cutting the wood yourself, take your time and cut carefully. Measure twice, cut once, as they say. Remember, patience is key here. Don't rush the process, or you might end up with a wall that looks a little rough around the edges. It's better to take your time and do it right.
Now, here is a little pro tip. If you're using different lengths of wood, try to stagger them for a more natural look. This prevents those obvious vertical lines from forming. And if you’re using reclaimed wood, embrace those imperfections. Knots, nail holes, and slight variations in color are what makes a reclaimed wood wall so unique and charming. Once all your planks are up, take a step back and admire your work. You’ve just created a beautiful, custom accent wall with your own two hands. It's a really good feeling, I promise. Then, it’s time to add the finishing touches. Fill in any nail holes, and give the wall a final clean. And just like that, you have a Pinterest-worthy wood accent wall that you can be proud of.
Tool | Use |
|---|---|
Stud Finder | Locate studs for secure nailing |
Level | Ensure planks are straight |
Saw | Cut wood to desired lengths |
Nails/Adhesive | Attach wood to wall |
Finishing Touches and Final Thoughts
So, you’ve got your wood accent wall up, looking all kinds of amazing. But we’re not quite done yet. It’s time for the finishing touches. If you stained the wood, consider adding a protective sealant to keep it looking its best. For a more rustic look, you can leave it as is. Take a good look at the wall and make sure all the edges are clean and even. Now, step back and really appreciate what you’ve accomplished. You’ve taken an idea from Pinterest and turned it into a real, tangible piece of art in your home, and that is something to be proud of. It wasn’t always easy, but it was totally worth it.
Remember that the best part about DIY projects is that they reflect your personal style. So, feel free to add your own unique twist to your wood accent wall. Maybe add some decorative hooks, or hang some artwork on it. Make it your own. And now that you’ve done one wall, who knows, maybe you'll be inspired to tackle another one. The possibilities are endless. I've found that once you get the hang of it, it's hard to stop. And the best part is, you get to enjoy the results every single day. So, go ahead, share your creations on social media, and inspire others to create their own Pinterest-worthy wood accent wall. You've got this!
Your Wood Accent Wall Journey Starts Now
Creating a pinterest wood accent wall might seem like a huge undertaking, but it's totally doable with the right inspiration and a bit of know-how. We've explored the vast world of Pinterest for ideas, seen how others have successfully completed their own projects, and hopefully, you've picked up the tips and tricks you need to start planning your own. Remember, it's about adding your own personal touch. Don't be afraid to mix and match wood types, play with patterns, and make it uniquely yours. So, ditch the plain walls, get your hands dirty, and create a space that reflects your style and brings a bit of that sought-after rustic charm into your home. The best part? You'll get to enjoy it every single day.