Table of Contents
Tired of staring at the same old boring walls? Me too! That's where the magic of painted wood accent walls comes in. They're like the superheroes of interior design, swooping in to add personality, texture, and a whole lot of "wow" to any room. Forget those plain, painted surfaces. We're talking about transforming your space with dimension and color. This article is your go-to guide for all things "painted wood accent wall ideas." We’ll explore why these walls are so awesome, get into some creative design concepts that will blow your mind, figure out the best paint choices, and I'll even share some DIY tips to make it happen yourself. Think of this as your personal design adventure, where we’ll take your walls from drab to fab. By the end, you'll be itching to grab a paintbrush and get started. So, let's dive in and unleash your inner designer!
Why Painted Wood Accent Walls Are a Great Idea

Why Painted Wood Accent Walls Are a Great Idea
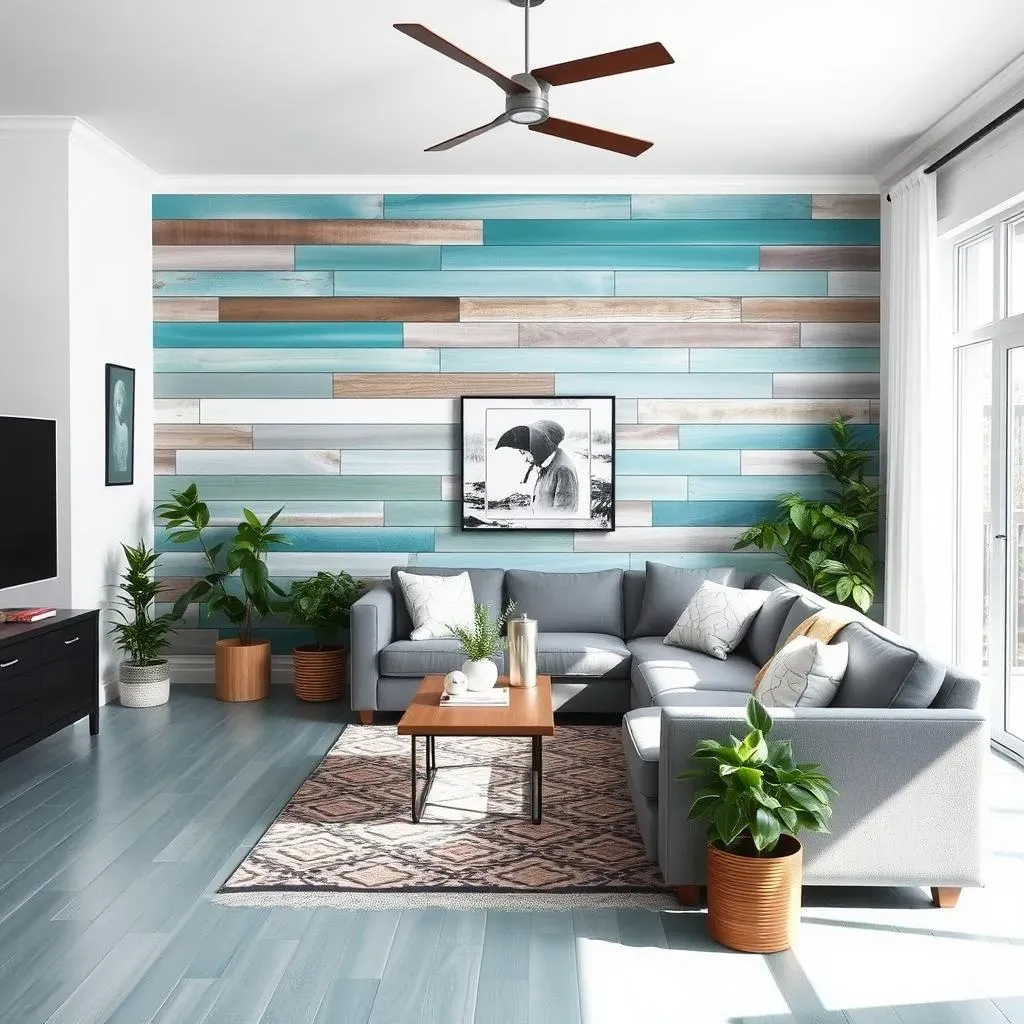
Okay, so you're thinking about spicing up a room, right? Let me tell you, painted wood accent walls are not just a trend; they're a legit game-changer. I mean, who doesn't love a bit of texture and depth? It's like giving your wall a personality makeover. Instead of just a flat, boring surface, you get this amazing focal point that screams, "I'm stylish!" It's an easy way to add interest, it feels more finished, and it's not like some other passing trend that will feel dated in a year or so. They’re super versatile, too. You can go rustic, modern, or totally glam just by changing the paint color and the wood pattern. It’s honestly like having a blank canvas to play with, but way more interesting.
And let's be real, they're not just pretty faces. A wood accent wall can actually make a room feel warmer and cozier. Plus, depending on the wood you use, they can even help with sound absorption – hello, home theater! Think about it, you could be sitting on your couch, enjoying a movie, and your awesome wall is not just looking great but also keeping the echoes down. It’s the perfect blend of style and function, and to be honest, I'm surprised everyone doesn't have one. It really is like adding a piece of art that also serves as a functional element in your home.
Benefit | Description |
|---|---|
Visual Appeal | Adds texture, depth, and a focal point to a room. |
Versatility | Can be adapted to various styles (rustic, modern, glam). |
Warmth and Coziness | Creates a welcoming and comfortable atmosphere. |
Sound Absorption | Can reduce echoes and improve acoustics. |
Creative Painted Wood Accent Wall Ideas
Creative Painted Wood Accent Wall Ideas
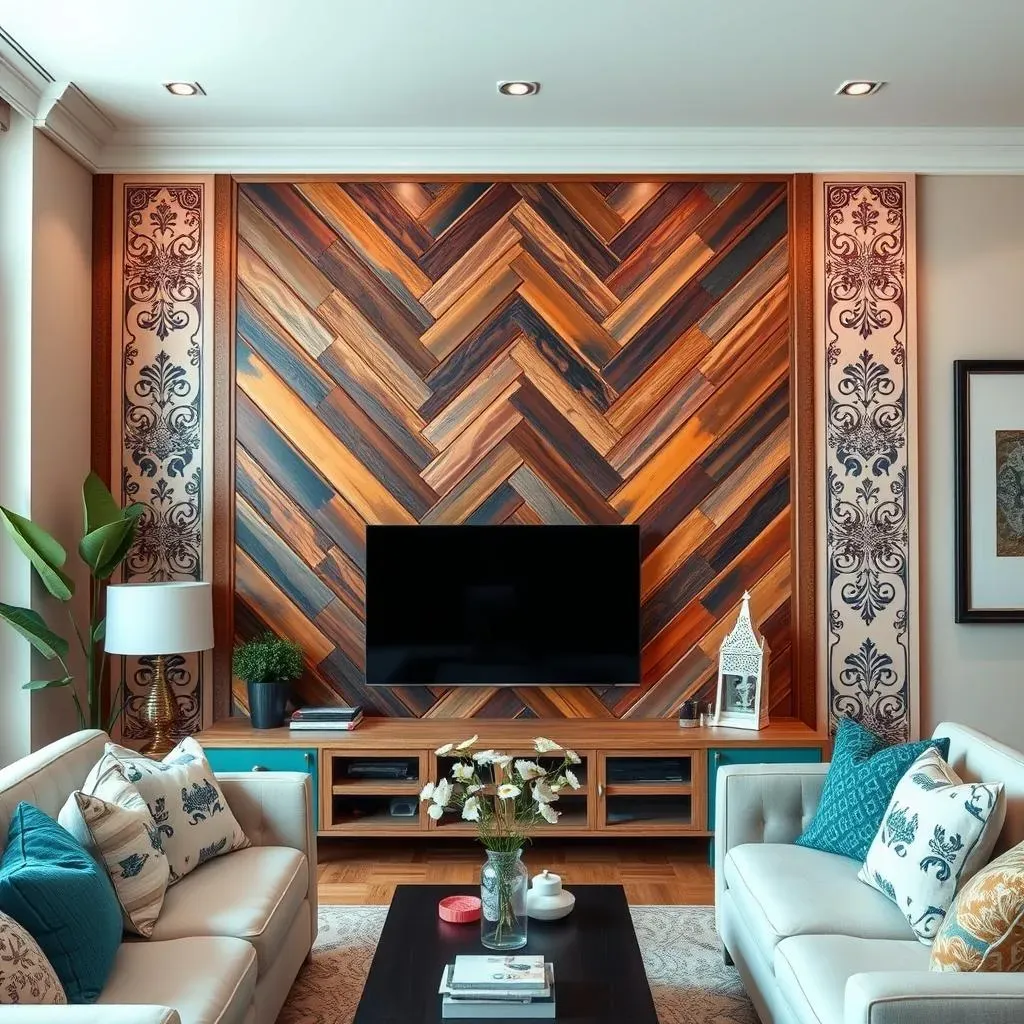
Alright, so you're sold on the idea of a wood accent wall, but now you're thinking, "How do I make it *mine*?" That's where the fun really starts. Forget about just slapping some wood on the wall and calling it a day. We're about to get creative. Think beyond basic horizontal or vertical planks. Why not try a herringbone pattern for a touch of elegance? Or maybe a geometric design that really pops? I saw one that looked like a giant Tetris game, and it was awesome! The possibilities are endless, and that’s what makes this so exciting. It's about injecting your personality into the space.
And let's not forget about color. A bold, vibrant hue can make a statement, while a soft, pastel shade can create a calming atmosphere. It's not just about the wood; it's about how you use the paint to bring it to life. You can create an ombré effect, try color blocking, or even use stencils to add intricate designs. I’ve even seen people do murals on their wood walls, which is next-level awesome if you’re feeling adventurous. The key is to think about the vibe you're going for and let your creativity run wild. Don't be afraid to experiment. It's just paint, after all, and that's the beauty of it.
- Herringbone: Classic and elegant, great for formal spaces.
- Geometric: Modern and bold, perfect for a contemporary look.
- Ombré: Creates a smooth transition of color for a soft effect.
- Color Blocking: Uses distinct blocks of color for a playful vibe.
- Stencils: Adds intricate patterns and designs.
How to Choose the Right Paint for Your Wood Accent Wall
How to Choose the Right Paint for Your Wood Accent Wall
Picking the Perfect Paint Type
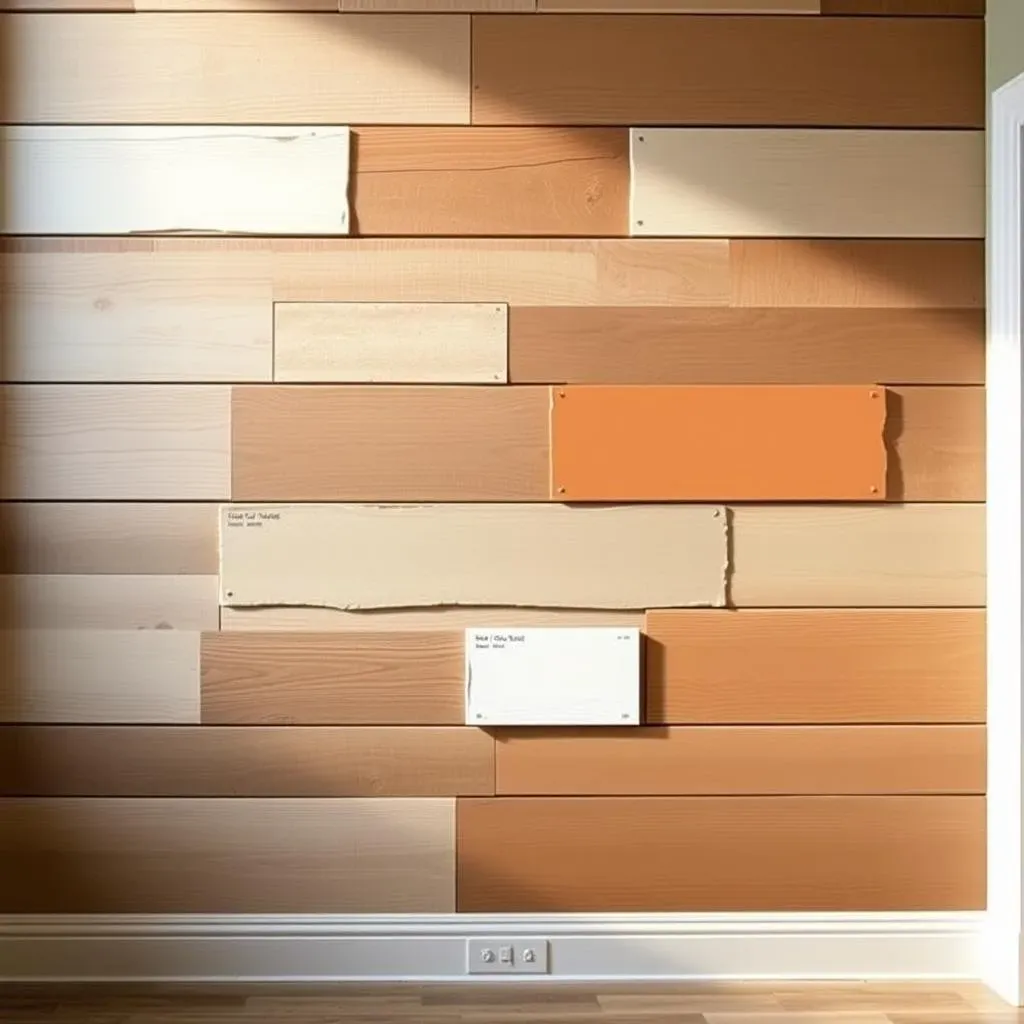
Okay, so you've got your wood, you've got your design, now it's time to talk paint. Not all paints are created equal, especially when it comes to wood. You can't just grab any old can off the shelf and hope for the best. We need to think about durability, finish, and how it’s going to look. I always recommend starting with either a latex or acrylic paint. They're both water-based, which means easy cleanup – a definite plus in my book. Latex is great for most projects, but if you're dealing with a high-traffic area, acrylic might be the way to go because it's a bit more durable.
The finish is also a big deal. Do you want a flat, matte look or something with a bit of shine? Matte finishes are great for hiding imperfections but can be harder to clean. On the other hand, semi-gloss and gloss finishes are more durable and easier to wipe down, but they tend to highlight any flaws on the wood. If you're going for a modern look, a satin finish is usually a good middle ground—it’s durable, easy to clean, and has a subtle sheen. I personally prefer a satin finish because it's not too shiny and it's easy to maintain.
Color Considerations and Undertones
Choosing the right color is where things get really fun, but it can also be a bit overwhelming. Start by thinking about the overall vibe of the room. Do you want a bold statement or something more subtle? Also, consider the existing colors in the space. You want your accent wall to complement, not clash. Don't forget about undertones either – they can make a huge difference. A warm white might have yellow undertones, while a cool white might have blue ones.
And here's a pro tip: always test your paint color on a small piece of wood before committing to the entire wall. Paint can look different in different lighting, so it’s super important to see how it looks in your space both during the day and at night. I once painted an entire room a color that looked amazing on the chip, but it turned out to be way too intense once it was on the walls. Lesson learned! Don't be afraid to get some samples and live with them for a few days before making your final decision.
Paint Type | Pros | Cons |
|---|---|---|
Latex | Easy cleanup, good for most projects | Less durable in high-traffic areas |
Acrylic | Very durable, great for high-traffic areas | Can be more expensive |
Matte Finish | Hides imperfections | Harder to clean |
Semi-Gloss/Gloss Finish | Durable, easy to clean | Highlights imperfections |
Satin Finish | Good balance of durability and aesthetics | May not hide imperfections as well as matte |
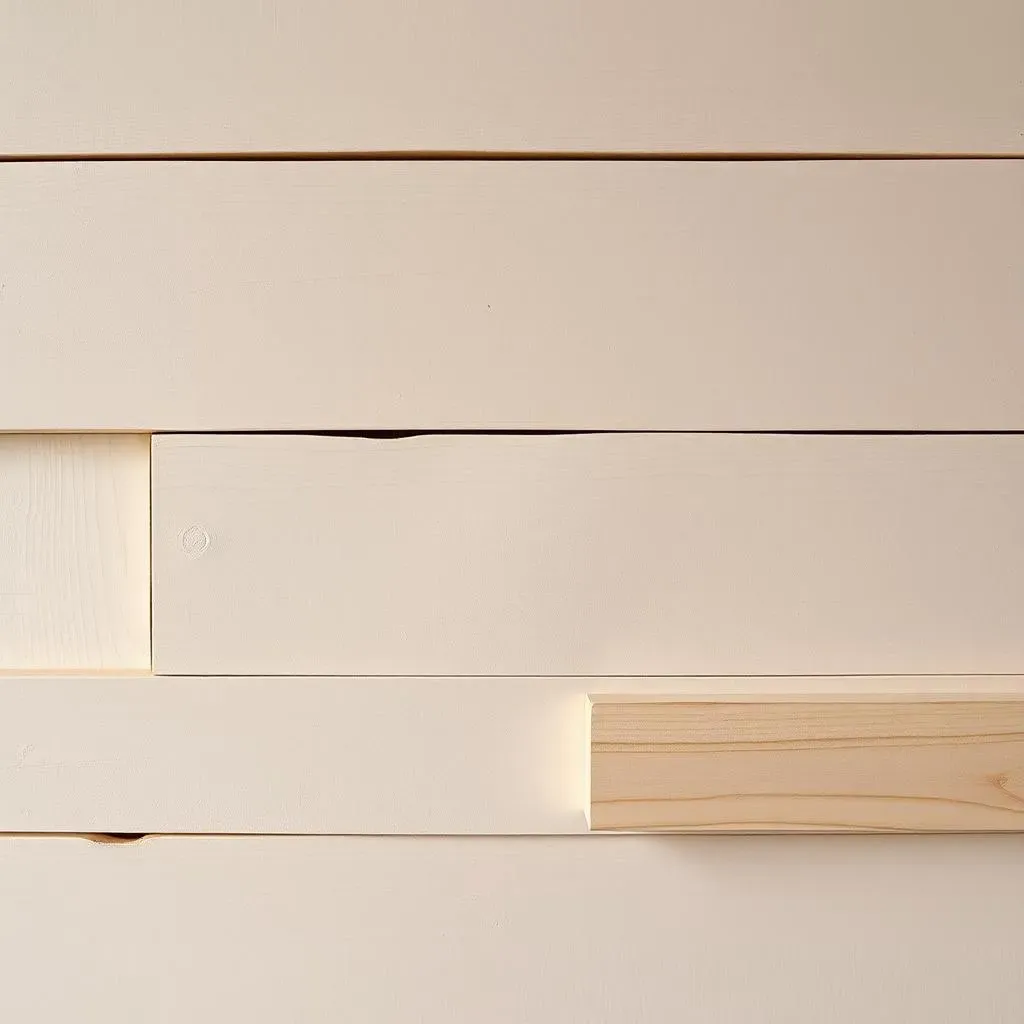
Priming and Preparation: The Key to Success
Before you even think about cracking open that paint can, you need to make sure your wood is properly prepped. This is where priming comes in and trust me, don't skip this step. Priming is like the foundation of a house; it helps the paint adhere better and gives you a more even finish. It also helps prevent the wood from absorbing the paint unevenly, which can result in a blotchy look.
I always recommend using a high-quality primer specifically designed for wood. Apply one or two coats, letting it dry completely between each coat. Once the primer is dry, lightly sand the surface to remove any bumps or imperfections. Wipe away the dust with a damp cloth, and you're ready to paint. It might seem like a lot of extra work, but it's worth it in the long run. Proper prep is the key to a professional-looking painted wood accent wall. Remember, a little bit of extra effort at the beginning saves you a lot of headaches later on.
DIY Tips for Installing a Painted Wood Accent Wall
DIY Tips for Installing a Painted Wood Accent Wall
Tools and Materials You'll Need
Okay, so you're ready to dive into the DIY world of wood accent walls? Awesome! But before you start swinging a hammer, let's make sure you've got all your ducks in a row. First off, you'll need some essential tools. Think of them as your trusty sidekicks on this project. A good quality level is a must – you don't want a wonky wall. A measuring tape will be your best friend to make sure everything is aligned. You will need a saw, whether it's a hand saw or power saw, to cut the wood to the right size. A nail gun or hammer and nails will attach the wood to the wall. And don't forget safety glasses – nobody wants a splinter in the eye.
As for materials, obviously you'll need the wood itself. Choose whatever wood type and size you like; it's your masterpiece! Make sure you buy enough wood to cover the wall. Primer, paint, and brushes are essential for getting the desired color and finish. Finally, you might want to grab some wood filler to fill any nail holes or gaps for a smooth, polished look. Trust me, having all of this before you get started will make your life so much easier and the whole process smoother. I remember once trying to start a project without a level and it was a complete disaster. Learn from my mistakes!
Tool/Material | Purpose |
|---|---|
Level | Ensures the wood is straight and even. |
Measuring Tape | Accurately measures the wood and wall. |
Saw | Cuts the wood to the desired size. |
Nail Gun/Hammer and Nails | Attaches the wood to the wall. |
Safety Glasses | Protects your eyes. |
Wood | The material for your accent wall. |
Primer | Prepares the wood for paint. |
Paint and Brushes | Adds color and finish. |
Wood Filler | Fills nail holes and gaps. |
Step-by-Step Installation Guide
Alright, you've gathered your tools and materials, and you're ready to turn your wall into a work of art. First things first, make sure your wall is clean and dry. No one wants to install wood over a dusty surface. Next, measure your wall and decide on your wood layout. Once you have your measurements, cut your wood pieces to size. Starting with the first piece, apply construction adhesive to the back, and position it on the wall, using your level to make sure it's straight. Use your nail gun or hammer and nails to secure it in place. Keep going, piece by piece, until you have your entire wall covered.
Once all the wood is up, it’s time to fill any nail holes or gaps with wood filler. Let it dry completely, then sand the surface until smooth. Now, you're ready to prime your wall. Apply one or two coats of primer, letting it dry completely between coats. Finally, it's time to paint! Apply your chosen color and finish, and voila, you have an amazing painted wood accent wall. I know it might sound like a lot, but if you take it step by step, it’s totally manageable. And trust me, the feeling of accomplishment when you finish is amazing!
- Clean the Wall: Remove any dust and debris.
- Measure and Plan: Determine wood layout.
- Cut the Wood: Use a saw to cut the wood to size.
- Attach the Wood: Use construction adhesive and nails.
- Fill Holes and Gaps: Use wood filler and sand smooth.
- Prime the Wall: Apply one or two coats of primer.
- Paint the Wall: Apply your chosen color and finish.