Table of Contents
Ready to add a touch of magic to your home? Forget boring walls! This article is your ultimate guide to the captivating world of ombre accent wall paint ideas. We'll explore how to transform a plain wall into a stunning focal point using the mesmerizing gradient effect of ombre. Get ready to discover a rainbow of possibilities, from soft and subtle transitions to bold and dramatic color shifts. We'll walk you through choosing the perfect color palettes to suit your style and the mood you want to create in your space. Whether you're a seasoned DIYer or a complete beginner, our step-by-step guide will equip you with the knowledge and confidence to paint your own breathtaking ombre accent wall. Prepare to be amazed by the incredible impact this simple technique can have on your home's décor. Let's dive into the vibrant world of ombre accent wall paint ideas and unlock your creativity!
Transform Your Space with Ombre Accent Wall Paint Ideas

Transform Your Space with Ombre Accent Wall Paint Ideas
The Power of the Ombre Effect
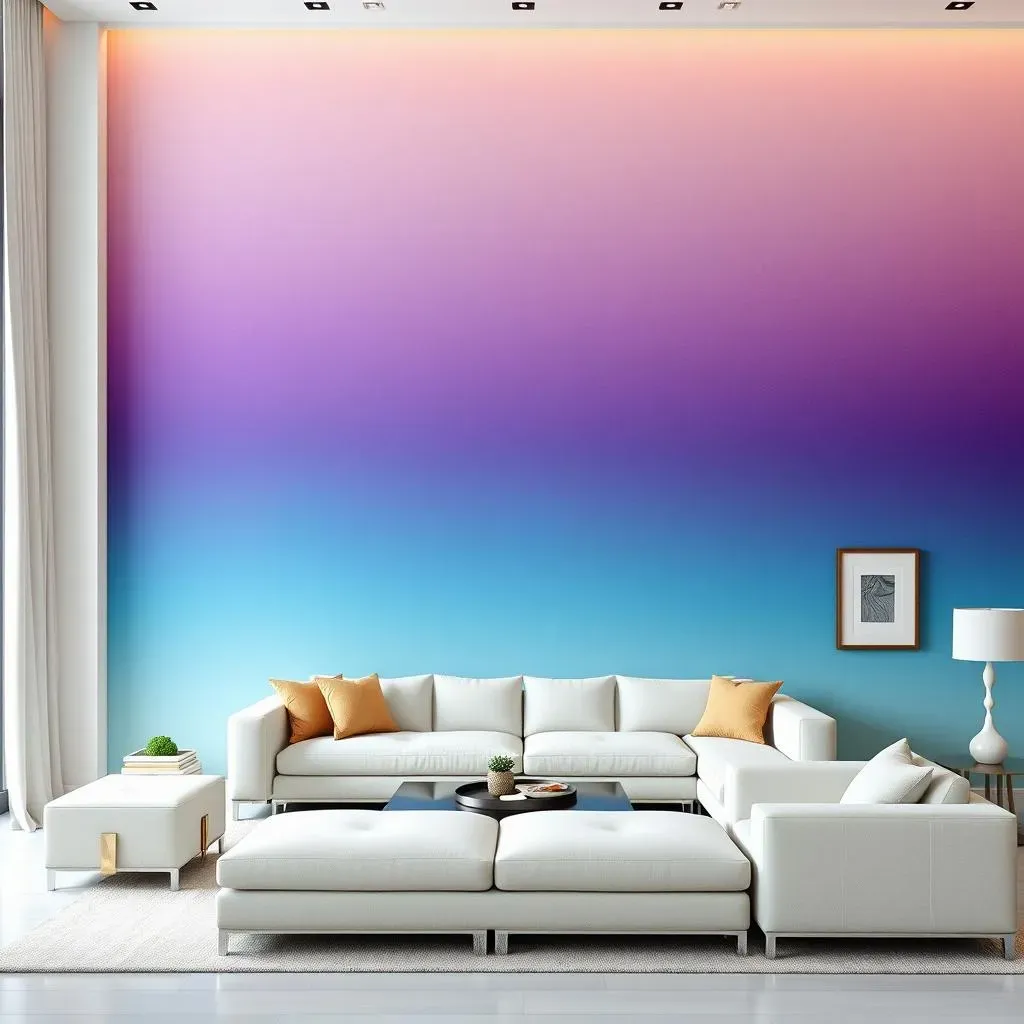
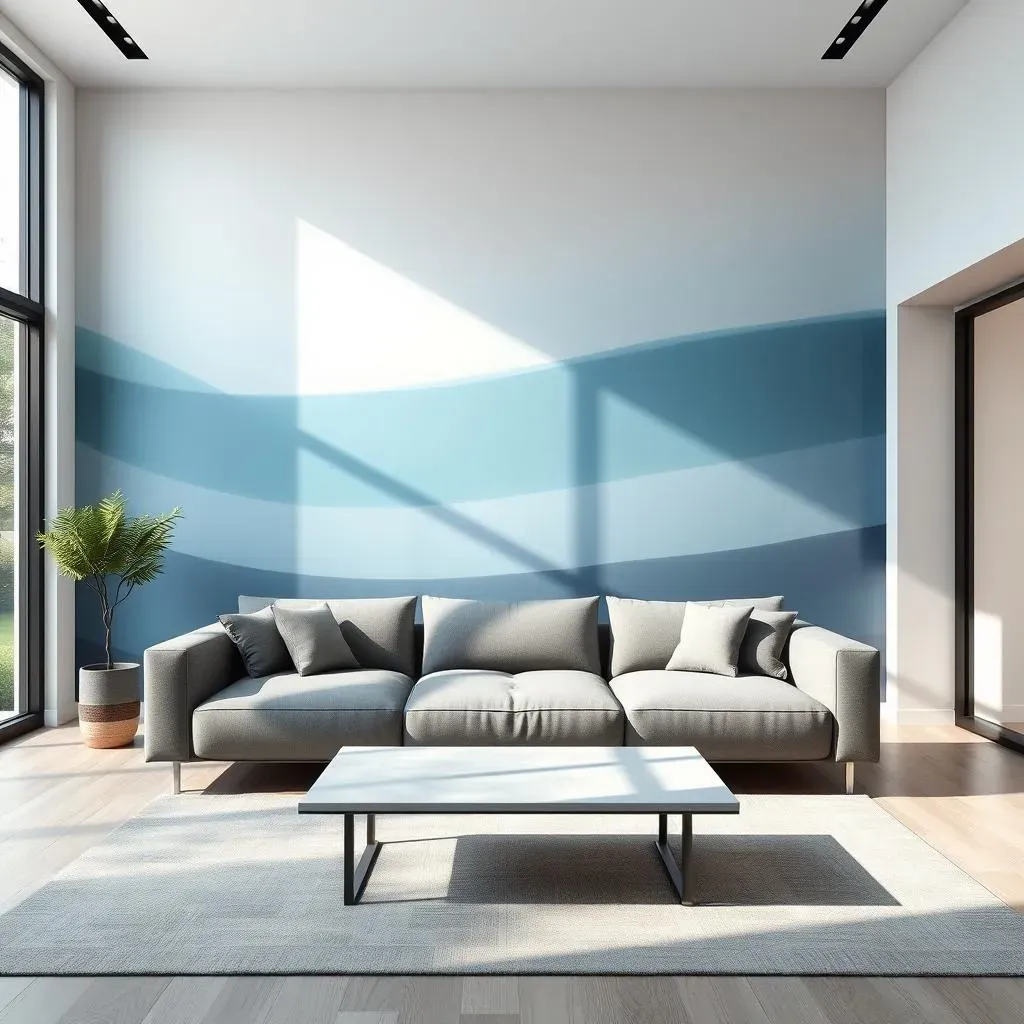
Imagine walking into a room and being instantly captivated by a wall that seems to shift and change before your eyes. That's the magic of an ombre accent wall. The subtle gradation of color creates a sense of depth and movement, adding a unique visual interest that a single, solid color simply can't match. It's like a whisper of color, a gentle transition that elevates the entire room. Think of it as a visual melody, a harmonious blend that sets the perfect tone for your space. A well-executed ombre wall can completely transform the feel of a room, making it feel more spacious, more inviting, or even more dramatic, depending on your color choices. And the best part? It's surprisingly easy to achieve!
Want to add some serious wow factor to your living room? Check out these living room accent wall ideas for inspiration. They'll show you how easy it is to create a stunning focal point, and you’ll be surprised at the difference a little paint can make.
Room | Ombre Effect | Mood |
|---|---|---|
Bedroom | Soft pastel ombre | Calming and serene |
Bathroom | Ocean-inspired blue ombre | Relaxing and spa-like |
Dining Room | Rich jewel-tone ombre | Elegant and sophisticated |
Beyond the Basics: Exploring Different Ombre Styles
While the classic ombre effect involves a smooth blend from one color to another, there are countless variations you can explore. You can create a dramatic two-tone effect for a bold statement, or opt for a softer, multi-toned ombre for a more subtle look. Consider incorporating metallic accents or textured finishes to add another layer of complexity and visual interest. A vertical ombre can make a room feel taller, while a horizontal ombre can draw the eye across the space. The possibilities are endless, and the best approach depends entirely on your personal style and the overall aesthetic of your room. Don't be afraid to experiment and find what works best for you.
For those who love a bit of geometric flair, these geometric accent wall ideas offer a unique twist on traditional ombre. They combine the best of both worlds – the smooth transitions of ombre with the sharp lines of geometry.
- Two-tone ombre
- Multi-toned ombre
- Metallic ombre
- Textured ombre
Ombre: The Unexpected Design Element
An ombre accent wall isn't just about color; it's about creating a mood, a feeling, a story within your space. It's a design element that can subtly influence the energy of a room, making it feel more vibrant, more calming, or more dramatic. It can be the perfect complement to existing furniture and decor, or it can serve as the bold statement piece that anchors the entire room's design. Think of it as a blank canvas waiting for your personal expression. Let your creativity flow, and don't be afraid to experiment with different color combinations and techniques until you find the perfect ombre accent wall that speaks to your soul.
If you are considering a more dramatic look, you might find inspiration in our collection of bold accent wall colors. These vibrant shades can add a truly unique touch to any room.
Choosing the Perfect Colors for Your Ombre Accent Wall Paint Project
Understanding Color Harmony
Picking the right colors is key to a successful ombre wall. Think about the mood you want to create. Calming blues and greens work wonders in bedrooms, while bolder reds and oranges can add energy to a living room. You can use a color wheel to find complementary or analogous colors that work well together. Consider the existing décor in the room – your furniture, rugs, and artwork will all influence your color choices. Don't be afraid to experiment with different combinations before you commit to anything. Sometimes, the most unexpected pairings create the most stunning results!
Need some inspiration for your bedroom? Check out these bedroom accent wall ideas to get your creative juices flowing. They’ll help you choose the perfect color scheme for a truly relaxing space.
Color Combination | Mood | Best For |
|---|---|---|
Blues and Greens | Calm and Serene | Bedrooms, Bathrooms |
Warm Oranges and Yellows | Cheerful and Energetic | Living Rooms, Kitchens |
Deep Purples and Reds | Dramatic and Sophisticated | Dining Rooms, Home Offices |
Light and Shade: Mastering the Gradient
Once you've chosen your colors, it's time to think about the gradient. A smooth, subtle transition creates a soft, ethereal look, while a more dramatic shift can add a bold statement. Consider the size of your wall – a larger wall can handle a more complex gradient with multiple shades, while a smaller wall might look better with a simpler two-tone effect. Think about the direction of your ombre – a vertical ombre can make a room feel taller, while a horizontal ombre can create a sense of width. The key is to create a visually appealing flow that complements the overall design of your room.
If you're working with a smaller space, these paint color ideas for small rooms can help you maximize the impact of your ombre wall. They’ll guide you toward color choices that make the room feel larger and brighter.
- Subtle Gradient: Smooth transition between similar shades
- Dramatic Gradient: Bold shift between contrasting colors
- Vertical Gradient: Makes a room feel taller
- Horizontal Gradient: Creates a sense of width
Testing and Refinement: The Importance of Samples
Before you dive into painting the entire wall, it's crucial to test your color choices. Purchase small sample pots of your chosen paints and create a test ombre on a piece of cardboard or a spare section of wall. This allows you to see how the colors interact in your specific lighting conditions and get a feel for the final look. You can adjust the shades or the gradient as needed until you're completely satisfied with the result. Remember, this is your chance to experiment and perfect your vision before committing to the entire wall.
For a truly unique look, consider exploring these two-tone accent wall ideas. They offer a simplified approach to the ombre effect, perfect for beginners.
StepbyStep Guide: Painting Your Dream Ombre Accent Wall
Prep Work: Gathering Your Supplies and Preparing the Wall
Before you even think about picking up a paintbrush, you need to get organized! Gather your supplies: You'll need your chosen paints (in sample sizes initially, then full gallons once you've finalized your color choices!), several rollers (different sizes for better coverage and blending), paint trays, painter's tape (to protect adjacent walls and create clean lines if desired), a paintbrush (for cutting in edges), a drop cloth to protect your floor, and a measuring tape. Next, prepare your wall: Clean it thoroughly to remove any dust or debris. If the wall is previously painted, you might need a primer to ensure the new paint adheres well. For a truly professional finish, consider lightly sanding the wall before painting to create a smooth surface. A little prep work goes a long way towards ensuring a stunning result!
If you're feeling adventurous and want to add some stripes to your ombre wall, check out these striped accent wall ideas for inspiration. They'll give your ombre wall a unique twist.
- Paints (in sample sizes and full gallons)
- Rollers (various sizes)
- Paint trays
- Painter's tape
- Paintbrush
- Drop cloth
- Measuring tape
Painting the Ombre: Techniques for a Seamless Blend
Now for the fun part! Start by marking your wall to guide your color transitions. Use painter's tape to section off areas if you want clean lines between color sections. Otherwise, freehand it! Apply the darkest shade at the bottom, working your way up to the lightest shade at the top. The key is to blend the colors seamlessly, so work quickly and smoothly, using overlapping strokes to avoid harsh lines. Don't be afraid to experiment with different techniques – some painters use a wet-on-wet blending method, while others prefer to slightly dry each coat before applying the next. The best method depends on your chosen paints and your personal preference. Remember to work in sections, ensuring you have enough paint for each area. Take your time and enjoy the process!
For those looking for a more textured look, check out our guide on textured accent wall paint ideas. They offer a unique, tactile element to your wall design.
Step | Action | Tip |
|---|---|---|
1 | Mark wall sections | Use painter's tape for straight lines |
2 | Apply darkest shade | Work from bottom to top |
3 | Blend colors seamlessly | Use overlapping strokes |
4 | Work in sections | Ensure sufficient paint |
