Table of Contents
Ever walked into a space and felt instantly drawn to a wall, a feature that just oozed character and warmth? That's the magic of an old wood accent wall. It's not just a wall; it's a statement, a piece of history, and a touch of nature all rolled into one. Forget boring, flat surfaces – we're talking about adding texture, depth, and a whole lot of personality to your home. This article isn't about generic, cookie-cutter designs; it's a journey into the world of reclaimed wood and how you can use it to create something truly special. We’ll explore how to source the perfect pieces, the different styles you can achieve, and even some tips for installing your own old wood accent wall. Get ready to be inspired, because by the end of this, you'll be itching to transform your space with the timeless charm of old wood. From rustic farmhouse to sleek modern designs, an old wood accent wall can fit into any home, let's find the perfect style for you.
Reclaimed Wood: The Heart of a Rustic Accent Wall
Reclaimed Wood: The Heart of a Rustic Accent Wall
The Allure of Reclaimed Wood
Let's be real, there's just something about reclaimed wood that screams character. It's not your run-of-the-mill lumber; it's wood with a story, wood that has lived a life. Think about it, each plank has its own unique history, its own set of imperfections – nail holes, knots, and weathered patinas – that tell a tale. It’s like giving a piece of the past a new chapter in your home. Using reclaimed wood for an accent wall isn't just about following a trend; it's about bringing a touch of authenticity and warmth into your space. It’s about choosing something that’s both beautiful and sustainable, which is a win-win if you ask me.
The beauty of reclaimed wood lies in its imperfections. These aren't flaws; they're what make each piece unique. Imagine a wall that’s not just a flat surface but a textured landscape of varied colors and grains. It's this variation that makes reclaimed wood so captivating. You can find wood from old barns, factories, and even demolished homes. Each source brings its own distinctive look and feel, which means your accent wall will be one-of-a-kind. It's like having a piece of art that’s also part of your home’s structure. Plus, using reclaimed wood is a great way to be eco-conscious, giving old materials a new purpose instead of letting them go to waste.
Feature | Description |
|---|---|
Unique Character | Each piece has its own history and imperfections. |
Sustainability | Reuses old materials, reducing waste. |
Warmth and Texture | Adds depth and visual interest to any space. |
Finding the Right Reclaimed Wood
so you’re sold on reclaimed wood, but where do you even start looking for it? You can find reclaimed wood at specialty lumber yards, architectural salvage stores, and even online marketplaces. When you're on the hunt, keep your eyes open for different types of wood and finishes. Some might have a rough, weathered look, perfect for a rustic vibe, while others might be smoother and more refined for something a bit more modern. Don't be afraid to mix and match different types of wood to create a truly unique look. It’s all about playing around and finding what speaks to your style. Also, check the wood for any signs of rot or pests, you want your wall to look good and be structurally sound.
When selecting your wood, think about the overall look you're going for. Do you want a wall that's light and airy, or something darker and more dramatic? The color and texture of the wood will play a big part in this. Also, consider the size of the planks. Wider planks will create a more modern feel, while narrower planks might be better suited for a more traditional look. And don’t forget to consider the wood’s thickness; thicker planks will add more depth and dimension to your wall. It's like putting together a puzzle, and you want each piece to fit just right to create the perfect picture.
- Check local lumber yards for reclaimed options.
- Explore architectural salvage stores for unique finds.
- Use online marketplaces for a wider selection.
- Inspect wood for rot or pests before purchasing.
- Mix and match different types of wood for a unique look.
Creating Unique Designs with Old Wood
Creating Unique Designs with Old Wood
Playing with Patterns and Textures
so you've got your reclaimed wood, now what? This is where the fun really begins. Think beyond just slapping planks on a wall. Consider different patterns. Herringbone, chevron, or even a random, staggered layout can create a completely different vibe. It's like deciding on the hairstyle for your wall, a small change can make a big difference. And don't forget about texture. Varying the thickness of the wood, leaving some pieces with their original rough edges, or even adding some 3D elements can create a wall that's as interesting to touch as it is to look at. It’s all about making your wall a focal point, something that draws the eye and sparks conversation.
One cool idea I saw was a wall where they used different wood species to create a color gradient. It went from light to dark, and it looked absolutely amazing. Another idea is to use different widths of wood. It’s a bit like playing with legos, you can create so many different looks. The key is to experiment and not be afraid to try something a little out there. Your old wood accent wall should reflect your personality and style, so have fun with it. And if you make a mistake? Well, it's just another unique detail, right?
Pattern | Description |
|---|---|
Herringbone | Classic V-shape pattern, adds sophistication. |
Chevron | Zigzag pattern, creates a dynamic look. |
Staggered | Random layout, offers a more casual feel. |
Gradient | Arranging wood from light to dark for a smooth transition |
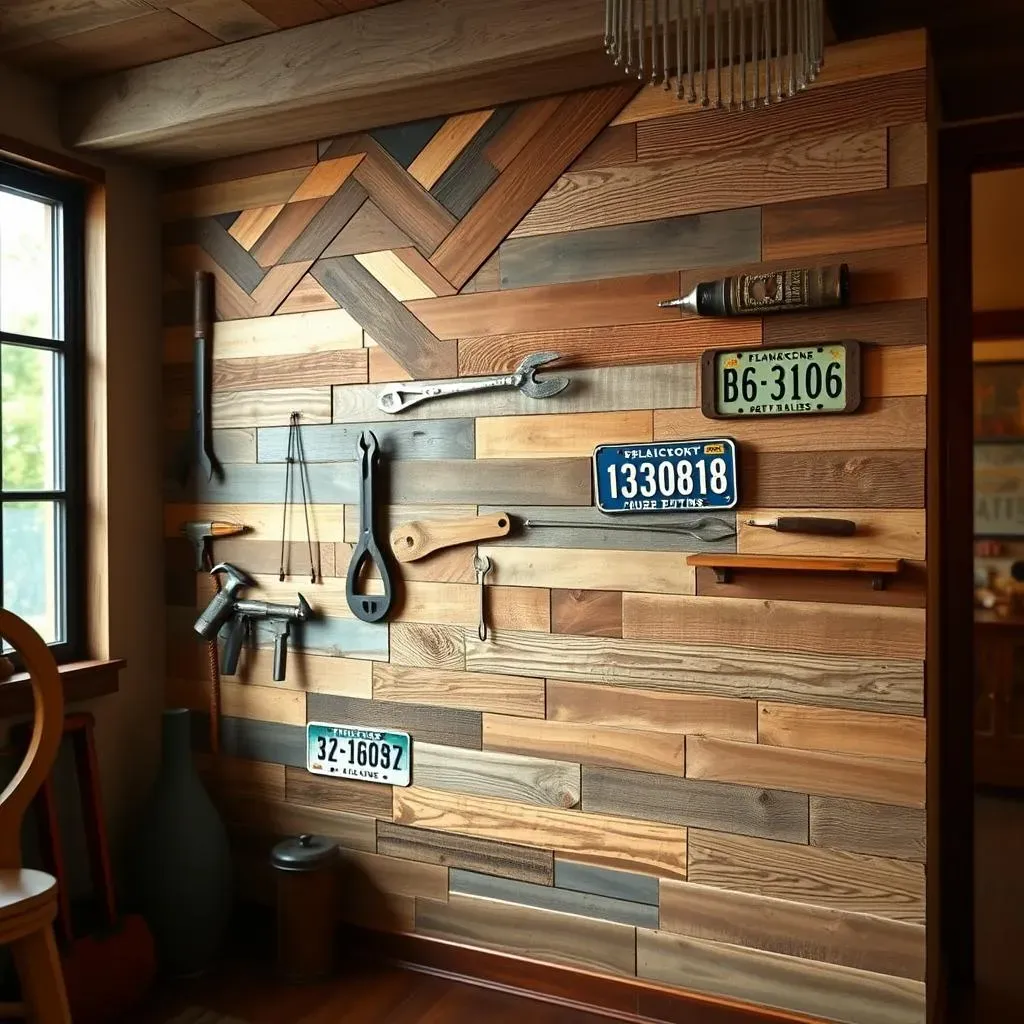
Adding Personal Touches
Your old wood accent wall doesn't have to be just wood. Think about adding some personal touches to make it truly your own. I've seen people use old license plates, metal letters, or even vintage tools to add some extra flair. It’s like giving your wall a scrapbook feel, each item telling a story. You can also incorporate lighting into your design. String lights, spotlights, or even recessed lighting can highlight the texture of the wood and create a cozy atmosphere. It’s all about layering elements to create a wall that’s not only visually appealing but also feels like an extension of your personality. Remember, it’s your space, so make it uniquely yours.
When you are adding personal touches, think about your home's existing style. If you have a more modern space, you might want to stick with simple, clean lines and minimal additions. If your style is more rustic, you can go wild with all sorts of found objects. The key is to make sure that whatever you add feels intentional and not just like clutter. Don’t be afraid to ask friends for ideas or even just browse Pinterest for inspiration. It’s your chance to showcase your creativity and create something that’s both beautiful and meaningful.
Finishing Touches and Sealants
Once your design is up and looking amazing, you might be thinking “am I done?”. Well, almost! Depending on the look you’re going for, you might want to add a sealant or finish to your wood. A clear sealant can protect the wood from moisture and dust without changing its natural appearance. If you want to bring out the wood’s natural color, you can use a stain or varnish. And if you’re going for a more rustic look, you might just want to leave it as is. It's like giving your wall a final polish, and it's a step you don't want to skip. It can make all the difference in how it looks and how long it lasts.
When choosing your sealant or finish, make sure it's suitable for interior use and that it won't yellow over time. You also want to choose something that's easy to apply. Most sealants come in a spray or brush-on formula, so it shouldn’t be too difficult. And when you are applying it, make sure to follow the manufacturer's instructions and work in a well-ventilated area. It’s all about taking those extra steps to make sure your wall is not only beautiful but also durable and long-lasting.
Old Wood Accent Walls: From Farmhouse to Modern
Old Wood Accent Walls: From Farmhouse to Modern
Rustic Charm: The Farmhouse Appeal
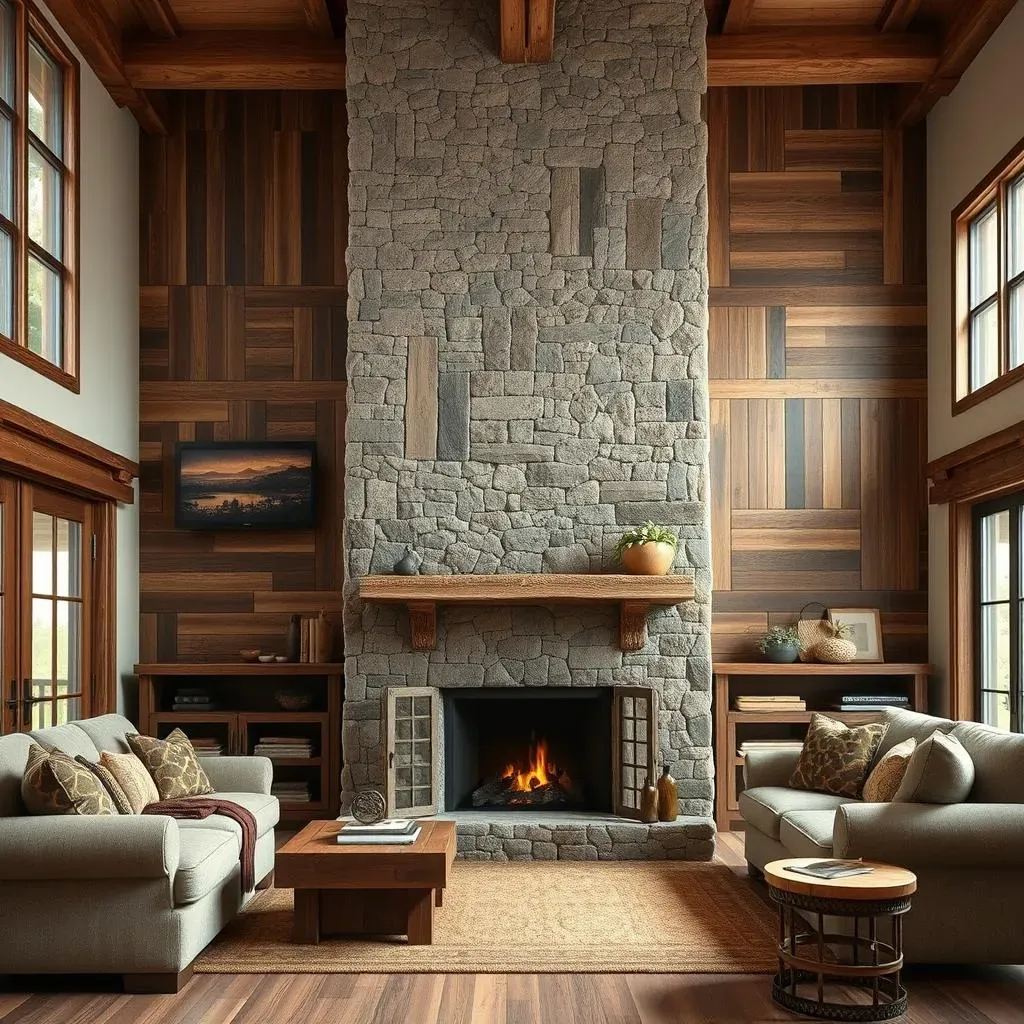
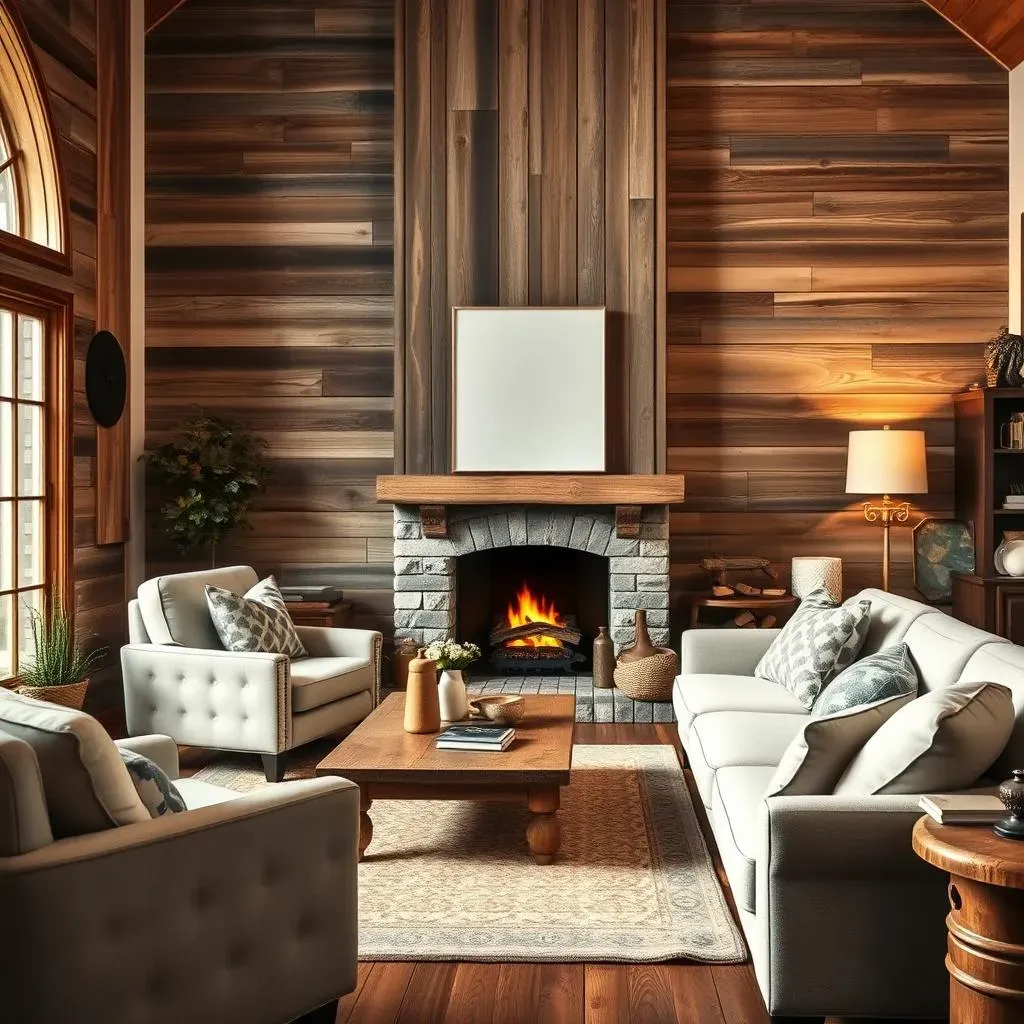
So, you're thinking farmhouse, huh? An old wood accent wall is like the heart of that style, it just fits right in. Think warm, inviting, and a little bit rough around the edges – that’s the farmhouse vibe. We're talking about wood with plenty of character, maybe some faded paint, or those perfect imperfections that tell a story. The goal here isn't perfection; it's about creating a space that feels lived-in and comfortable. Imagine a cozy living room with a fireplace, and then, there's your old wood accent wall, the perfect backdrop for a relaxed evening. It’s a timeless look that never goes out of style. You can play around with different shades of brown or gray, or even add some white-washed planks for a lighter feel. It's all about creating that cozy, welcoming atmosphere that makes you want to curl up with a good book.
For a true farmhouse feel, you might want to consider using wider planks, maybe with a bit of a rough texture. It’s like bringing a piece of the barn right into your home. And don’t be afraid to mix and match different types of wood. Some weathered oak or pine can add a ton of character. You can also incorporate some shiplap for a more traditional farmhouse look. The key is to keep it natural and authentic. The wood should look like it’s been there for a while, like it’s part of the history of the house. It’s this sense of history that makes a farmhouse style so appealing. And it’s a style that will never feel outdated.
Farmhouse Element | Description |
|---|---|
Weathered Wood | Faded paint, natural imperfections. |
Wide Planks | Creates a more traditional feel. |
Shiplap | Adds a classic farmhouse touch. |
Sleek Lines: The Modern Twist
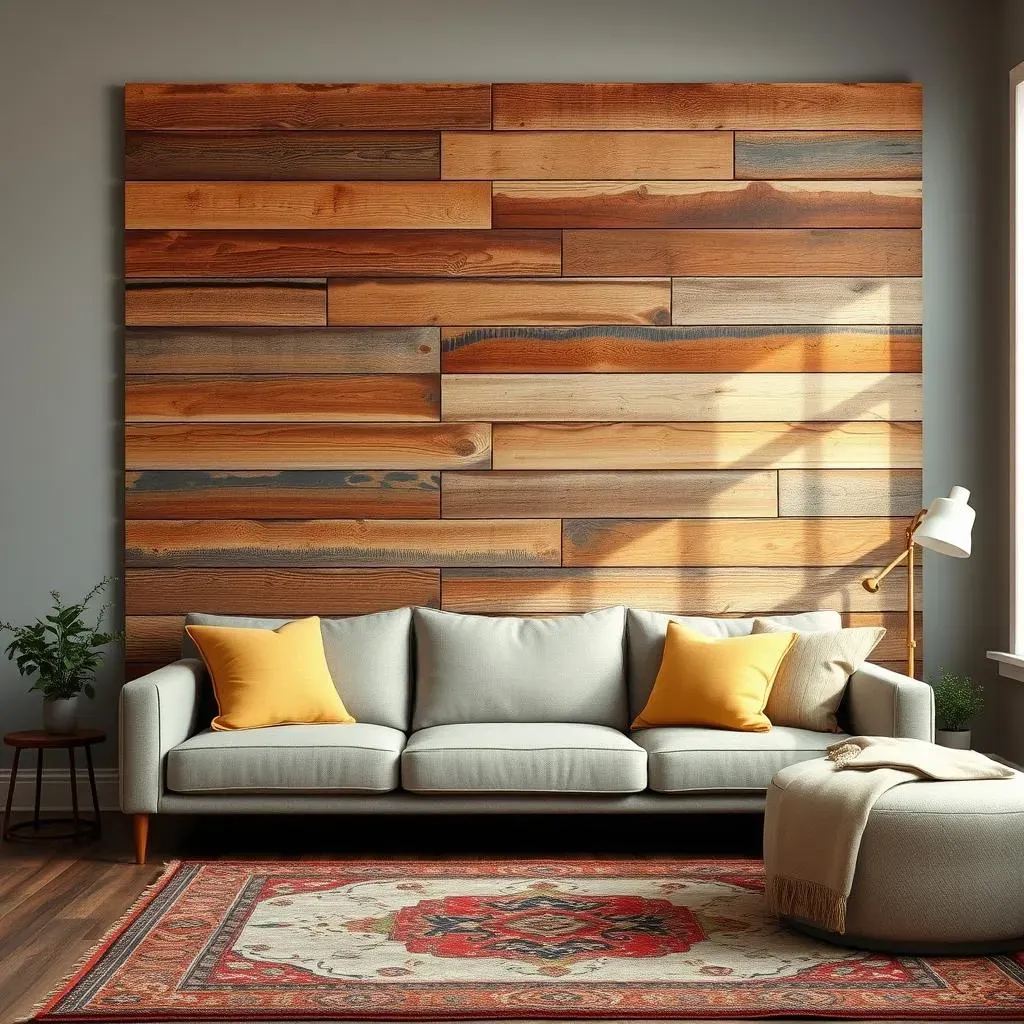
Now, let’s switch gears and talk modern. You might think old wood doesn't fit into a modern space, but you would be wrong. An old wood accent wall can add warmth and texture to a sleek, modern design. The key is to keep things clean and simple. Think smooth, even planks, maybe with a darker stain. It's about creating a contrast between the raw, natural feel of the wood and the clean lines of the modern style. Imagine a minimalist living room with a concrete floor, and then, there’s your old wood accent wall, adding a touch of warmth and organic texture. It's a way to bring the outdoors in, without sacrificing that modern aesthetic.
For a more modern approach, you might want to consider using narrower planks or even creating a geometric pattern. Dark stains, like ebony or walnut, can give the wood a more sophisticated look. You can also pair the wood with other modern materials like steel or glass. It’s all about finding that perfect balance between old and new, raw and refined. A modern old wood accent wall is a statement piece, something that adds both visual interest and a sense of warmth to the space. It's a way to make a modern space feel more inviting and less sterile. And it shows that you can have the best of both worlds, rustic charm and sleek sophistication.
- Use smooth, even planks
- Opt for darker stains like ebony or walnut
- Incorporate geometric patterns
- Pair with modern materials like steel or glass
DIY Old Wood Accent Walls and Installation Tips
DIY Old Wood Accent Walls and Installation Tips
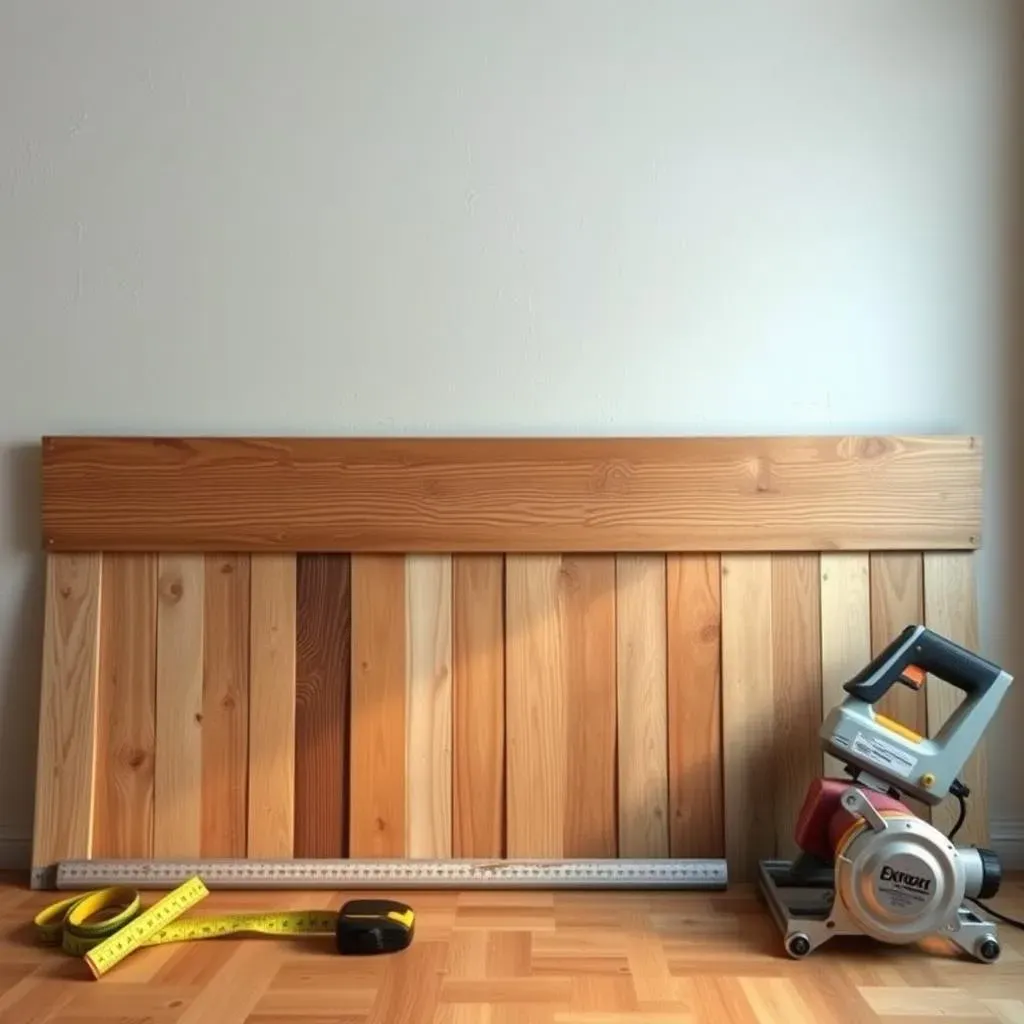
Tools and Materials You'll Need
Alright, so you're ready to get your hands dirty and build your own old wood accent wall? Awesome! Before you start, let's make sure you've got all the right tools and materials. You're gonna need a level, a measuring tape, a saw (a miter saw is great if you have one, but a hand saw will do the trick too), a nail gun or a hammer and nails, and some construction adhesive. Oh, and don't forget safety glasses and gloves, you know, for the whole not-getting-splinters thing. You’ll also need your reclaimed wood, of course, and some spacers to keep the gaps consistent if you want a uniform look. It’s like prepping for a cooking show, you gotta have all your ingredients and utensils ready before you start.
Beyond the basics, you might want to have a stud finder to help you locate the studs in your wall, which will make securing the wood easier. A pencil is also a must for marking cuts and placements. And if you’re planning on adding any personal touches, like metal letters or lighting, make sure you have the necessary hardware for those as well. It’s always better to be over-prepared than under-prepared, right? Trust me, having everything you need on hand will make the whole process way smoother and more enjoyable. It's like having a well-organized toolbox, it just makes everything easier and more efficient.
Tool/Material | Purpose |
|---|---|
Level | Ensures planks are straight |
Measuring Tape | Accurate measurements |
Saw | Cutting wood to size |
Nail Gun/Hammer & Nails | Securing wood to wall |
Construction Adhesive | Extra hold for wood |
Safety Glasses & Gloves | Protection from splinters |
Stud Finder | Locating studs for secure fastening |
Pencil | Marking cuts and placements |
Step-by-Step Installation Guide
Alright, you've got your tools, your wood, and you're ready to roll! Let's break down the installation process step-by-step. First, you'll want to prep your wall. Make sure it’s clean and free of any dust or debris. If you're working with drywall, you might want to consider using a primer to help the adhesive stick better. Now, it's time to get your measurements. Decide where you want to start your wall and measure the area you plan to cover. This will help you determine how much wood you need and how to cut it. It’s like making a blueprint for your wall, it's important to be accurate.
Next, start placing your first row of wood. Use your level to make sure it’s perfectly straight. Apply construction adhesive to the back of the wood and press it firmly against the wall. Then, use your nail gun or hammer to secure it in place. Use spacers to keep the gaps consistent between planks. Continue this process, row by row, until your wall is complete. If you have any outlets or light switches, you’ll need to cut the wood to fit around them. And when you get to the last row, you might need to cut the wood to fit the space. It’s like building a puzzle, each piece needs to fit just right. And when you're done, you'll have a beautiful old wood accent wall to show off!
- Prep your wall by cleaning it thoroughly.
- Measure the area you plan to cover.
- Start with a level first row.
- Use construction adhesive and nails to secure wood.
- Use spacers for consistent gaps.
- Cut wood to fit around outlets/switches.
Common Mistakes to Avoid
Now, I’m not gonna lie, things can get a little tricky when you’re doing a DIY project. But don’t worry, I’ve got your back! One of the biggest mistakes people make is not leveling the first row of wood. If your first row is off, the whole wall will be off. It’s like building a house on a crooked foundation, it's just not gonna work. Another common mistake is not measuring correctly. Always measure twice and cut once, trust me on this one. And don't forget about the wood itself. Check for any loose pieces or damage before you put it up. It's like inspecting your produce at the grocery store, you want to make sure you’re getting the best.
Another mistake people often make is using the wrong adhesive or nails. Make sure you're using a construction adhesive that's suitable for wood, and that your nails are long enough to go through the wood and into the wall studs. And don’t rush the process. Take your time, be patient, and double-check your work as you go. It’s like writing a great story, it takes time and attention to detail. And if you do happen to make a mistake, don't sweat it. Just take a deep breath, fix it, and keep going. It’s all part of the learning process. And hey, sometimes mistakes can even add a little bit of character to your wall.
Wrapping Up Your Old Wood Accent Wall Journey
So, there you have it. We've explored the beauty and versatility of old wood accent walls, from finding the perfect reclaimed pieces to crafting your own unique designs. Whether you're drawn to the cozy charm of a rustic farmhouse or the sleek lines of a modern space, an old wood accent wall can add that special touch, reflecting your personal style and story. Remember, each piece of wood has its own history, and when you bring it into your home, you're not just decorating; you're adding a layer of character that no paint or wallpaper can replicate. Don't be afraid to experiment, get creative, and most importantly, have fun with your project. The result will be a stunning focal point that you can enjoy for years to come, a testament to the timeless appeal of old wood.