Table of Contents
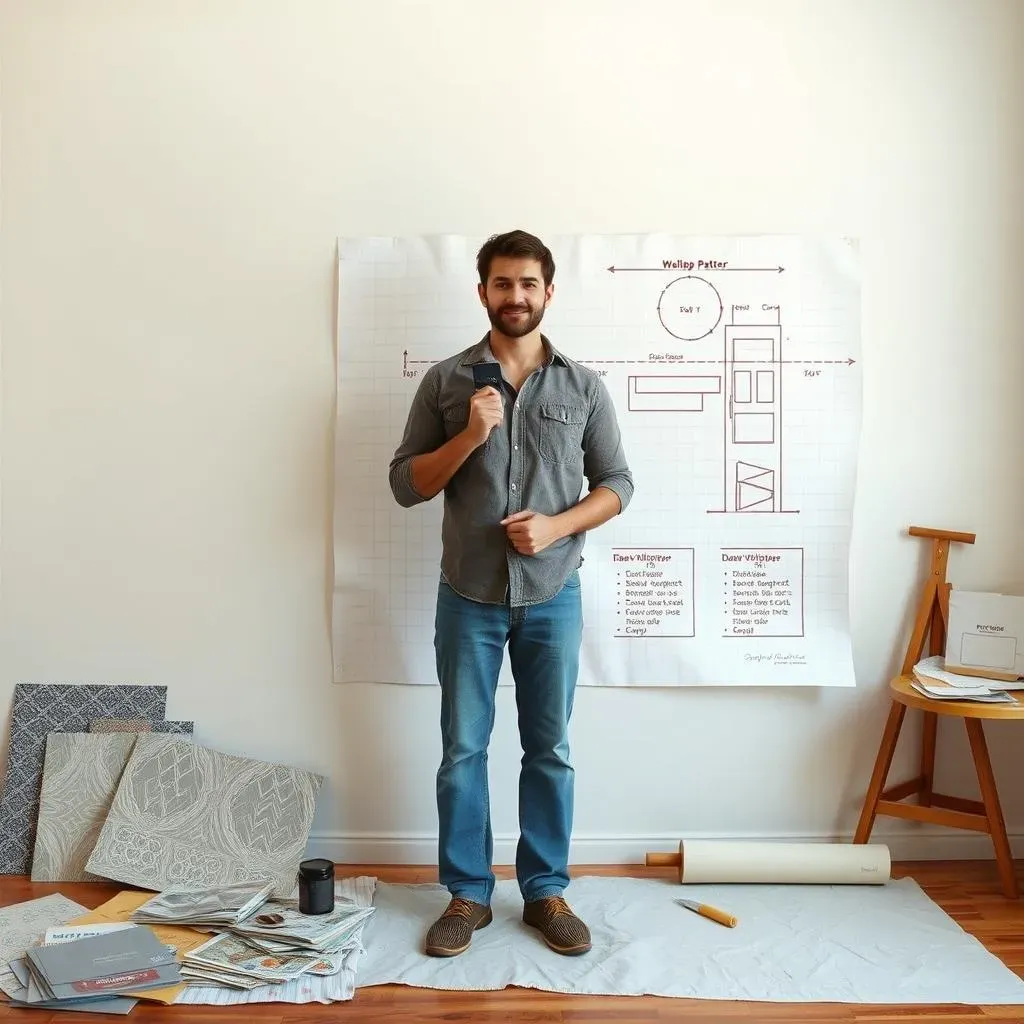
Ever stared at a boring wall and thought, "This needs a serious upgrade"? You're not alone. That's why so many people are turning to accent walls. They're like the statement necklace of interior design – a single wall that packs a punch. But instead of paint, let's talk about wallpaper. Yes, wallpaper! It's not your grandma's floral nightmare anymore. Today’s wallpaper comes in endless patterns, textures, and colors, perfect for adding personality to any room. This guide will show you exactlyhow to wallpaper an accent wall, even if you've never held a wallpaper brush before. We’ll cover everything from choosing the right paper to adding the perfect trim to complete your project. So, grab your tools, and let's get started making that wall the envy of all your friends. Get ready to learn how to transform a space, one strip of paper at a time, and I will share a personal story about how I did this for my daughter's room.
Why Choose an Accent Wall?
Why Choose an Accent Wall?
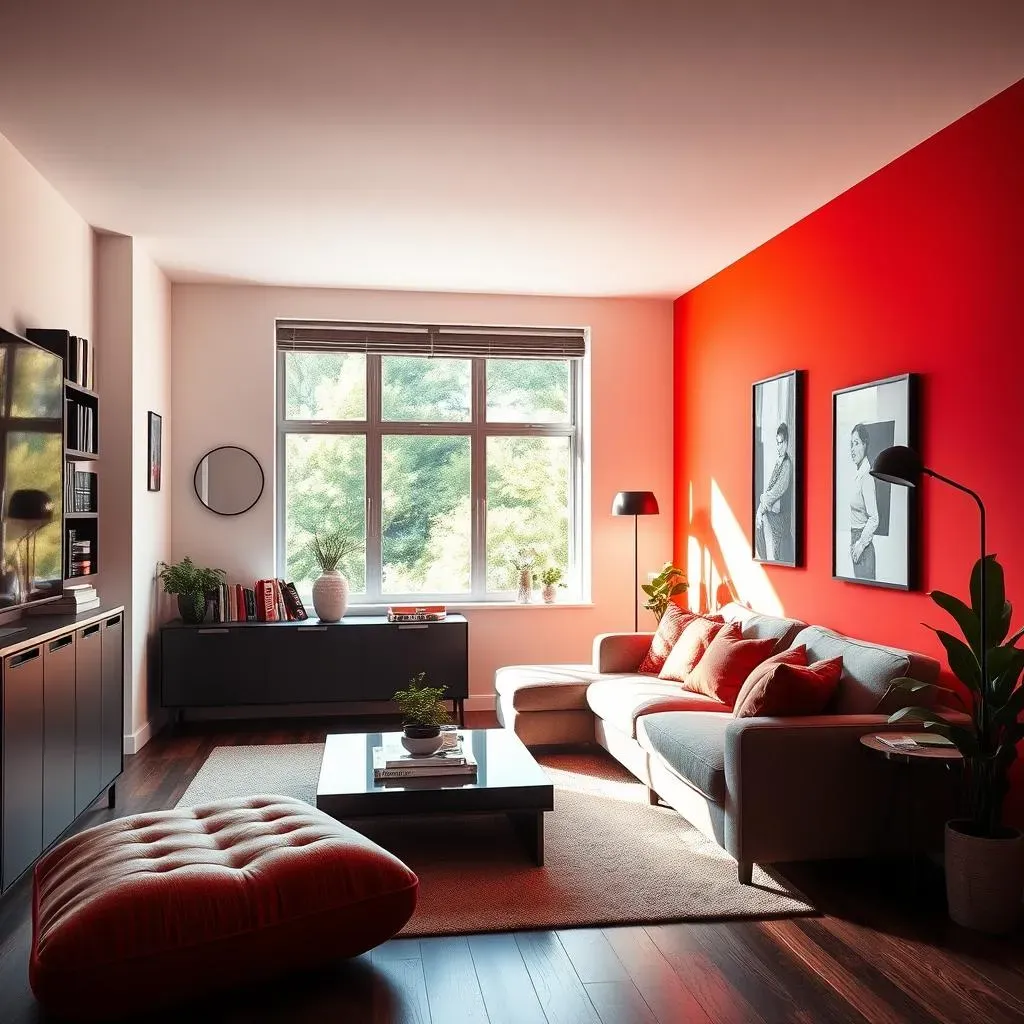
let's be real, staring at four plain walls can feel a bit like being trapped in a cardboard box. An accent wall is like giving that box a personality transplant. It's a fantastic way to inject some style and visual interest into a room without committing to a full-blown wallpaper takeover. Think of it as the highlight reel of your space. It draws the eye, creates a focal point, and can completely transform the vibe of the room. Plus, it's way less work than wallpapering an entire room, which, let's be honest, can feel like a marathon. You can use it to showcase a cool pattern, a bold color, or a texture that adds depth and character. It's a chance to be a little daring without going overboard. It's like saying, "I'm stylish, but I'm also practical."
Tools and Materials You'll Need to Wallpaper an Accent Wall
Tools and Materials You'll Need to Wallpaper an Accent Wall
Gather Your Arsenal
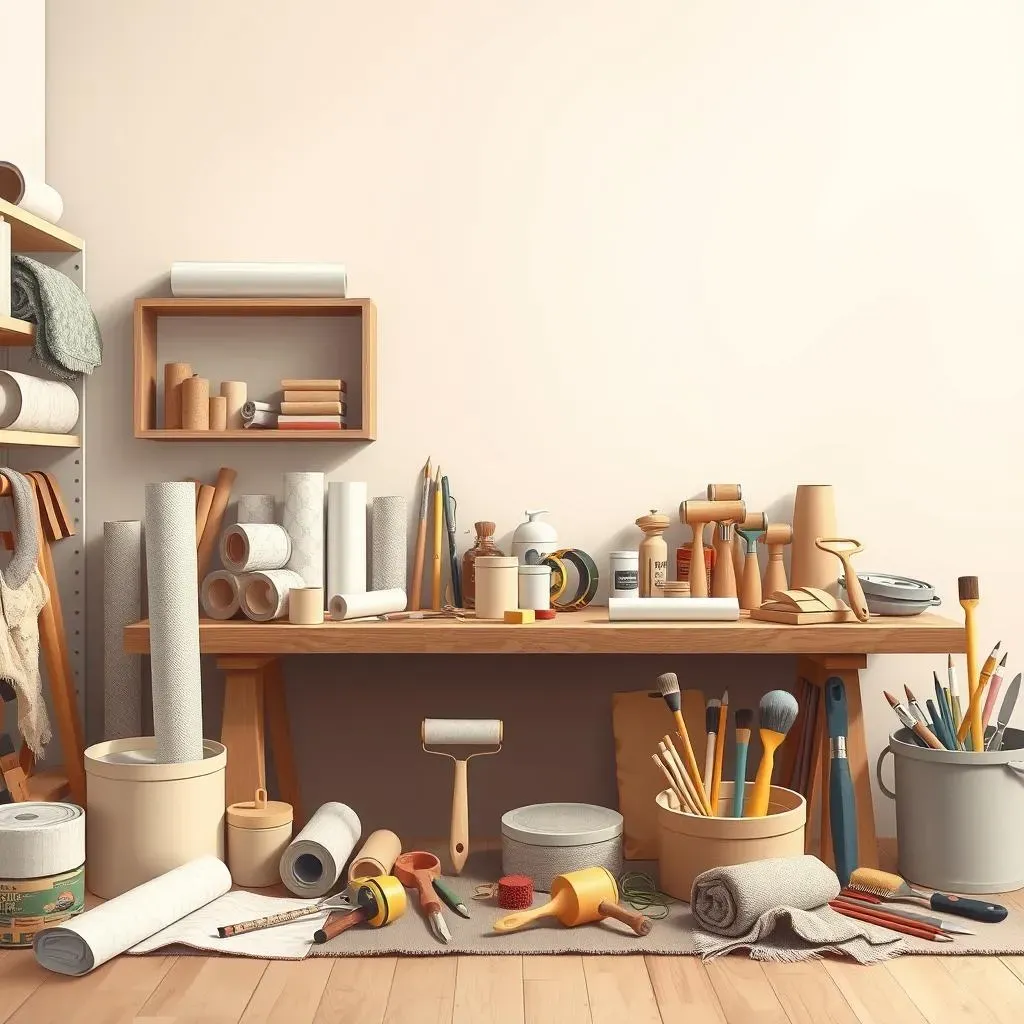
so you’re ready to tackle that accent wall. Before you get all excited and start ripping open wallpaper rolls, let's gather our gear. Think of it like prepping for a mini-battle, but instead of swords, we have smoothing tools. You definitely need the right wallpaper, obviously, and don't skimp on quality. It’s like buying cheap shoes; you'll regret it later. You'll also need wallpaper paste or adhesive, a roller for applying it, and a wallpaper brush for smoothing. A plumb bob or level is crucial for making sure your paper is straight. And, of course, a sharp utility knife or scissors for cutting. It's like a chef with their knives, you need the right tools to create something amazing.
Beyond the basics, you will want some measuring tape, a pencil, a sponge for cleaning up, and drop cloths to protect your floor. A seam roller can help get those edges nice and smooth, and a large framing square can make cutting easier. Don't forget a bucket for water if you are using paste, and maybe some old clothes you don’t mind getting messy. It's kind of like preparing for a science experiment, but with less chance of explosions and more chance of a stylish wall. Trust me, having everything ready will make the process way smoother, and less like a chaotic scramble for that one tool you can't find.
Tool/Material | Why You Need It |
|---|---|
Wallpaper | The star of the show! Choose your pattern and style wisely. |
Wallpaper Paste/Adhesive | Keeps the paper stuck to the wall. Don't skip this! |
Roller | For applying the paste evenly. |
Wallpaper Brush | To smooth out the paper and remove air bubbles. |
Plumb Bob/Level | To ensure your paper goes on straight. No crooked walls here! |
Utility Knife/Scissors | For cutting the paper. Sharp is key. |
Measuring Tape | To measure your wall and paper. |
Pencil | For marking where you need to cut. |
Sponge | For cleaning up excess paste. |
Drop Cloths | To protect your floors. |
Prepping the Wall
Before we even think about slapping wallpaper on the wall, we need to make sure the wall is ready. It's like prepping a canvas before painting; you need a smooth, clean surface for the best results. Fill any holes or cracks with spackle, and sand them down until smooth. You don't want those imperfections showing through your beautiful wallpaper. Clean the wall with a damp cloth to remove any dust or grime. It’s like giving the wall a spa day before the big makeover, you are going to thank me later. If your wall is super glossy or has a dark color, consider applying a primer. It will help the wallpaper stick better and prevent the old color from peeking through. This is like laying a good foundation for your project, it makes everything so much easier in the long run.
Also, take this time to measure your wall and plan where your wallpaper will go. It's like mapping out a route before a road trip; it helps to know where you are heading. Measure the width of your wallpaper and figure out how many strips you'll need. It's always a good idea to add a few inches to your measurements for trimming. It's better to have a little extra than to come up short. Now you're ready to really get started, with a smooth, clean wall and a plan in hand, you're already halfway to a fantastic looking accent wall. It's kind of satisfying to see how much preparation goes into this, it makes the final result even more rewarding.
StepbyStep Guide: How to Wallpaper an Accent Wall
StepbyStep Guide: How to Wallpaper an Accent Wall
Finding Your Starting Point
so you've prepped your wall, gathered your tools, and you're itching to get started. First things first, we need to find the center of the wall. It's like finding the North Star; it guides the rest of our journey. Use your measuring tape to find the middle point at the top of the wall, and then use your plumb bob or level to draw a vertical line from that point all the way down. This line is going to be the guide for your first strip of wallpaper, making sure everything is straight and even. It's crucial to get this right, otherwise, you might end up with some wonky-looking wallpaper, and nobody wants that. It’s like the foundation of a building, you have to make sure it's solid before you start adding the fancy stuff.
Now, get your wallpaper paste ready, if you're using it. Some wallpapers are pre-pasted, which is amazing, but if not, it's time to mix up your paste according to the instructions. Once it’s ready, roll out your first strip of wallpaper and start applying the paste to the back with your roller. Make sure you get an even coat, but don't overdo it. It's like frosting a cake; you want enough to stick, but you don’t want it dripping everywhere. If you’re using non-pasted wallpaper, you'll also need to apply paste to the wall. This helps the paper slide around a bit so you can get it lined up perfectly. It's like having a little extra time to adjust your artwork before it's permanently stuck. Now you're ready to apply your first strip, it’s like taking the first step on a long hike, a bit nerve-wracking but also exciting.
Step | Description |
|---|---|
1 | Find the center of the wall and draw a plumb line. |
2 | Prepare the wallpaper paste. |
3 | Apply paste to the wallpaper and/or the wall. |
Applying the Wallpaper
Alright, now for the fun part, actually putting the wallpaper on the wall. Carefully align the edge of your first strip with the plumb line you drew earlier, making sure you have a little extra at the top and bottom for trimming. Gently press the paper onto the wall, starting at the top and working your way down. Use your hands to smooth out any air bubbles and wrinkles, and then switch to your wallpaper brush for a more thorough smoothing. Think of it like gently coaxing a delicate flower into place, you want to be firm but also gentle. Work from the center outwards, making sure to get rid of all those pesky air bubbles. Those air bubbles are like tiny enemies that you will have to defeat.
Once your first strip is up, it's time for the next one. Line up the edge of the second strip with the edge of the first, making sure the pattern matches. It's like putting together a puzzle, you want the pieces to fit perfectly. If you're using a patterned wallpaper, this part might take a little patience, but it’s worth it to have the patterns line up seamlessly. When you apply the second strip, use your seam roller to smooth out the seam where the two strips meet. This makes the seam less noticeable and gives your wall a more polished look. It’s like blending colors on a canvas, you want it to look smooth and natural. Continue these steps until you've covered your entire accent wall, it’s like watching your vision come to life, bit by bit.
Step | Description |
|---|---|
1 | Align the first strip with the plumb line, leaving extra at top and bottom. |
2 | Smooth the paper with your hands and a wallpaper brush. |
3 | Align the next strip, matching the pattern. |
4 | Use a seam roller on the edges. |
5 | Repeat until the wall is covered. |
Adding Trim and Finishing Touches
Adding Trim and Finishing Touches
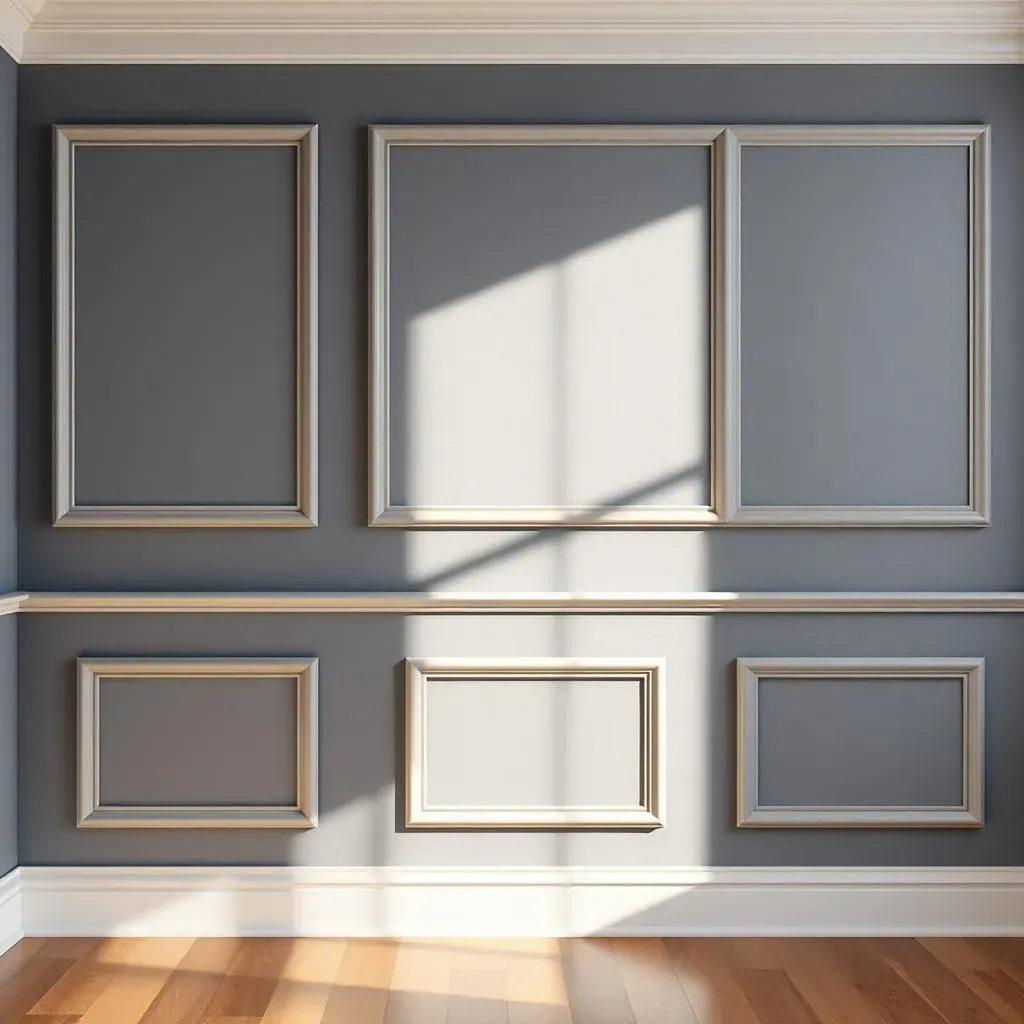
so you've got your wallpaper up, and it's looking pretty amazing, right? But let's be honest, it's not quite finished yet. That's where trim comes in, it's like the frame on a painting, it really pulls everything together and adds that extra touch of class. Adding trim to your accent wall is not just about aesthetics, it also helps to hide any uneven edges or gaps, giving your wall a clean, finished look. It's like the final polish on a car, it just makes everything shine. You can choose from a variety of trim styles, from simple baseboards to more decorative crown molding, depending on the look you're going for. It's like picking out the perfect accessory for an outfit, it can totally change the vibe.
For my accent wall, I went with a simple 1x4 trim at the bottom and top of the wall. It was super easy to install, and it created a nice border around the wallpaper. Then, just for a little extra flair, I added some cove molding inside each box. It gave the wall a subtle dimension and made it look more expensive than it actually was. It’s like adding a secret ingredient to a recipe, it just makes it that much better. After nailing the trim to the wall, it was time to prime, paint, and caulk. It’s like giving your trim a makeover before the big reveal. Priming helps the paint adhere better, painting adds the color you want, and caulking fills in any gaps for a seamless finish. It’s all about those little details that make all the difference. Now, your accent wall isn’t just looking good, it’s looking professionally done.
Step | Description |
|---|---|
1 | Choose your trim style. |
2 | Install the trim at the top and bottom of the wall. |
3 | Add cove molding inside each box for dimension. |
4 | Prime, paint, and caulk the trim. |
My Experience Wallpapering My Daughter's Room
My Experience Wallpapering My Daughter's Room
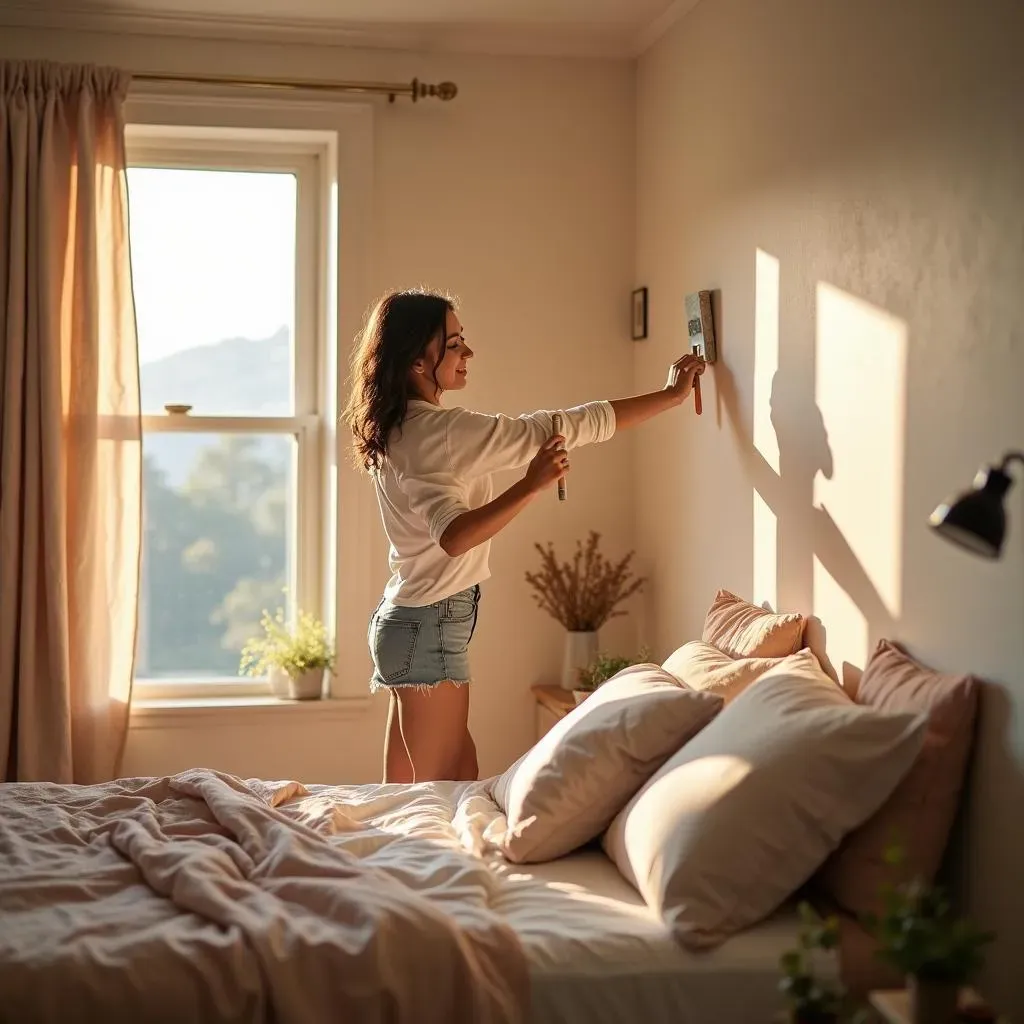
so let me tell you about when I decided to wallpaper an accent wall in my daughter's room. She’s been begging for a room makeover, and I thought, "Why not try wallpaper?" I mean, I’ve seen it on design shows, how hard could it be? Turns out, it's not rocket science, but it definitely needs some patience and a good plan. I picked out this wallpaper with a subtle texture and a neutral color, nothing too crazy, because, you know, kids' tastes change faster than the weather. I was a little nervous at first, to be honest. I thought I would mess it up somehow. But I followed the steps I’ve just shared with you, and things went pretty smoothly. I felt like a real interior designer for a minute there.
The biggest challenge was definitely getting the first strip straight. I probably spent a good 20 minutes just making sure my plumb line was perfect. Then, applying the wallpaper paste and getting the paper aligned took some practice, but after a few tries, I got the hang of it. Smoothing out the air bubbles became oddly satisfying, like popping bubble wrap. And when I added the trim, it just brought everything together. My daughter was so excited when she saw the finished wall. It added so much character to her room, and it made me feel like a DIY superhero. It’s not perfect, but it’s mine, and I'm super proud of it. I'm already thinking about what wall I'm going to wallpaper next. Maybe the living room? Don't tell my husband.
"The details are not the details. They make the design." - Charles Eames
Wrapping Up Your Wallpaper Project
So, you've tackled the task of wallpapering your accent wall, and hopefully, it wasn't as scary as you first thought. From carefully prepping the wall to smoothing out those last air bubbles, you've learned some skills that'll come in handy for future projects. Remember, it's about more than just sticking paper to a wall; it's about adding your personal touch, creating a space that feels like 'you.' Whether you went for bold patterns or subtle textures, that accent wall is now a focal point, a testament to your creativity and a conversation starter. Now, step back, admire your work, and maybe start planning your next DIY adventure. And who knows, you might just become the go-to wallpaper expert among your friends.