
Table of Contents
Ever stared at a boring wall and thought, "This needs something...more?" I get it. That's how I ended up staring at my son's nursery, dreaming of a cool wood accent wall. Forget expensive contractors; we're doing this ourselves! This guide will show you exactly how to do a wood accent wall, even if you've never held a miter saw before. We'll cover everything from prepping the wall and gathering your materials, to the actual building process, and finally, adding those perfect finishing touches. Get ready to transform your space without breaking the bank. I promise, it’s easier than you think, and the results are totally worth it. So, grab your tools, and let's dive into making your dream accent wall a reality. We'll focus on making it simple, affordable, and totally you.
Preparing to Build Your Wood Accent Wall
Preparing to Build Your Wood Accent Wall
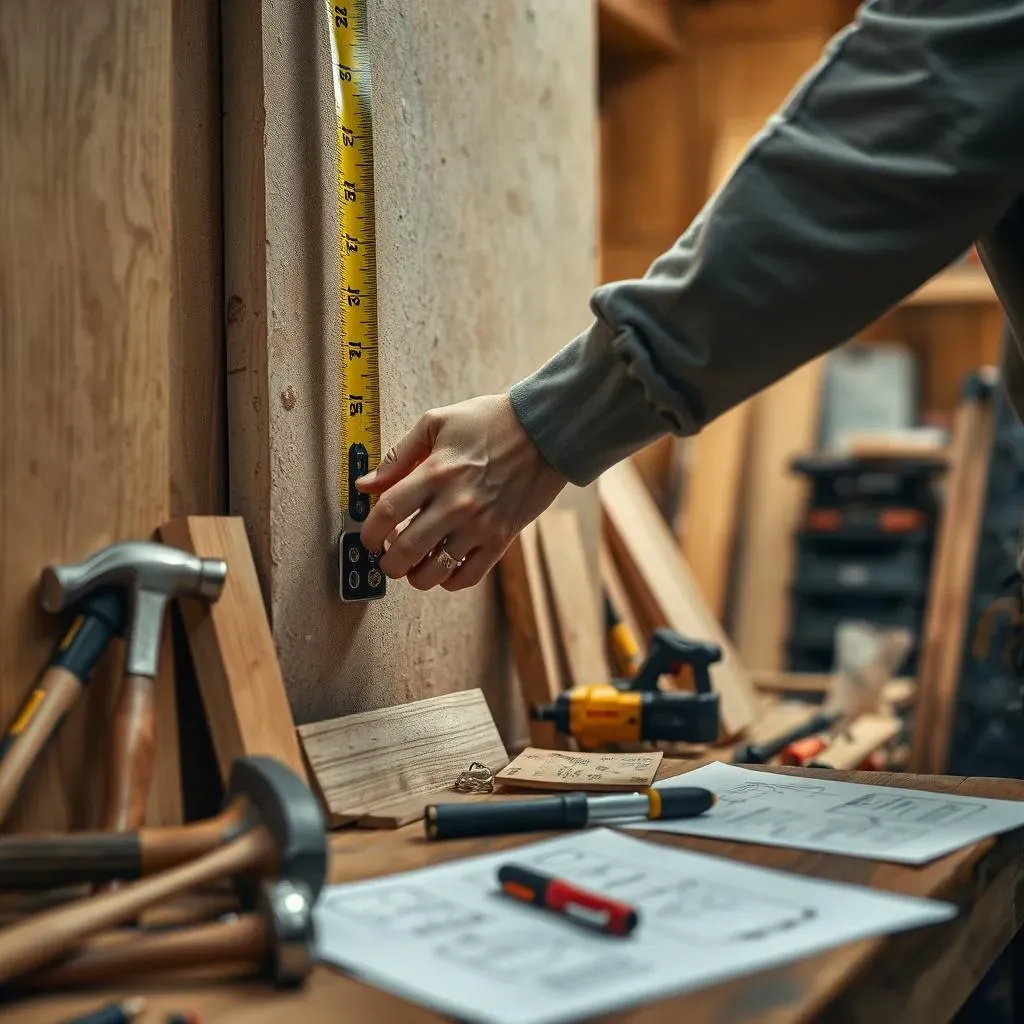
Alright, so you're itching to get started on that wood accent wall, huh? Awesome! But hold your horses, cowboy, we gotta do a little prep work first. Think of it like warming up before a big workout; you wouldn't just jump into a marathon, would you? Same deal here. First things first, let's talk about the wall itself. Is it smooth? Are there any weird bumps or holes? You'll want to patch those up with some spackle and sand it down. We're aiming for a nice, even surface so our wood looks its best. Now, grab your measuring tape and figure out the dimensions of your wall. This will help us determine how much wood you need. It’s better to have a little extra than to come up short mid-project, trust me.
Next up, let's gather our supplies. I know, it's tempting to just wing it, but having everything ready before you start will make the whole process way smoother. Think of it like prepping your ingredients before cooking; you wouldn’t want to start a recipe and realize you’re missing flour, right? You will need wood (MDF, pine, or poplar are great options), a saw (miter saw is best), a nail gun (or hammer and nails if you’re feeling old school), a level, measuring tape, wood filler, sandpaper, and paint or stain. Don't forget safety glasses and maybe some earplugs, especially if you're going to be doing a lot of sawing. Now you have a checklist to start your project.
Tool/Material | Why You Need It |
|---|---|
MDF, Pine, or Poplar Wood | The base of your accent wall! Choose your style and budget. |
Miter Saw | For making accurate cuts. Essential for clean lines and professional look. |
Nail Gun | To quickly and securely attach wood to the wall. |
Level | To ensure your wood pieces are straight and even. |
Measuring Tape | To measure your wall and wood pieces. |
Wood Filler | To fill any gaps or nail holes. |
Sandpaper | To smooth out wood filler and edges. |
Paint or Stain | To give your accent wall a finished look. |
Safety Glasses | Safety first! Protect those peepers. |
StepbyStep Guide: Building Your Wood Accent Wall
StepbyStep Guide: Building Your Wood Accent Wall
Getting Started: Layout and First Pieces
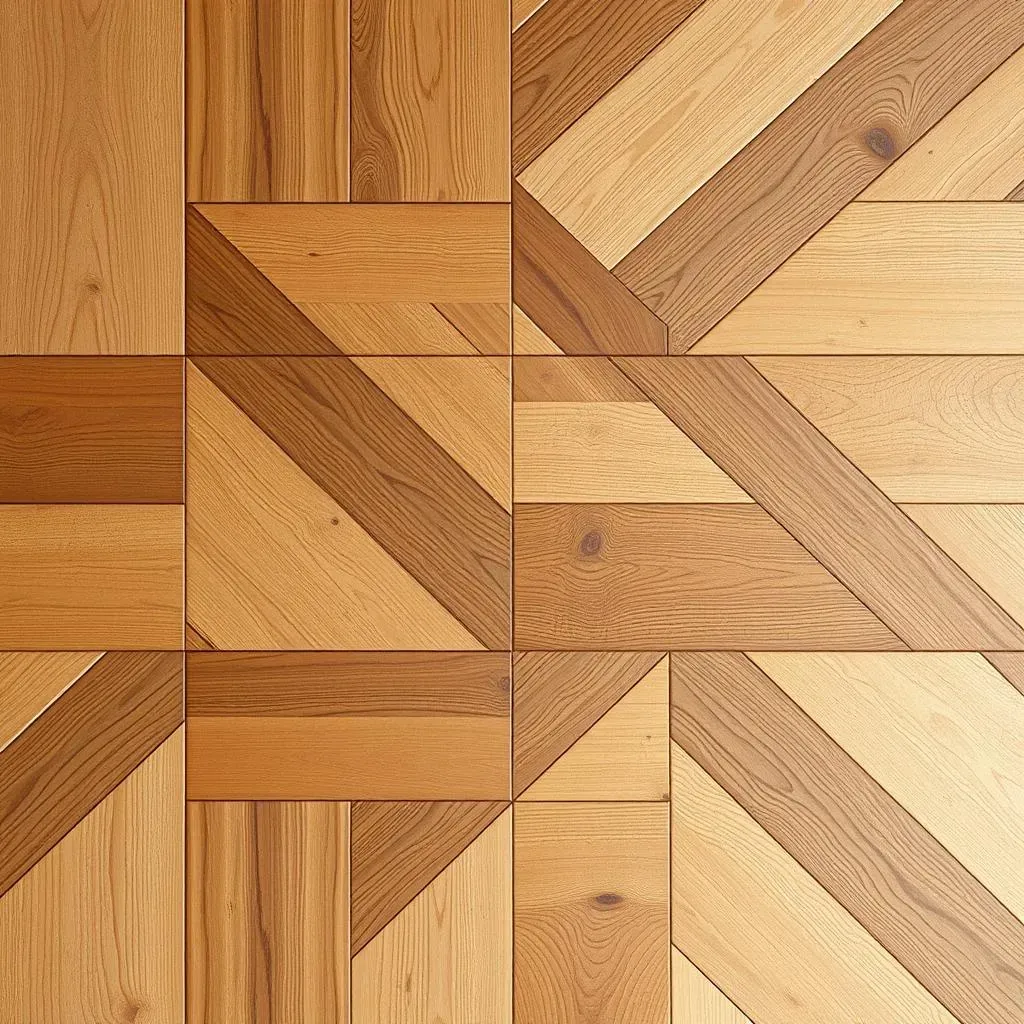
so the prep work is done, and you're itching to get those boards up on the wall. I feel you! Let's start by planning the layout. If you're going for a geometric pattern, sketch it out on paper first. Trust me, a little planning now saves a lot of headaches later. Use your level to draw a straight line on your wall where you want your first board to go. This will be your guide, and it’s crucial to get this line perfectly level. Now, grab your first piece of wood, measure it to the correct length, and make your cut with the miter saw. If you’re using a nail gun, carefully position the wood on your guideline and nail it to the wall. If you’re using a hammer and nails, be sure to pre-drill a small hole to prevent the wood from splitting.
Repeat this process for the remaining pieces, always double-checking that your lines are straight and even. If you’re doing a pattern, take your time and make sure each piece is placed correctly. Remember, it’s better to take a little longer and get it right than to rush and end up with a wonky wall. I like to step back every few boards to look at the overall picture and make sure I'm happy with how things are progressing. This is where having a level becomes your best friend. You’ll want to check each piece as you go, to keep things looking clean and aligned.
Step | Action | Tip |
|---|---|---|
1 | Plan your layout | Sketch it out first! |
2 | Draw a level guideline | Use a level, it's crucial. |
3 | Cut first piece of wood | Measure twice, cut once. |
4 | Nail or hammer wood to the wall | Use a nail gun for speed, hammer with caution. |
5 | Repeat for remaining pieces | Double-check lines are straight and even. |
Dealing with Gaps and Imperfections
so you've got most of your wood up, and it’s starting to look like a real accent wall. Awesome! But let's be real, there are probably a few gaps, nail holes, or uneven spots. That’s totally normal! This is where wood filler comes to the rescue. Grab your wood filler and a putty knife, and apply it to all those little imperfections. Don’t be shy; you want to fill those gaps completely. Once the wood filler is dry, grab your sandpaper and smooth everything out. You’re aiming for a seamless transition between the wood and the filler. It might take a little elbow grease, but the end result is worth it.
Now, for those stubborn spots where the wood isn’t perfectly flush against the wall, you can use a bit of caulk. Apply a thin bead of caulk along the edges where the wood meets the wall, and then smooth it out with your finger or a damp cloth. This will hide any small gaps and create a more polished look. Remember, it’s the little details that make a big difference. Take your time with this step, and you’ll be amazed at how much more professional your accent wall will look.
Finishing and Enjoying Your New Wood Accent Wall
Finishing and Enjoying Your New Wood Accent Wall
Time to Paint or Stain
so the hard part is over, and now we get to the fun stuff—making that wood accent wall pop! It’s time to decide: paint or stain? If you want a solid color, grab your paint, a small roller, and a brush for the edges. Apply a couple of coats, letting each dry completely before adding the next. If you’re going for a more natural look, wood stain is the way to go. It will enhance the grain and give your wall a warm, rustic feel. Either way, make sure you have good ventilation and maybe wear a mask to protect yourself from fumes. This step is where your personality really gets to shine, so pick a color or stain that makes you happy.
While you’re painting or staining, pay attention to the details. Use painter’s tape to protect any areas you don’t want to get paint on, and don’t be afraid to take your time. The goal is to get a nice, even finish with no drips or streaks. Remember, it’s better to do a few thin coats than one thick one. Once everything is dry, remove the painter’s tape and do a final check to make sure you’re happy with the results. This is where your vision really starts to come to life. I always like to step back and admire my work at this point; it’s a pretty great feeling.
Finishing Choice | Pros | Cons |
|---|---|---|
Paint | Wide range of colors, easy to apply, provides solid coverage. | Can hide wood grain, may require multiple coats. |
Stain | Enhances natural wood grain, adds warmth, durable finish. | Limited color options, can be tricky to apply evenly. |
Final Touches and Clean Up
Alright, you’ve painted or stained your wood accent wall, and it looks amazing! But hold up; there are still a couple of things we need to do before we can call it a day. First, grab your wood filler one last time and check for any spots you might have missed. Touch them up and sand them smooth. Next, it's time for a good clean up. Remove any painter’s tape, clean your tools, and sweep or vacuum up any dust or debris. Trust me, a clean workspace makes all the difference. Now, take a step back and really admire your handiwork. You did this! You transformed a boring wall into a stunning focal point in your room.
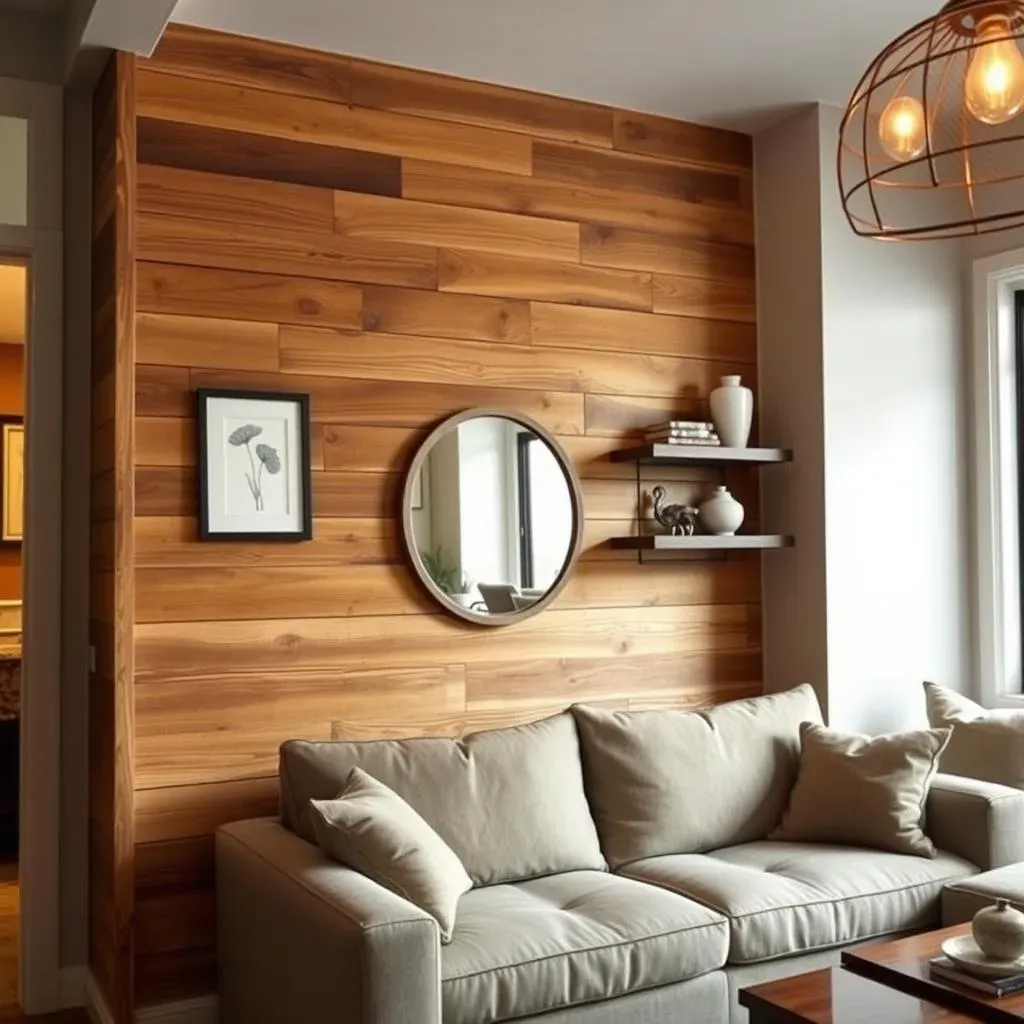
Now you are ready to decorate. Add some wall art, maybe a cool mirror, or a few floating shelves. This is where you can make the wall your own. The wood accent wall is a great backdrop for your style, so have fun with it. Invite your friends over to show off your DIY skills. You created a beautiful space that you can be proud of. From start to finish, you took an idea and turned it into a real thing. That is pretty awesome. So, relax, enjoy the new view, and get ready for all the compliments coming your way!
Wrapping Up Your DIY Wood Accent Wall Project
And there you have it, your very own custom wood accent wall! From a bare wall to a stunning focal point, you've done it all yourself. Remember, the key is taking it one step at a time, measuring carefully, and not being afraid to make a few adjustments along the way. Now, step back, admire your handiwork, and enjoy the unique touch you've added to your space. Feel free to share your project with friends and family, and who knows, maybe you’ll inspire them to try their own DIY wood accent wall adventure. It’s not just a wall; it’s a testament to your creativity and skill. So, go on, enjoy the new vibe of your space, you earned it!