Table of Contents
Walk into a room and sometimes it just feels… flat. Like a beige-colored yawn. You know the feeling, right? That one wall is just begging for something more, something that says "Hey, look at me!" without shouting. Painting the whole place feels like a marathon, and expensive art isn't always in the cards.
Why Bother with a DIY Accent Wall Anyway?

Why Bother with a DIY Accent Wall Anyway?
So, you're asking why go through the trouble of a DIY accent wall? Fair question. Look, painting a whole room is a commitment, right? It's messy, takes time, and sometimes you just want a punch of personality without redoing everything. That's the beauty of an accent wall. It's a concentrated dose of awesome for one specific spot. It draws your eye, makes a statement, and can completely change the feel of a room without breaking the bank or your back. Plus, there's something seriously cool about pointing to a wall and saying, "Yeah, I did that myself." It's a tangible win in a world of endless to-do lists.
Gearing Up: Planning Your How to DIY an Accent Wall Project

Gearing Up: Planning Your How to DIY an Accent Wall Project
Picking Your Spot and Style
Alright, before you even think about grabbing a brush or a saw, you need a game plan. First off, which wall is getting the VIP treatment? Usually, it's the one you see first when you walk in, or the one behind the sofa, or maybe the one your bed headboard leans against. Think about where you want the eye to go. Is it a wall with a window? Maybe skip that one unless you're doing something wild with the frame. Consider the light in the room too; a dark color on a wall that gets zero natural light might feel like a cave.
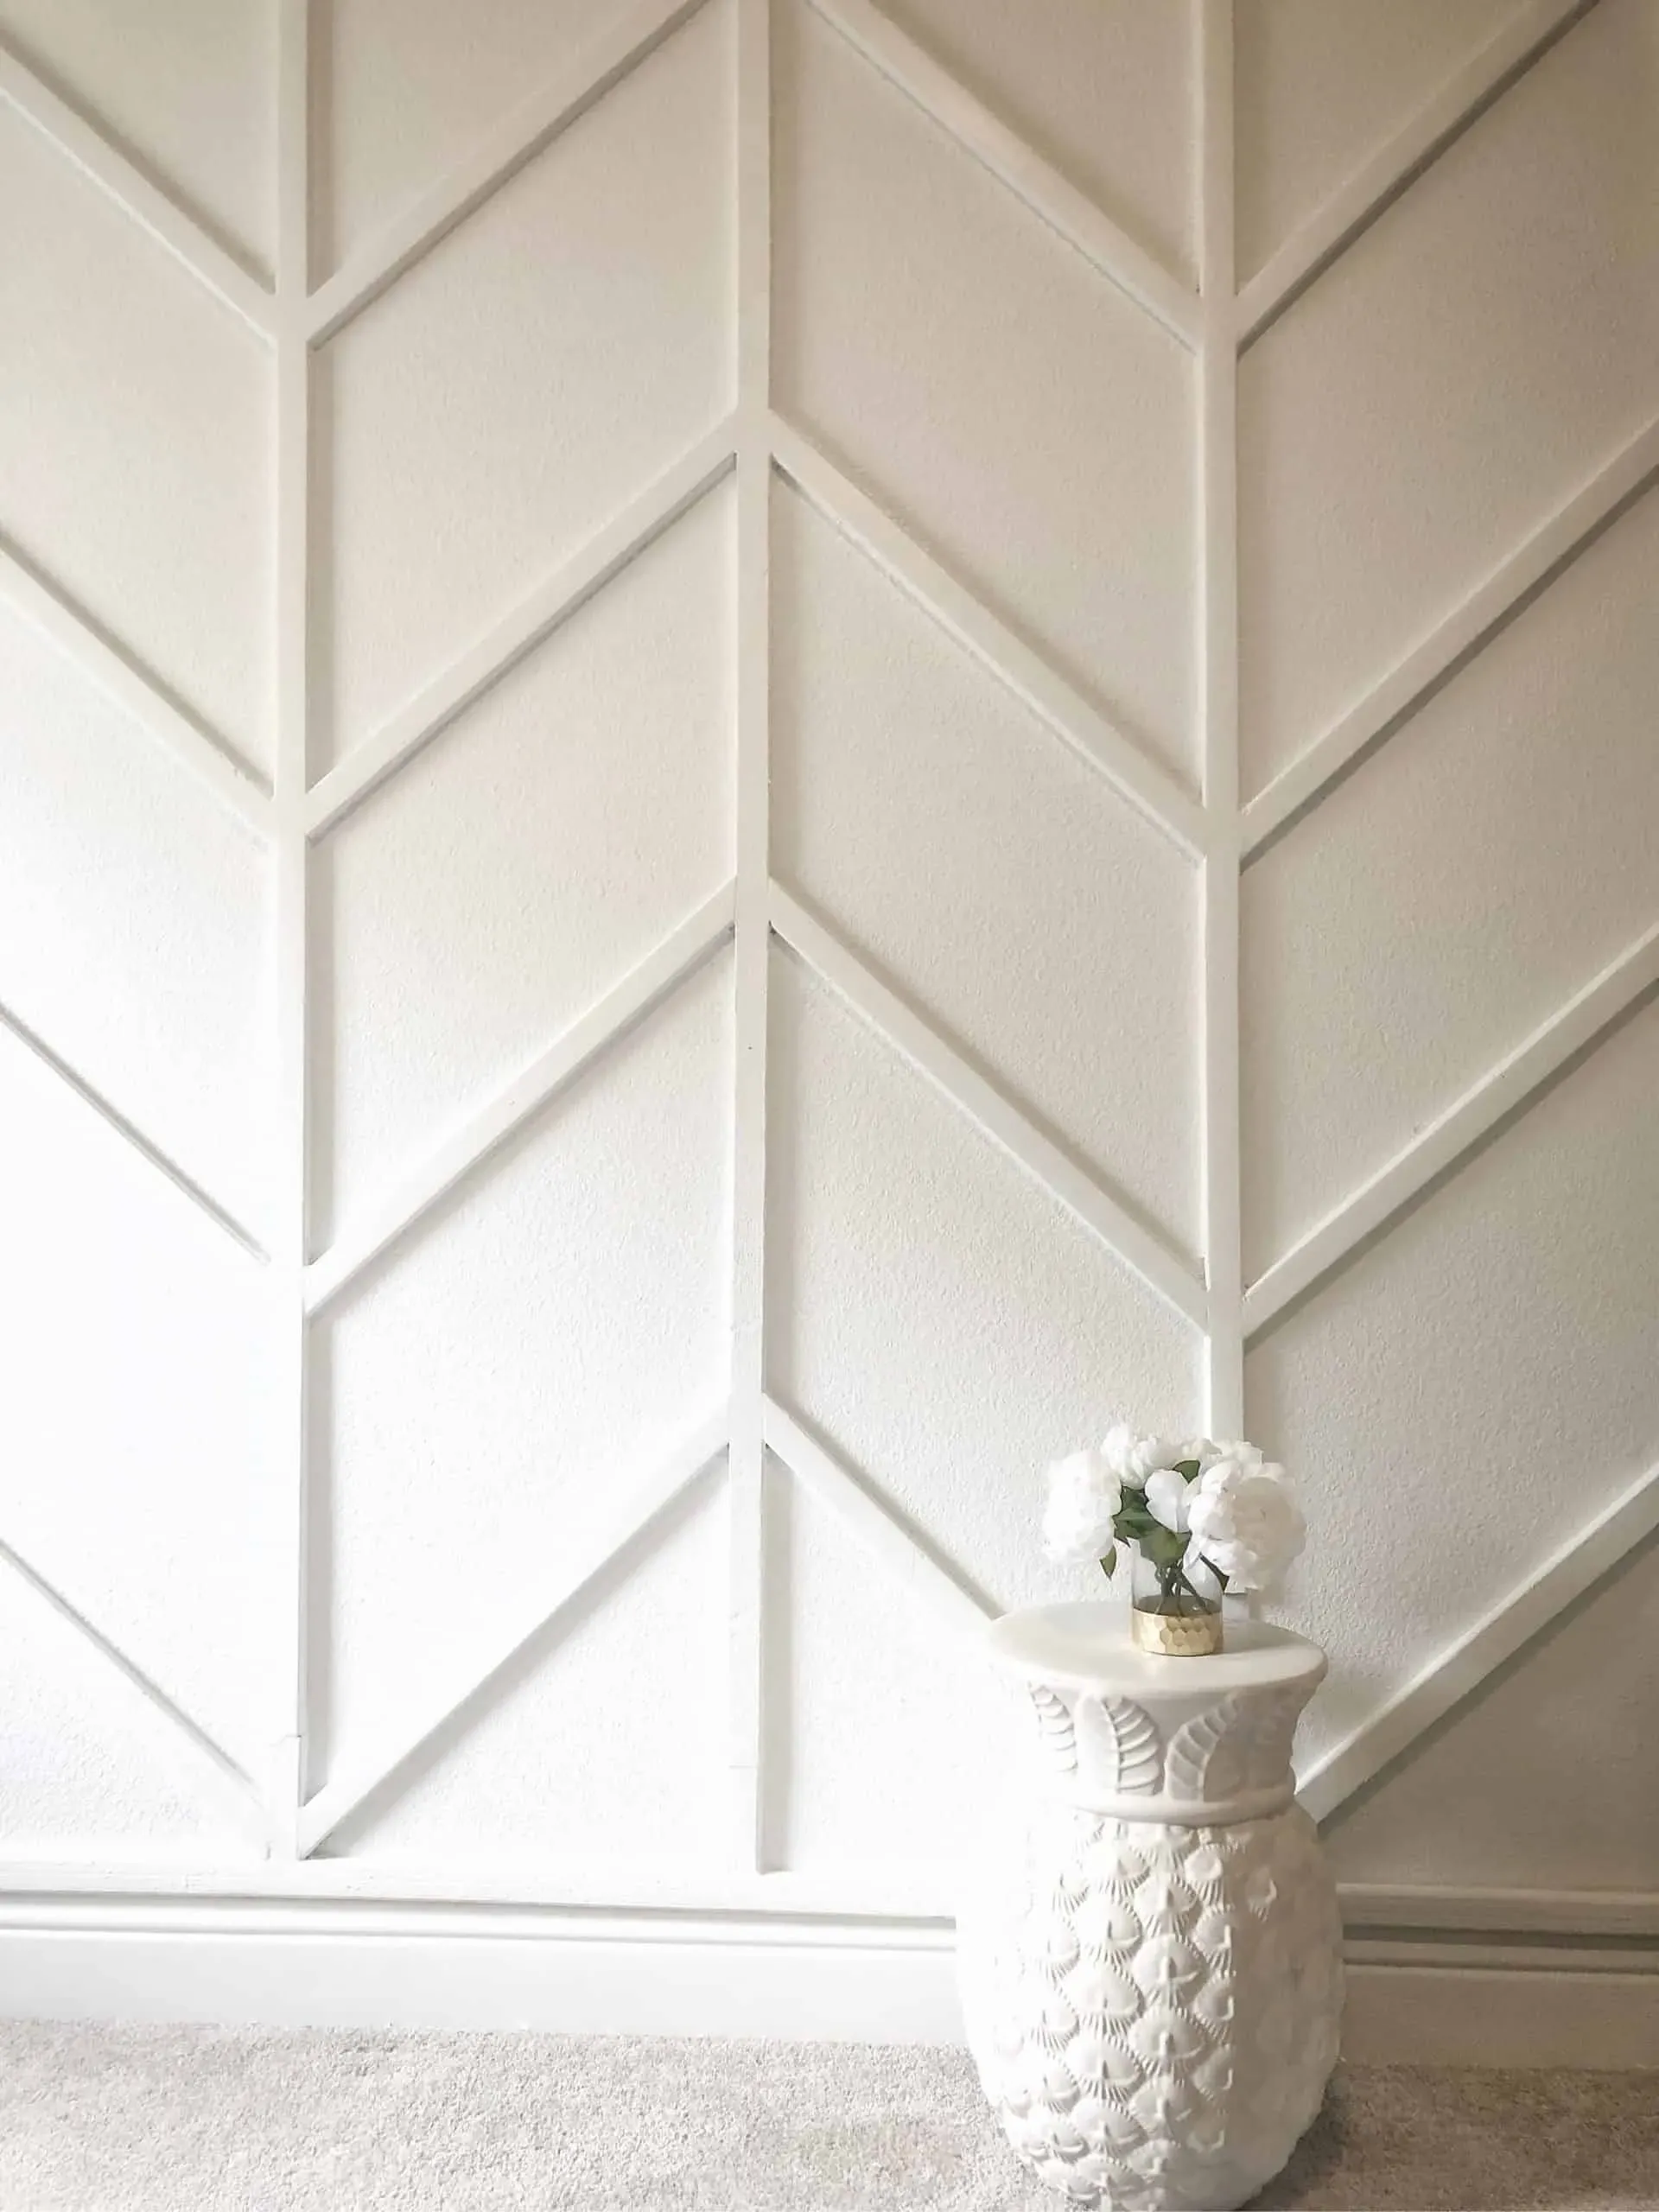
Next, what look are you going for? Just a bold paint color? Easy. Textured paint? A bit more effort. Board and batten? Now we're talking some cutting and nailing. Peel-and-stick wallpaper? Great for renters or the commitment-phobic. Shiplap? Timeless, if you're into that rustic vibe. There are a million ways to tackle how to diy an accent wall. Don't just pick something because you saw it on Instagram. Think about your existing furniture and the overall feel you want in the room. Don't just slap some trendy pattern on a wall if it clashes with everything else you own.
Gathering Your Arsenal: Tools and Materials
you've picked the wall and have a vague idea of the style. Now, let's talk gear. This is where the "DIY" part gets real. What you need depends heavily on your chosen style. For just paint, you'll need paint (duh), primer if you're making a big color change, painter's tape (get the good stuff, trust me), drop cloths or old sheets, a roller, brushes, and a paint tray. Maybe an extension pole so you don't break your back.
If you're adding texture or wood elements, the list grows. For board and batten or shiplap, you're looking at wood boards (MDF is popular and cheaper), a miter saw or circular saw for cutting, a nail gun (pneumatic or electric makes life way easier than a hammer), wood filler, sandpaper, caulk, and a stud finder. Measuring tape is non-negotiable, obviously. A level? Absolutely critical unless you enjoy crooked lines. Don't skimp on the basics; using the wrong tool or cheap tape is a fast track to frustration and a less-than-stellar result. You want this how to diy an accent wall project to look intentional, not like a weekend disaster.
- Good quality painter's tape (low tack for delicate surfaces)
- Measuring tape (metal, retractable)
- Level (at least 2-3 feet long)
- Drop cloths or plastic sheeting
- Utility knife with fresh blades
- Pencil and eraser
- Stud finder (especially for hanging heavy things later)
- Safety glasses (always, especially when cutting or nailing)
- Gloves (unless you enjoy scrubbing paint/caulk off your hands for days)
Measure Twice, Cut Once (Seriously)
Before any cutting or painting happens, measure everything. Get the height and width of your wall. Note where windows, doors, outlets, or vents are. Draw a simple sketch of the wall and mark these obstacles. If you're doing a pattern or adding boards, this sketch is your blueprint. Figure out the spacing of your design elements on paper first. Doing the math now prevents wasted materials later. It's way cheaper to erase a line on paper than to cut a piece of wood too short.
Think about the scale of your design relative to the wall size. Big wall, maybe bigger pattern elements. Small wall, maybe something more subtle. Don't just guess. Precision in measuring and planning is key to a professional-looking how to diy an accent wall. Get a friend to help hold the tape measure if needed. A second set of eyes can catch mistakes before they become permanent features of your wall.
StepbyStep: The NittyGritty of How to DIY an Accent Wall

StepbyStep: The NittyGritty of How to DIY an Accent Wall
Getting Started: Prep and First Steps
the planning is done, the tools are laid out like a surgical kit (minus the sterile part, probably), and you're staring down that blank wall. First things first: prep. Clear the area. Move furniture away, or at least cover it well. Take down anything hanging on the wall – pictures, shelves, that weird macrame plant hanger you regret buying. Clean the wall. Dust, cobwebs, whatever questionable sticky stuff is on there – get it off. A slightly damp cloth works, just let it dry completely before doing anything else. Tape off the baseboards, ceiling line, and adjacent walls. Press that tape down *firmly* with a putty knife or your fingernail. This is where cheap tape bites you; paint bleed is the enemy of a crisp line.
Wrapping Up Your Accent Wall and What to Watch Out For

Wrapping Up Your Accent Wall and What to Watch Out For
The Waiting Game: Drying and Curing
Alright, the paint is on, the boards are nailed, the caulk is smoothed. You're standing back, admiring your handiwork. But resist the urge to immediately put everything back. Paint needs time to dry, and more importantly, to cure. Drying means it's dry to the touch. Curing means it's hardened completely and won't scratch or scuff easily. This can take anywhere from a few days to a couple of weeks, depending on the paint type and humidity. Don't lean furniture against it right away. Don't hang heavy pictures the next morning. Be patient. Ripping off painter's tape is also a task that requires timing. Wait until the paint is dry to the touch but not fully cured. Pull it off slowly, at a 45-degree angle, pulling it back on itself. If you wait too long, the paint can bond to the tape and peel off your beautiful new finish. That's a special kind of frustrating after all your effort on how to diy an accent wall.
Cleaning Up and Final Touches
Now for the less glamorous part: cleanup. Gather up all your drop cloths, brushes, rollers, and tools. Clean brushes and rollers thoroughly unless you enjoy buying new ones every time. Dispose of paint cans and materials according to local regulations. Don't just dump paint down the drain; it's a terrible idea for numerous reasons, none of which involve a clean environment. Once the wall is dry, do a final inspection. Look for drips, missed spots, or areas where the caulk wasn't smooth. Touch-ups are easier now than later. If you added wood elements, check that all nail holes are filled and sanded. This stage is crucial for a polished look. A sloppy finish undoes all the careful work you put into creating your stunning how to diy an accent wall.
- Check edges for paint bleed (from bad tape jobs)
- Look for drips or runs, especially near the ceiling or baseboards
- Inspect nail holes; ensure they are filled and sanded flush
- Wipe down any dust from sanding
- Make sure outlets and switch plates are put back on straight
- Check for inconsistent texture if you used textured paint
Troubleshooting Common Issues
Even with the best planning, sometimes things go sideways. Maybe you got some paint bleed under your tape. Carefully score the line with a utility knife before peeling the tape to minimize this, or touch up with a small artist's brush later. Did you cut a board too short? It happens. If it's a visible gap, you might need to recut or strategically use wood filler and caulk, hoping no one looks too closely. Is the paint color not quite right? Live with it for a few days; sometimes it looks different in varying light. If you still hate it, well, you learned something for next time, and repainting one wall is still less work than a whole room. The point of how to diy an accent wall is learning as you go. Don't expect perfection on your first try, but aim for "pretty damn good." Embrace the imperfections; sometimes they tell a story. Just don't make them too obvious.
Your Accent Wall, Done. Now What?
So there you have it. You've faced the blank wall, made your plan, gathered your gear, and put in the work. Learning how to diy an accent wall isn't magic; it's just breaking down a bigger task into manageable steps. Your room should feel different now, maybe a little bolder, definitely less beige. It took some effort, probably involved a trip or two back to the hardware store, and maybe a minor paint spill (it happens). But standing back and seeing that wall transformed by your own hands? That's the payoff. Enjoy the view, and maybe start thinking about which wall is next.
