Table of Contents
Bored with plain walls? Yearning for a space that screams "you"? Then ditch the predictable and dive headfirst into the world of hand painted accent wall ideas! Forget generic wallpaper and mass-produced art; we're talking about injecting your personality directly onto your walls, creating a focal point that's as unique as you are. This isn't just about slapping on some paint; it's about crafting a statement, telling a story, and transforming a room from blah to breathtaking. Ready to unleash your inner artist but feeling a bit intimidated? Don't sweat it. We'll walk you through everything from brainstorming design concepts and mastering basic painting techniques to tackling more ambitious mural projects. We'll explore color palettes, pattern ideas, and even offer tips for choosing the right paint and tools. Whether you're a seasoned DIYer or a complete newbie, get ready to roll up your sleeves, grab a brush, and create an accent wall that will have everyone saying, "Wow, you painted that?!" Let's get started and turn those blank canvases into masterpieces!
DIY Hand Painted Accent Wall Ideas: A Beginner's Guide
DIY Hand Painted Accent Wall Ideas: A Beginner's Guide
Getting Started: Your First Accent Wall
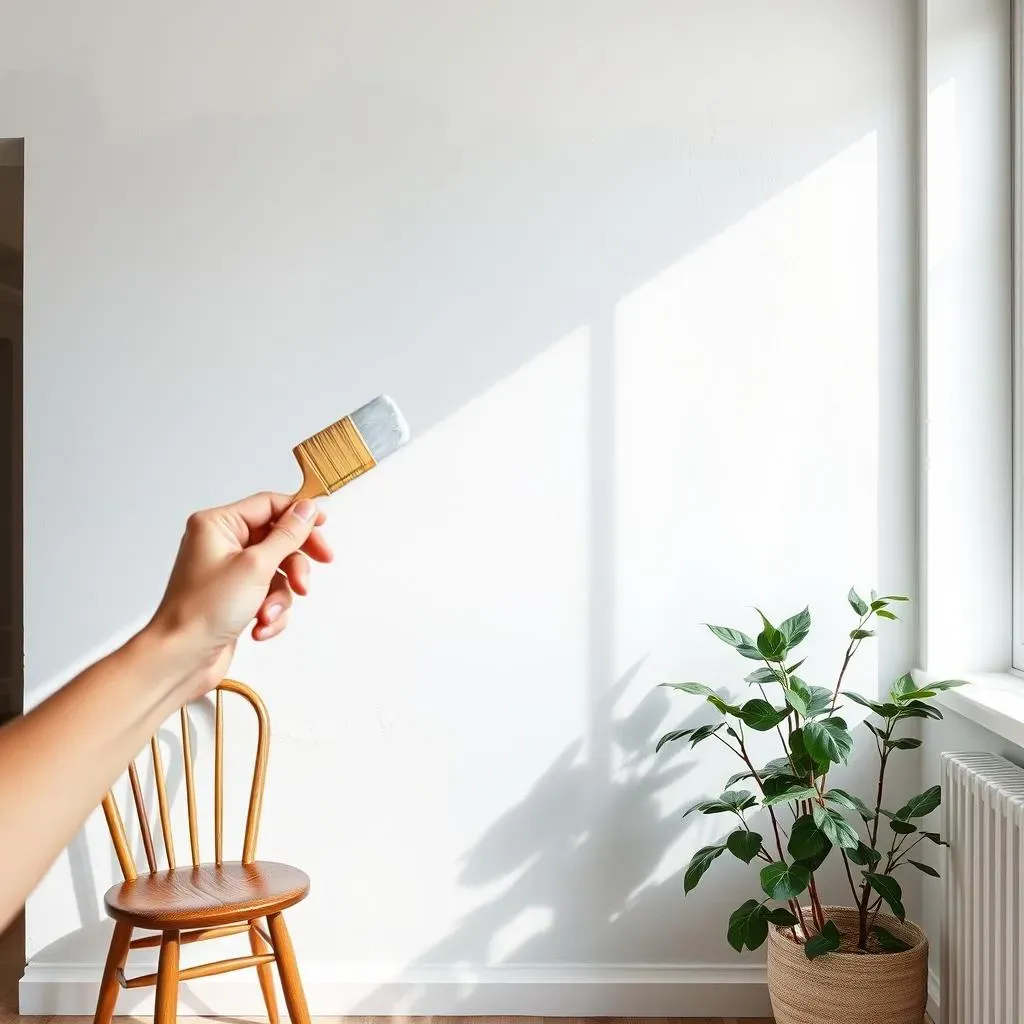
so you're thinking about diving into the world of DIY hand painted accent wall ideas? Awesome! It's way easier than you might think. First, let's talk about picking the right wall. You want a wall that naturally draws the eye – maybe it's the one behind your bed, the one opposite the entrance to a room, or even a smaller wall in a hallway. Think about the room's purpose and choose a wall that will enhance that. Don't overthink it; the goal is to add a pop of personality, not to overwhelm the space.
Next up: inspiration! Browse Pinterest, Instagram, and even home decor magazines. Save any images that catch your eye, even if you're not sure why. Look for patterns, colors, and styles that resonate with you. Are you drawn to bold geometric shapes, whimsical florals, or minimalist color blocking? Once you've gathered a collection of inspiration, you'll start to see a common thread. This will help you narrow down your design and create a cohesive look.
Essential Tools and Materials
Before you even think about dipping a brush into paint, gather your supplies. Trust me, having everything on hand will make the process so much smoother. You'll need paint (more on that in a bit), paintbrushes in various sizes, painter's tape, a level, a measuring tape, a pencil, and drop cloths. Don't skimp on the painter's tape; a good quality tape will give you crisp, clean lines. And for the love of all that is holy, use drop cloths! Paint splatters happen, and you don't want to ruin your floors or furniture.
Now, let's talk paint. For most accent walls, you'll want to use a good quality latex paint in a matte or eggshell finish. These finishes are durable and easy to clean. As for color, consider the existing colors in the room. Do you want to create a bold contrast or a subtle complement? If you're unsure, grab some paint samples and test them out on the wall before committing to a whole gallon. Lighting can drastically affect how a color looks, so it's always best to test it out in the actual space.
Tool/Material | Why You Need It |
|---|---|
Painter's Tape | Creates clean lines, prevents paint bleed |
Paint Brushes (various sizes) | Allows for detail work and covering larger areas |
Drop Cloths | Protects floors and furniture from paint splatters |
Level & Measuring Tape | Ensures straight lines and accurate measurements |
Creative Hand Painting Techniques for Accent Walls
Creative Hand Painting Techniques for Accent Walls
Color Washing: Embrace the Subtle Texture
Color washing is one of the easiest creative hand painting techniques for accent walls to master. It's all about creating a soft, textured look that adds depth and dimension to your wall. Start by painting your wall a solid base color. Once it's dry, mix a glaze with a lighter shade of the same color (or a completely different color for a bolder effect). Apply the glaze with a brush or a rag, using long, sweeping strokes. The key is to work quickly and randomly, allowing some of the base color to show through. Don't overthink it; the imperfections are what give color washing its charm.
Want to take it up a notch? Try using multiple glaze colors for a more complex and layered effect. Just remember to blend the colors well to avoid harsh lines. Color washing is a fantastic technique for creating a rustic, vintage, or even a romantic look. It's also very forgiving, so it's perfect for beginners who are nervous about making mistakes. The best part? It's nearly impossible to mess up!
Here’s a quick guide to the color washing process:
- Paint the wall with your base color and let it dry completely.
- Mix a glaze with your chosen color. A ratio of 1 part paint to 4 parts glaze is usually a good starting point.
- Apply the glaze randomly with a brush or rag.
- Use a clean rag to blend and soften the glaze.
- Repeat with other colors for added depth.
Stenciling: Precision Meets Personality
Stenciling is another awesome creative hand painting technique for accent walls. It's a great way to add intricate patterns, geometric designs, or even custom images to your wall. You can buy stencils at most craft stores, or you can even make your own using cardboard or acetate sheets. The key to successful stenciling is to secure the stencil firmly to the wall using painter's tape. This will prevent the paint from bleeding underneath the stencil and ruining your design. Use a stencil brush or a foam roller to apply the paint, using a light, even pressure. Less is more when it comes to stenciling; you can always add another coat if needed.
Consider the size and scale of your stencil when choosing a design. A large stencil can be overwhelming in a small room, while a small stencil may get lost on a large wall. Also, think about the color of your stencil. A contrasting color will create a bold statement, while a more subtle color will create a more understated effect. Stenciling is a versatile technique that can be used to create a wide range of looks, from modern and minimalist to traditional and ornate.
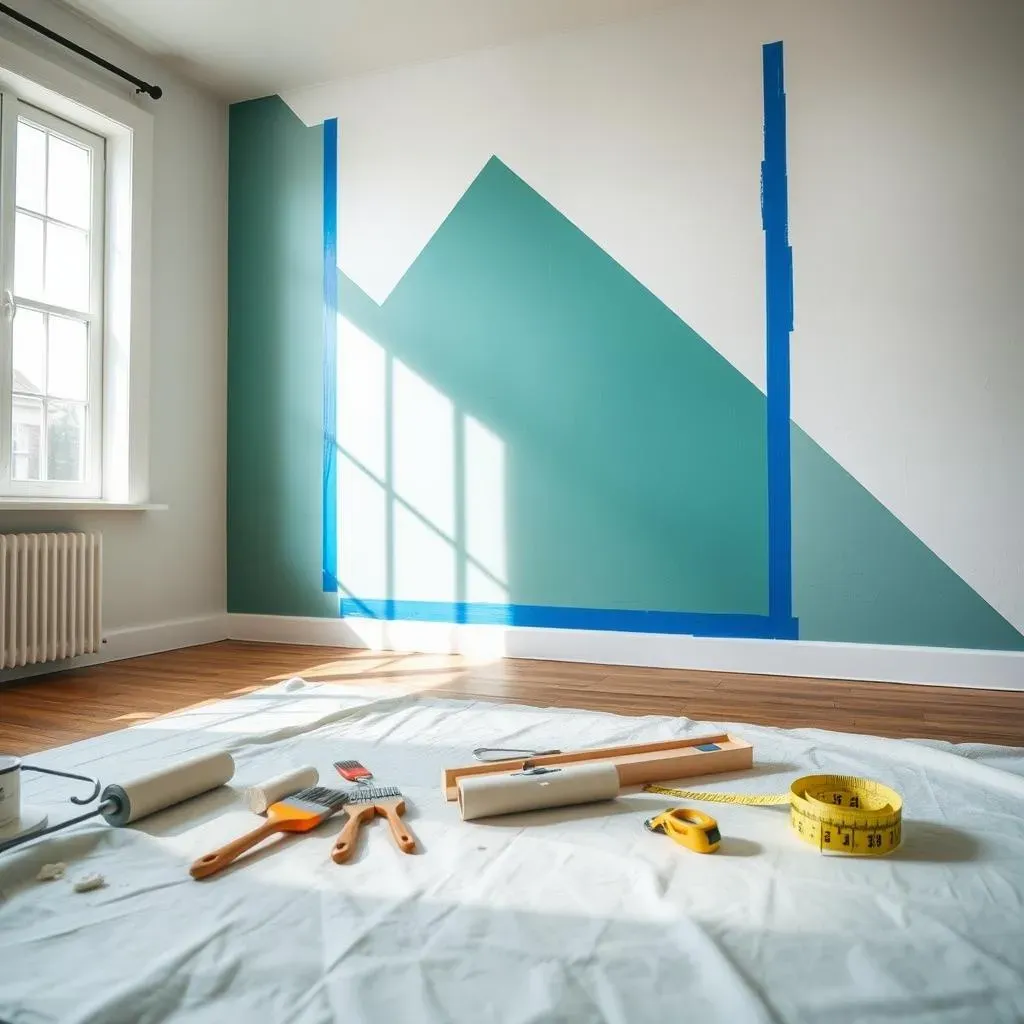
Geometric Patterns: Modern and Bold
If you're looking for a more modern and graphic look, geometric patterns are an excellent choice. This creative hand painting technique for accent walls involves using painter's tape to create clean, crisp lines and shapes. You can create all sorts of patterns, from simple stripes and triangles to more complex geometric designs. The key to success is to plan your design carefully and measure everything accurately. Use a level and a measuring tape to ensure that your lines are straight and your angles are precise. Once you've taped off your design, paint the exposed areas with your chosen colors. Let the paint dry completely before removing the tape. This will help prevent the paint from peeling or chipping.
When choosing colors for your geometric pattern, consider the existing colors in the room. A bold, contrasting color scheme will create a dramatic effect, while a more subtle color scheme will create a more understated effect. You can also use different shades of the same color to create a more dimensional look. Geometric patterns are a great way to add visual interest to a room without being too overwhelming. They're also relatively easy to create, even if you're not a seasoned painter.
Pattern Type | Description | Best Suited For |
|---|---|---|
Stripes | Simple horizontal or vertical lines | Bedrooms, hallways |
Triangles | Sharp, angular designs | Living rooms, offices |
Honeycomb | Interlocking hexagonal shapes | Nurseries, playrooms |
Chevron | Zigzag pattern | Bathrooms, entryways |
Unique Hand Painted Wall Mural Ideas for Every Room

Unique Hand Painted Wall Mural Ideas for Every Room
Bring Nature Indoors: Landscape Murals
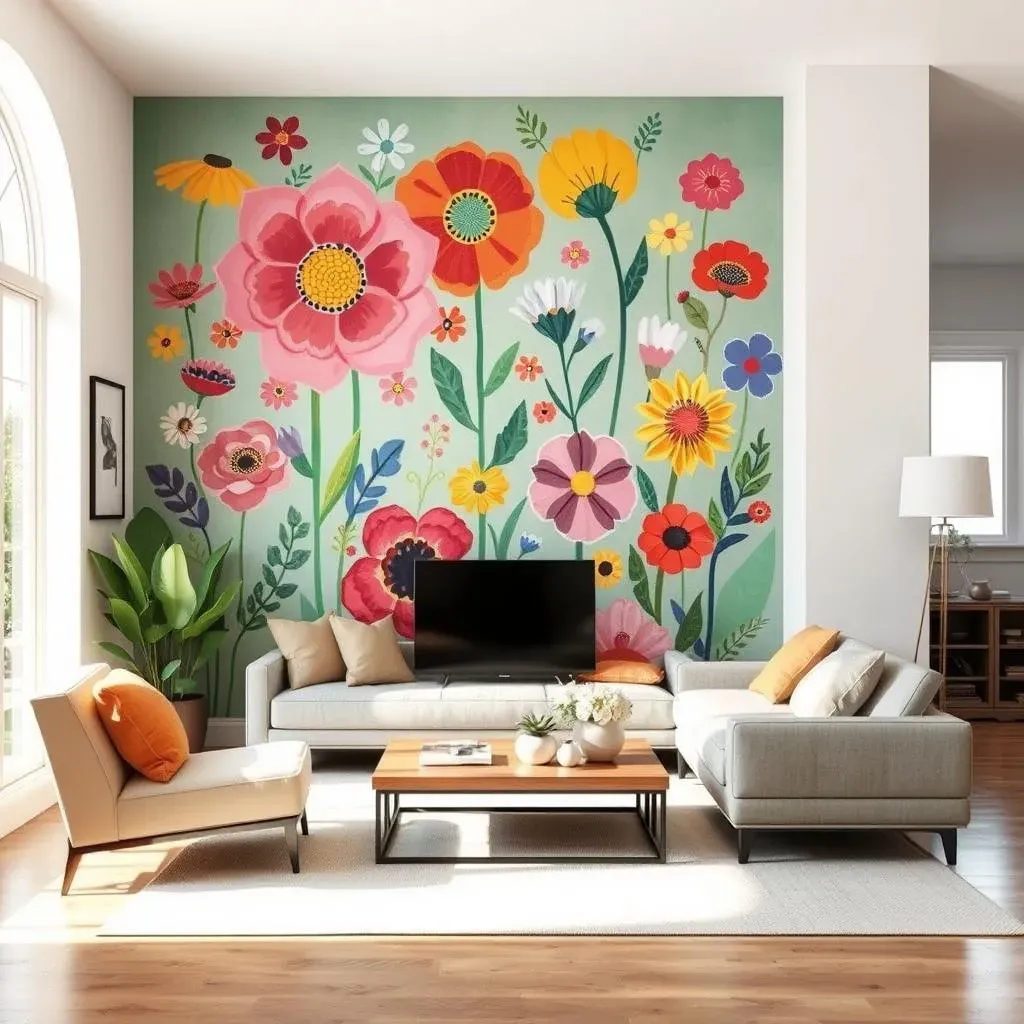
Dreaming of a tranquil escape without leaving your home? Landscape murals are your answer! These unique hand painted wall mural ideas for every room can transform any space into a serene oasis. Imagine a calming forest scene in your bedroom, a vibrant ocean view in your living room, or a whimsical mountain range in your child's playroom. The possibilities are endless! When planning your landscape mural, consider the size of the wall and the overall aesthetic of the room. A panoramic view works well on a large wall, while a smaller, more focused scene is better for a smaller space. Don't be afraid to get creative with your color palette; use soft, muted tones for a calming effect or bright, bold colors for a more energetic vibe.
To make your landscape mural even more realistic, incorporate natural elements such as trees, flowers, and animals. You can also add depth and dimension by using different shades of paint and varying your brushstrokes. If you're not confident in your artistic abilities, consider using a projector to trace an image onto the wall before painting. This will help you create a more accurate and detailed mural. Landscape murals are a fantastic way to bring the beauty of nature indoors and create a relaxing and inviting atmosphere in any room.
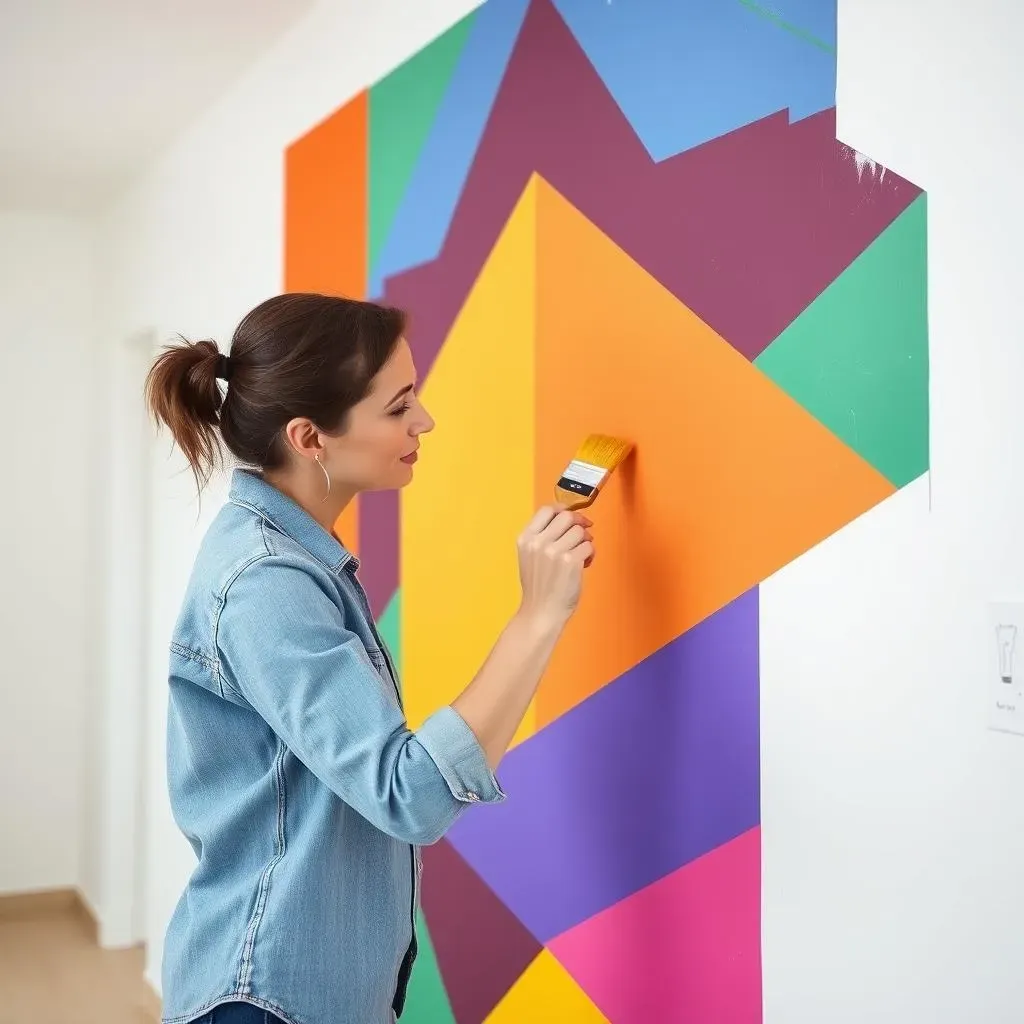
Abstract Art: Bold Statements for Modern Spaces
Want to make a bold statement and add a touch of modern flair to your home? Abstract art murals are the way to go! These unique hand painted wall mural ideas for every room are perfect for creating a focal point that's both eye-catching and thought-provoking. Abstract murals can range from simple geometric shapes to complex, multi-layered compositions. The key is to choose a design that reflects your personal style and complements the existing decor in the room. Consider using a variety of colors, textures, and brushstrokes to create a dynamic and visually interesting mural.
When planning your abstract mural, don't be afraid to experiment with different techniques. Try using sponges, rags, or even your fingers to apply the paint. You can also add texture by incorporating materials such as sand, paper, or fabric into the mural. Abstract art is all about breaking the rules and expressing yourself creatively, so let your imagination run wild! These murals work especially well in living rooms, dining rooms, and even home offices, adding a sophisticated and artistic touch to any space.
Mural Style | Description | Best Suited For |
|---|---|---|
Geometric Abstract | Clean lines, shapes, and patterns | Modern living rooms, offices |
Organic Abstract | Flowing lines, natural shapes, and textures | Bedrooms, bathrooms |
Color Field Abstract | Large blocks of color with subtle variations | Dining rooms, hallways |
Whimsical Characters: Playful Designs for Kids' Rooms
Transform your child's room into a magical wonderland with whimsical character murals! These unique hand painted wall mural ideas for every room are perfect for creating a fun and imaginative space that your kids will love. Think adorable animals, friendly monsters, fairytale creatures, or even characters from their favorite books and movies. When designing your character mural, consider the age and interests of your child. Younger children may prefer simple, colorful designs with large, easy-to-recognize characters, while older children may appreciate more detailed and sophisticated murals.
Don't be afraid to involve your child in the design process! Ask them what characters they would like to see in their mural and let them help you choose the colors and patterns. You can even let them help you paint the mural (with supervision, of course!). Character murals are a fantastic way to personalize your child's room and create a space that's both fun and inspiring. They also serve as great conversation starters and can spark your child's imagination and creativity. Remember to use non-toxic paints and seal the mural with a protective coating to ensure that it's safe and durable.
- Choose a theme that resonates with your child's interests (e.g., animals, space, fairy tales).
- Use bright, cheerful colors to create a playful atmosphere.
- Incorporate interactive elements, such as hidden objects or counting games.
- Consider adding a chalkboard area where your child can draw and create their own art.
From Inspiration to Installation: Mastering Hand Painted Accent Walls
From Inspiration to Installation: Mastering Hand Painted Accent Walls
Scaling Up: Dealing with Larger Walls
So, you've nailed the basics and you're ready to tackle a full-blown accent wall? Awesome! From inspiration to installation: mastering hand painted accent walls on a larger scale requires a bit more planning and prep, but the payoff is huge. First off, measure, measure, measure! Knowing the exact dimensions of your wall is crucial for scaling up your design and ensuring that everything fits properly. Consider using a grid system to transfer your design from paper to the wall. This will help you maintain proportions and avoid any unpleasant surprises. And don't be afraid to enlist a friend or family member to help you with the painting; a second pair of hands can make the process much faster and easier.
When painting a large wall, it's important to work in sections to prevent the paint from drying out too quickly. Use a large roller to cover the majority of the wall and then go back with a brush to add details and touch up any areas that the roller missed. Also, be sure to use a good quality paint that's designed for large surfaces. This will help you achieve a smooth, even finish and prevent the paint from peeling or cracking over time. With a little bit of planning and effort, you can transform any large wall into a stunning work of art.
Troubleshooting Common Painting Problems
Let's be real, even the most experienced painters run into snags sometimes. From inspiration to installation: mastering hand painted accent walls also means knowing how to fix those little oops moments. Paint bleeding under the tape? That's usually caused by not sealing the tape properly. Press down firmly on the edges of the tape with a putty knife or credit card to create a tight seal. If the paint is still bleeding, try applying a thin coat of clear sealant along the edge of the tape before painting. Paint drips? Wipe them away immediately with a damp cloth. If the paint has already dried, you may need to lightly sand the area and touch it up with a fresh coat of paint. And if you accidentally paint over an area that you didn't intend to paint, don't panic! Let the paint dry completely and then carefully scrape it away with a razor blade or putty knife.
Also, sometimes, the biggest problem is just lack of confidence. Don't be afraid to experiment and try new things. If you make a mistake, so what? It's just paint! You can always paint over it and start again. The most important thing is to have fun and let your creativity shine through. Here's a handy table for quick fixes:
Problem | Solution |
|---|---|
Paint Bleeding Under Tape | Seal tape edges firmly; apply clear sealant |
Paint Drips | Wipe immediately with damp cloth; sand & touch up if dry |
Accidental Paint Overlap | Let dry, carefully scrape away with razor blade |
Uneven Paint Texture | Sand lightly, apply another thin coat |
Sealing and Protecting Your Masterpiece
You've poured your heart and soul into creating your hand-painted accent wall, so you want to make sure it lasts for years to come. From inspiration to installation: mastering hand painted accent walls isn't complete without proper sealing and protection! Once the paint is completely dry, consider applying a clear coat of sealant to protect the mural from scratches, stains, and fading. Choose a sealant that's designed for interior use and that's compatible with your paint. Apply the sealant in thin, even coats, following the manufacturer's instructions. You may need to apply multiple coats for maximum protection. This is especially important in high-traffic areas or in rooms that are prone to moisture, such as bathrooms and kitchens.
Also, be sure to clean your accent wall regularly to prevent dust and dirt from building up. Use a soft, damp cloth to wipe down the wall, avoiding harsh chemicals or abrasive cleaners. With proper care and maintenance, your hand-painted accent wall will continue to be a stunning focal point in your home for years to come. And remember, the best part about creating your own accent wall is that you can always change it up whenever you feel like it! So, go ahead, get creative, and let your walls tell your story. Here are some final touch tips:
- Apply a clear coat sealant for protection.
- Clean regularly with a soft, damp cloth.
- Avoid harsh chemicals and abrasive cleaners.
- Touch up any scratches or chips as needed.
Conclusion: Your Walls, Your Story
So, you've journeyed through the vibrant landscape of hand painted accent wall ideas, armed with inspiration and practical know-how. Remember, the most stunning accent walls aren't just about technique; they're about reflecting your unique style and personality. Don't be afraid to experiment, embrace imperfections, and let your creativity flow. Whether you opt for a simple geometric pattern or a sprawling mural, your hand painted accent wall will undoubtedly transform your space into a personalized sanctuary. Now go forth, grab those brushes, and paint your story onto the walls!