Table of Contents
Let's be real. That big black rectangle in your living room? It's probably the focal point whether you like it or not. And maybe the wall behind it is just... a wall. Beige? White? A sad attempt at a gallery wall? If your entertainment setup feels less like a stylish command center and more like wires nesting behind a screen, you're not alone. It’s time to give that space the attention it deserves. Creating an entertainment accent wall isn't just about slapping some paint on a wall; it's about transforming a functional area into a statement piece that enhances your entire room.
What is an Entertainment Accent Wall and Why Bother?
What is an Entertainment Accent Wall and Why Bother?
Defining the Entertainment Accent Wall
Alright, let's cut to the chase. What exactly is an entertainment accent wall? It's the wall where your TV lives, but elevated. Instead of just being a flat surface you hang a screen on, it becomes a designed feature of your room. Think of it as the stage for your viewing experience, whether that's binge-watching the latest prestige drama or crushing it on your gaming console. It can involve anything from a bold paint color or wallpaper to textured panels, built-in shelving, floating cabinets, or even stone or wood cladding. The goal? To make that area look intentional, integrated, and frankly, pretty cool. It pulls the whole entertainment setup together, hiding the visual clutter and creating a cohesive look that says, "Yes, I thought about this," instead of "I just plopped the TV there."
The Case for Bothering: More Than Just Pretty
So, why go through the trouble of creating an entertainment accent wall? Is it just for show? Not entirely. While aesthetics play a huge part – let's face it, a well-designed wall looks infinitely better than tangled wires and a lonely TV – there's a practical side too. A good accent wall can provide smart storage solutions for media components, games, and decor. It can help manage cables, keeping them out of sight and out of mind (and away from pets who think they're chew toys). It can define the entertainment zone in an open-plan living space. Plus, it gives you a chance to inject some personality into a functional area that often gets overlooked. It's about making the place where you unwind actually feel like a place you *want* to unwind. It’s an upgrade that pays off every time you turn on the screen.
Why bother with an entertainment accent wall?
- It looks significantly better than a plain wall with a TV.
- It helps hide those ugly cables and wires.
- It can add valuable storage space.
- It defines your entertainment area.
- It adds personality and style to your room.
- It makes your TV feel less like an appliance and more like part of the decor.
Planning Your Entertainment Accent Wall: From Concept to Color

Planning Your Entertainment Accent Wall: From Concept to Color
Dreaming Up Your Entertainment Command Center
Alright, before you even think about buying paint or lumber, you need a plan. Staring blankly at a wall doesn't count. What do you actually *want* this entertainment accent wall to do? Is it just about looks, or do you desperately need storage for your ever-growing collection of gaming consoles or Blu-rays (yes, some of us still have those)? Consider the size of your TV and the room itself. A massive built-in unit might overwhelm a small space, just like a tiny floating shelf will look ridiculous under a 75-inch screen. Think about the style of your room – modern and minimalist, cozy and rustic, something totally unique? Grab a notebook, or fire up a Pinterest board. Start collecting ideas. Look at what others have done. What features do you like? What absolutely makes you cringe? This is the fun part, the brainstorming phase where you can go a little wild before reality (and your budget) kicks in.
Measure the wall. Seriously, measure it twice. Know the dimensions you're working with. Note the location of outlets, windows, and doorways. These aren't just annoying obstacles; they're constraints that will shape your design. Ignoring them now leads to headaches later. Do you want the TV mounted? How high? Where will the soundbar go? What about speakers? Sketch out a few ideas. They don't need to be architectural masterpieces, just rough layouts to visualize the possibilities. This initial thinking saves you from impulse buys and design regrets.
Picking Your Palette: More Than Just Paint
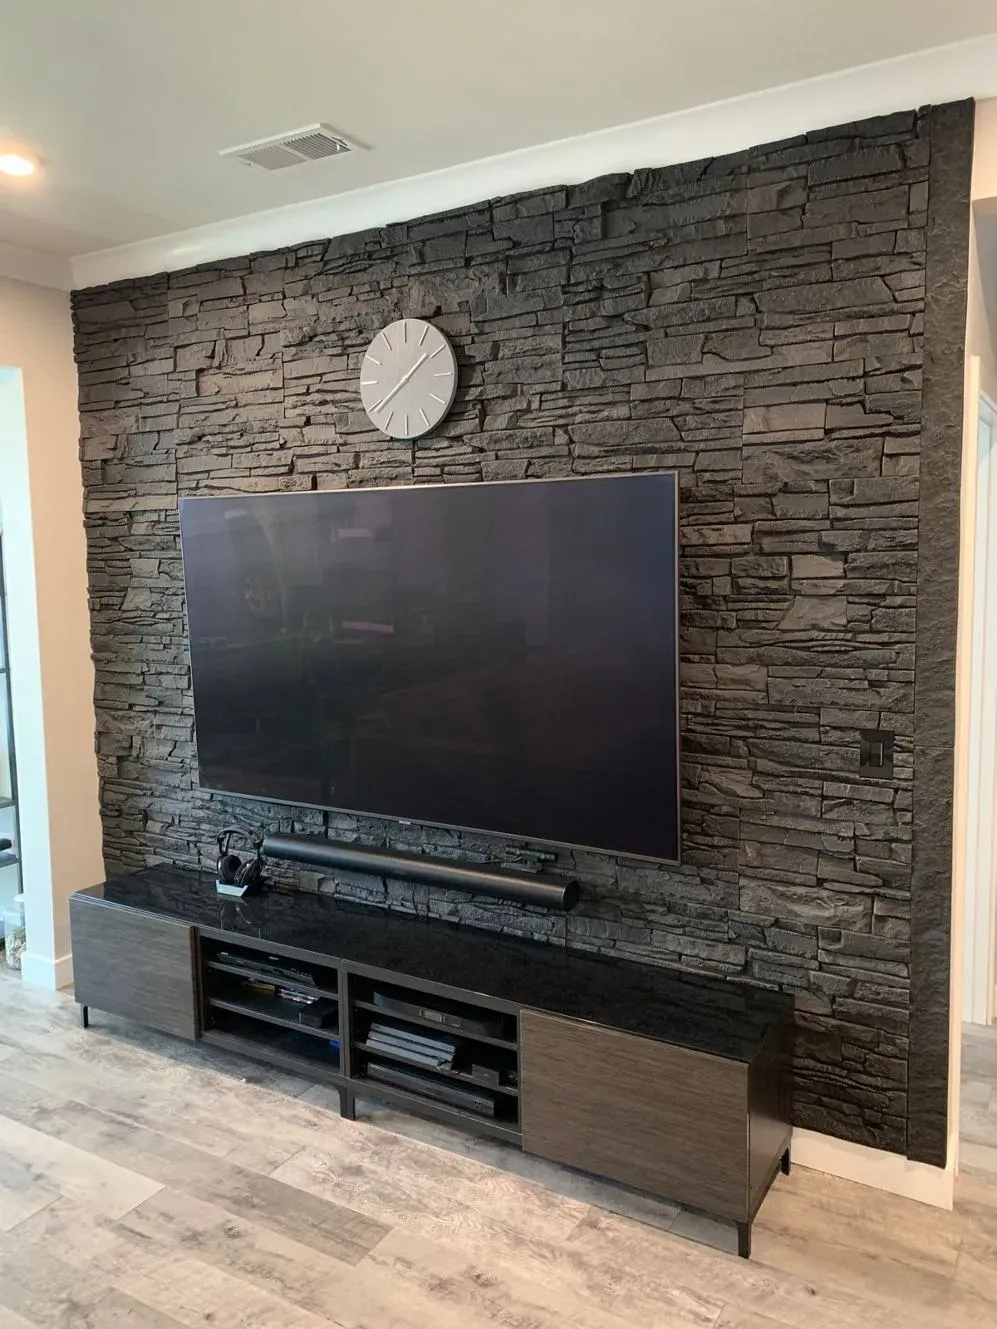
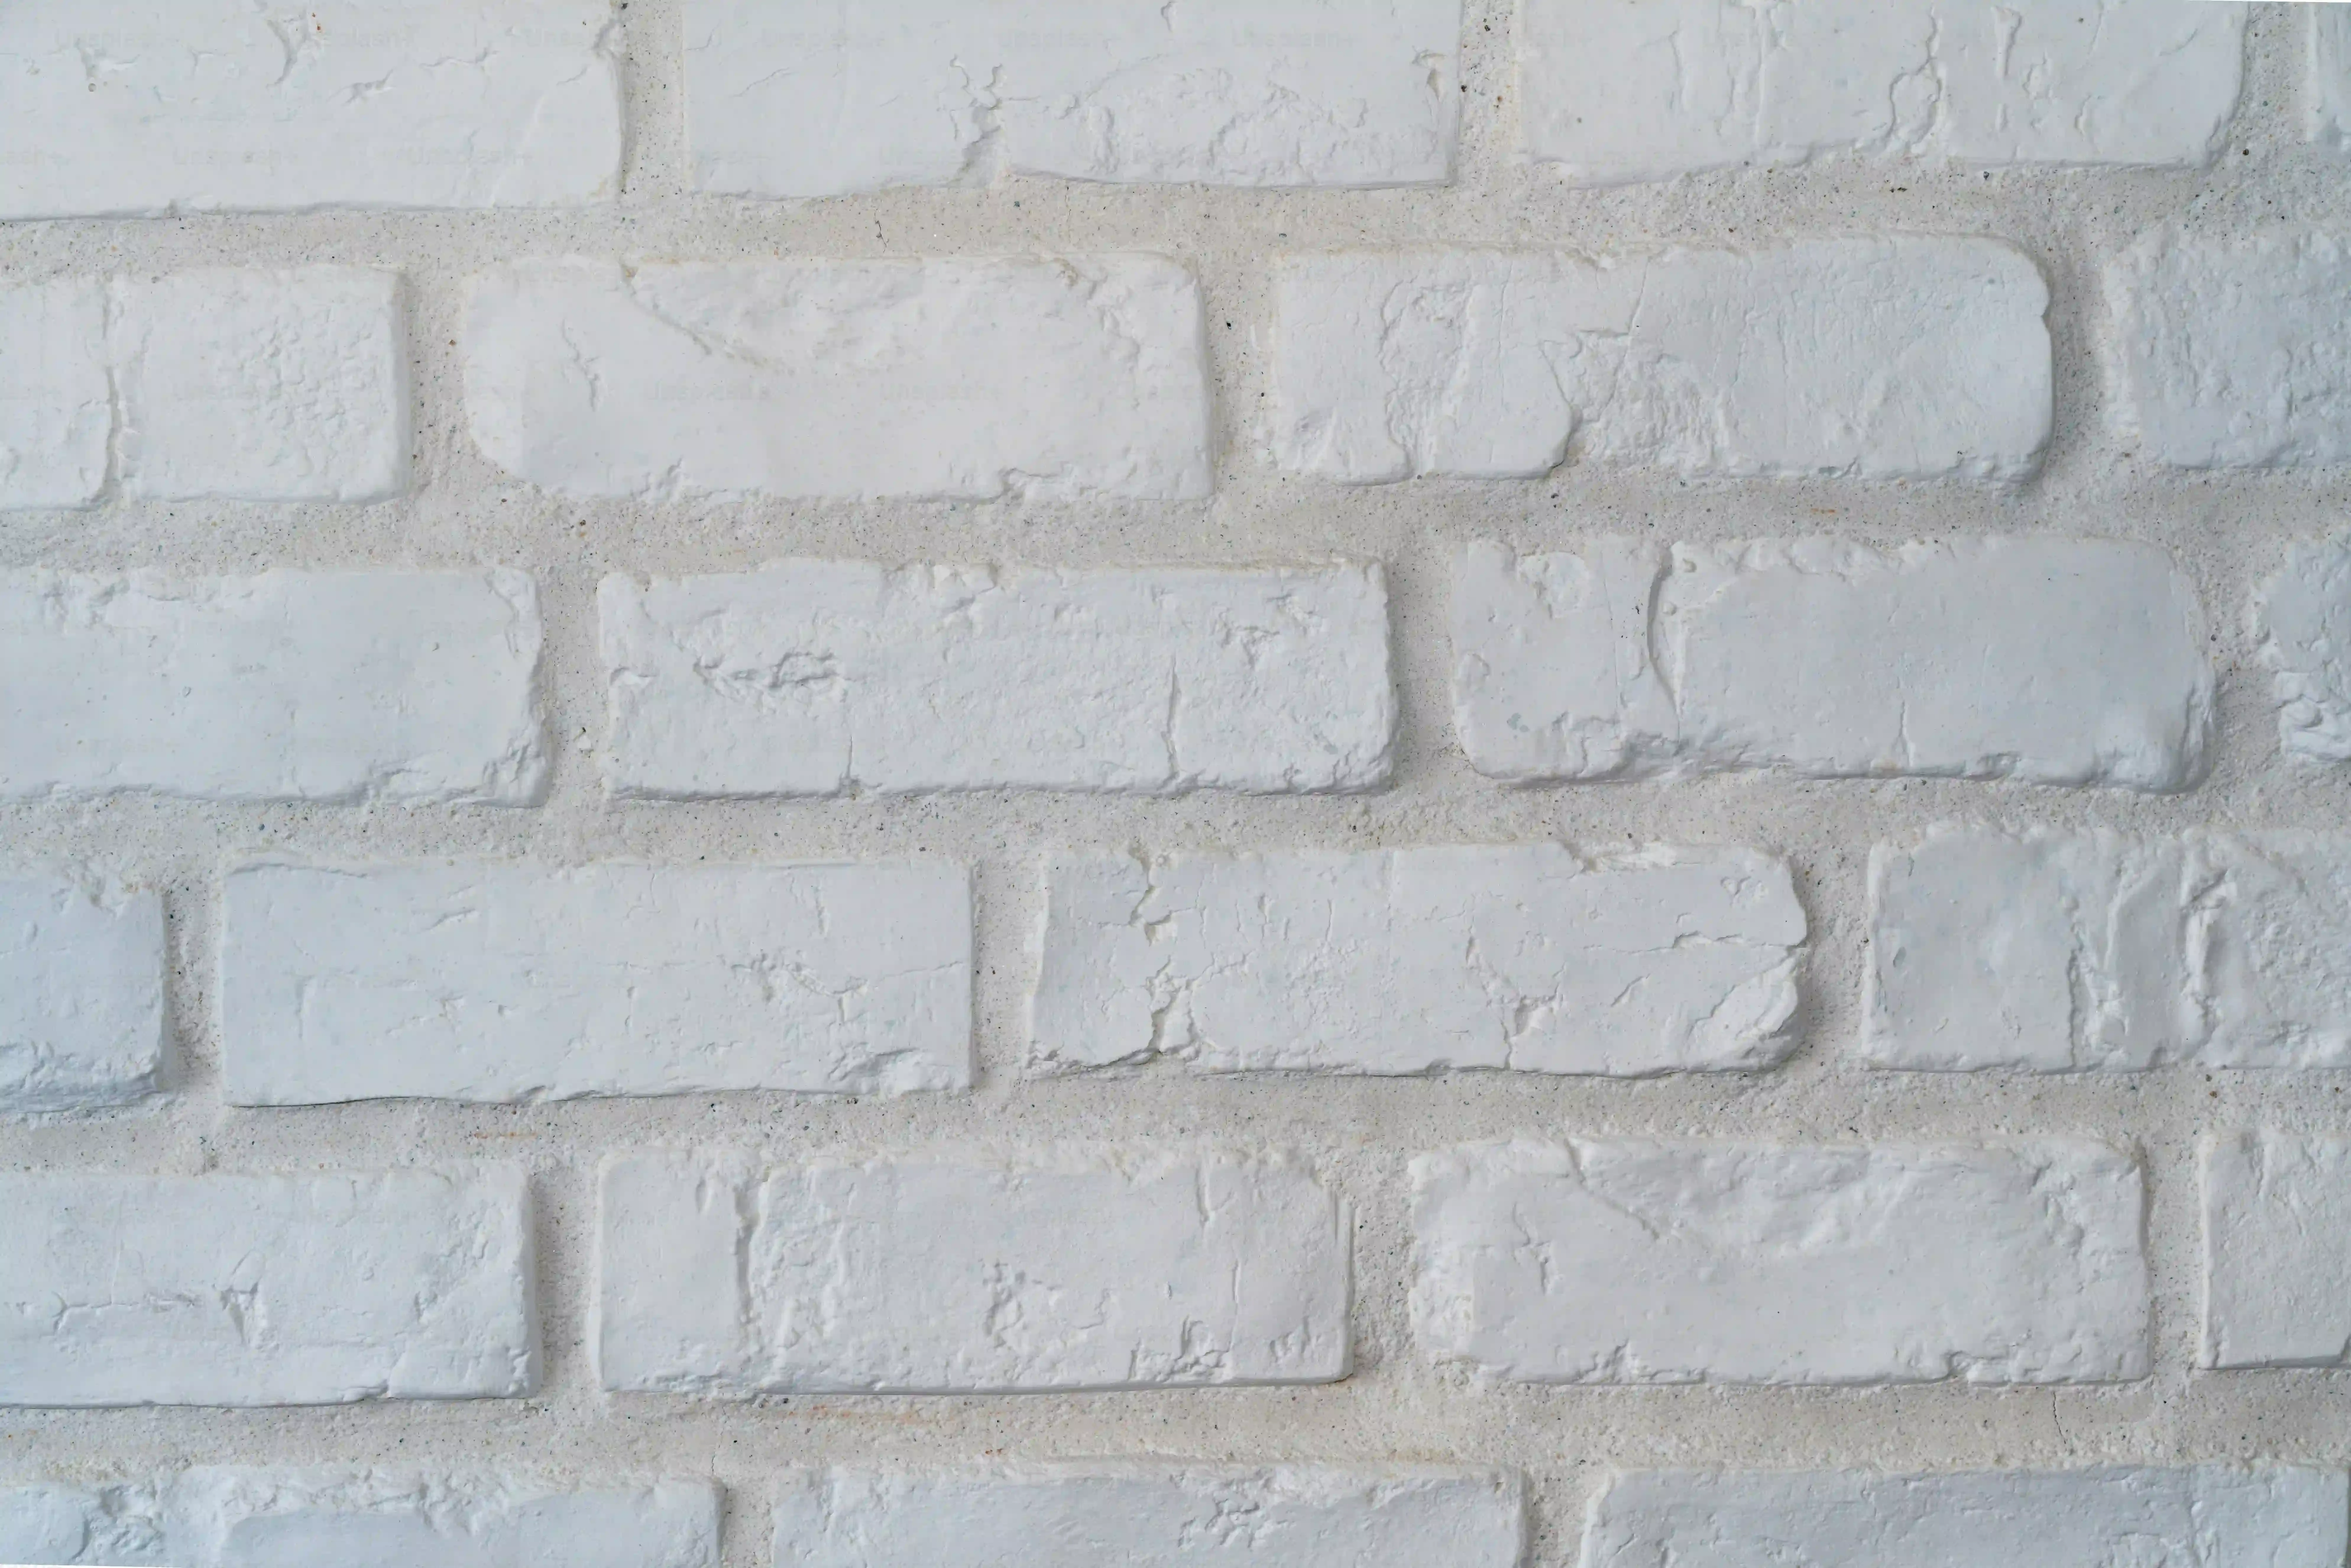
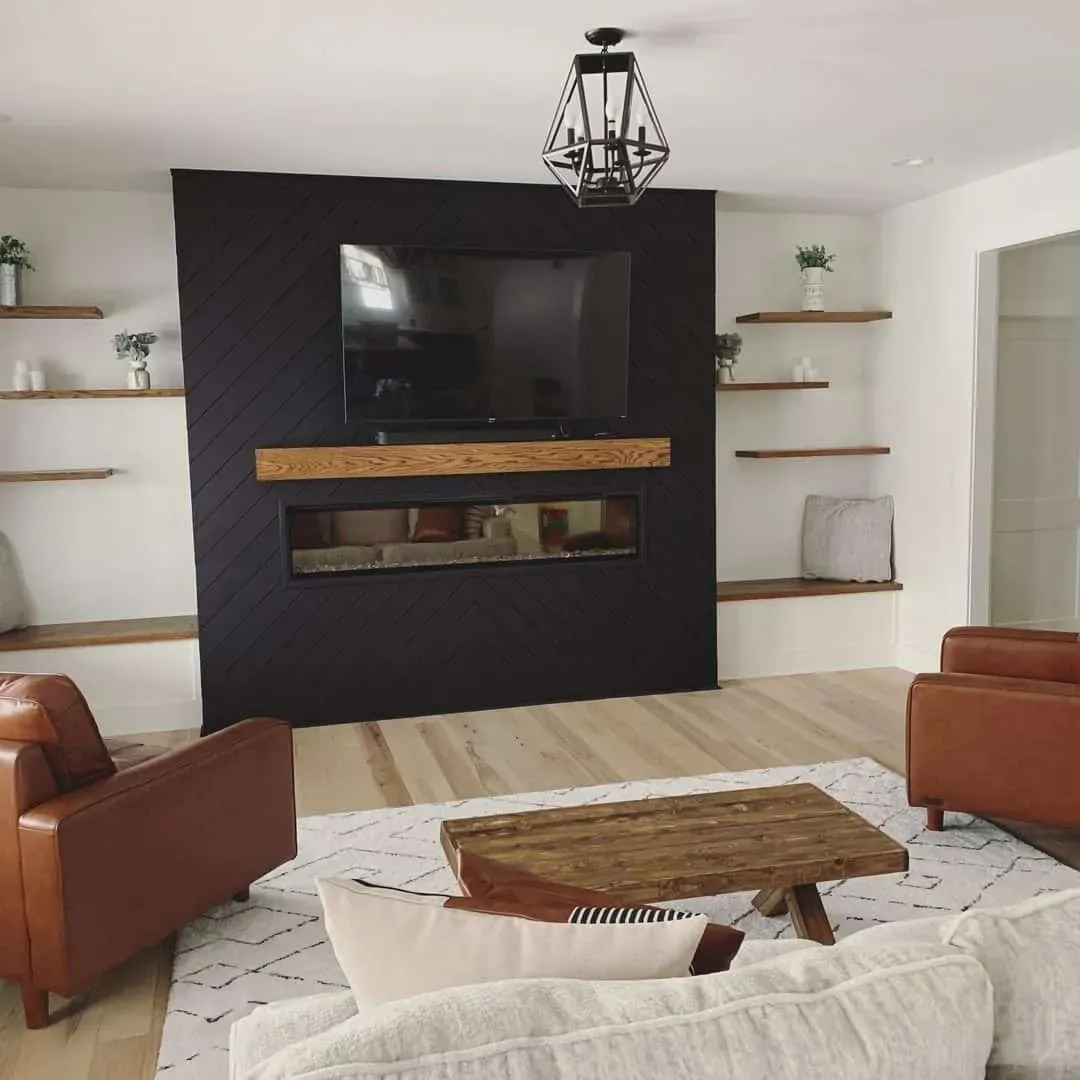
Once you have a general idea of the layout and function, it’s time to think about the skin of your entertainment accent wall. Color is the most obvious choice, and often the easiest. A deep navy, a charcoal gray, or even a dramatic black can make the TV screen pop and create a cozy, theater-like feel. But don't limit yourself to just paint. Wallpaper offers endless patterns and textures, from subtle geometrics to bold murals. Or maybe texture is the goal? Wood panels, shiplap, brick veneer, or even acoustic panels can add depth and character. These material choices drastically change the vibe of the wall and the room. Do you want something warm and inviting, or sleek and modern? The material helps tell that story.
Consider how the color or material interacts with the rest of your room. Does it complement your existing furniture and decor, or will it clash like socks with sandals? Get samples. Paint swatches on the wall and look at them in different lights throughout the day. Order wallpaper samples. Touch and feel material samples. The tiny picture online never tells the whole story. This step is crucial for avoiding that "well, that didn't turn out like I thought" moment. It's better to spend a few bucks on samples than hundreds on materials you hate once they're installed.
What's your entertainment accent wall style?
- Minimalist: Clean lines, hidden storage, subtle texture or color.
- Industrial: Brick, metal accents, visible (but tidy) components.
- Rustic: Wood panels, stone veneer, warm colors.
- Modern: Bold color, geometric patterns, floating shelves.
- Cozy: Deep colors, soft textures, ambient lighting.
Building Your Entertainment Accent Wall: Materials, Mounting, and Hiding Wires
Building Your Entertainment Accent Wall: Materials, Mounting, and Hiding Wires
Getting Your Hands Dirty: Choosing and Working with Materials
planning is over. Time to actually build this thing. You’ve picked your materials – maybe it’s sleek MDF panels, rustic reclaimed wood, or some cool textured wallpaper. Now you need to get it on the wall. If you're using panels or wood, measure meticulously. Cut twice, measure once? No, measure twice, cut once. Trust me on this. Use the right tools for the material. A fine-tooth blade for clean cuts on wood or MDF, a sharp utility knife for wallpaper. Adhesives, nails, screws – know what works best for your chosen material and the type of wall you have (drywall, plaster, etc.). Don't skip the prep work either. Patch holes, clean the wall surface. It makes a difference in the final look. Installing panels or wood can be a bit of a puzzle, especially around outlets. Take your time, dry-fit pieces before making permanent attachments. This is where your earlier measurements and sketches pay off big time.
Putting the Screen Up: Mounting the TV Just Right
The TV is the star of the show on your entertainment accent wall, so getting the mounting right is critical. First, make sure you have a sturdy mount rated for the size and weight of your TV. Don't cheap out here. Locate the studs in your wall. Mount the bracket directly into studs whenever possible. If stud placement isn't ideal, use heavy-duty drywall anchors, but studs are always preferred for security. Consider the viewing height. The center of the screen should ideally be at eye level when you're seated. This prevents neck strain during those long movie marathons. Have a friend help you lift the TV. They are heavy, and dropping one is a bad day for everyone involved. Double-check that it's level before you walk away. A crooked TV on a carefully designed accent wall is just... sad.
Essential Tools for Building Your Entertainment Accent Wall:
- Measuring tape (a good one!)
- Level (longer is better for checking large sections)
- Stud finder
- Drill
- Appropriate saw for cutting materials (circular saw, jigsaw, utility knife)
- Safety glasses (seriously, wear them)
- Fasteners (screws, nails, adhesive – specific to your materials)
- Caulk and wood filler (for finishing)
The Nemesis: Conquering Cable Clutter
Ah, wires. The bane of any clean entertainment setup. An entertainment accent wall is the perfect opportunity to make them disappear. The best approach depends on your design. If you're building out the wall with panels or a false wall, you can often run conduit or channels behind the new surface. If you're just painting or wallpapering, surface-mounted cable management channels are your friend. They come in various colors and can often be painted to match your wall, blending in surprisingly well. Another option is cutting small access holes behind the TV and near your components, running the wires inside the wall cavity (check local building codes first, especially if running electrical wires). Use zip ties or Velcro straps to bundle cables neatly behind components. It takes a little effort, but hiding those spaghetti nests makes the entire entertainment accent wall look infinitely cleaner and more professional. Don't underestimate the visual power of zero visible wires.
Finishing Touches and Making it Pop
Seamless Finishes: Filling, Sanding, and Painting Perfection
the hard structural work is done. You’ve got your panels up, your shelves mounted, maybe even a clever channel for wires. But look closely. See those tiny gaps where pieces meet? Nail holes? Screw heads? This is where you separate a decent DIY job from one that looks genuinely professional. Grab some wood filler or caulk. Seriously, caulk is your best friend here. Run a thin bead along seams and wipe the excess with a damp cloth for a smooth transition. Fill every little hole. Once the filler is dry, sand it smooth. Don't skip the sanding; it makes a world of difference. Prime any raw wood or patched areas. Then, it's time for the final paint coat. Take your time. Two thin coats are always better than one thick, drippy mess. Use good quality paint and brushes/rollers. This final surface finish is what everyone will see, so make it count. A perfectly smooth, uniform finish makes even simple materials look high-end on your entertainment accent wall.
Layering the Look: Lighting, Decor, and Final Polish
The structure is solid, the finish is smooth. Now for the fun part: making your entertainment accent wall feel alive. This is where you add personality beyond just the TV. Think about lighting. LED strip lights tucked behind floating shelves or panels can cast a cool, ambient glow, perfect for movie nights. Small spotlights can highlight decor items. Next, decor. Don't just cram every knick-knack you own onto the shelves. Choose a few curated pieces that complement the style of the wall and the room. Books, plants, framed art, collectibles – arrange them thoughtfully. Leave some empty space; it lets the eye rest and makes the pieces you do display stand out. Finally, do one last sweep for any rogue wires that might have escaped your earlier efforts. Tidy them up, secure them, make them disappear. Step back and admire your handiwork. You've turned a boring wall into a focal point.
- Add LED strip lights for ambiance.
- Place curated decor items on shelves.
- Use plants to add life and color.
- Frame artwork or photos.
- Ensure all visible wires are neatly managed or hidden.
- Consider small spotlights to highlight specific items.
- Leave some negative space for a clean look.
Your Entertainment Space, Elevated
So there you have it. Moving beyond just mounting a TV, designing and building an entertainment accent wall takes a bit of thought and elbow grease, but the payoff is significant. You've gone from a plain wall with a screen to a deliberate design element that centers your room and, hopefully, keeps those pesky cables out of sight. It's a functional upgrade that also makes a visual statement. Now, sit back, grab the remote, and actually enjoy looking at your setup.