Table of Contents
Bored with your bland walls? Want to inject some personality into your living space without breaking the bank? Then you've come to the right place! This article is your ultimate guide to creating **easy DIY accent walls** that will transform any room from drab to fab. We'll walk you through the entire process, from initial planning and material selection to the actual installation and even some creative ideas to spark your imagination.
Planning Your Easy DIY Accent Wall: Design and Material Selection
Planning Your Easy DIY Accent Wall: Design and Material Selection
Define Your Style and Space
so you're ready to tackle an accent wall – awesome! But before you even think about picking up a hammer, let's nail down (pun intended!) your vision. What kind of vibe are you going for? Is it modern and minimalist, rustic and cozy, or maybe something bold and eclectic? Consider the existing décor in the room. An accent wall should complement, not clash.
Think about the size and shape of the room too. A dark color on a large wall can make a small room feel even smaller, while a light, textured wall can add depth and dimension. Also, what's the purpose of the room? A calming blue might be perfect for a bedroom, but a vibrant yellow could energize a home office.
Don't be afraid to browse Pinterest, Instagram, and home décor magazines for inspiration. Save the images that resonate with you and start identifying common themes. Are you drawn to geometric patterns, natural wood, or bold colors? Once you have a clear idea of your desired aesthetic, you can start thinking about materials.
Choosing the Right Materials: Budget and Skill Level
Now for the fun part: picking your materials! This is where your budget and DIY skill level come into play. Paint is the most budget-friendly and beginner-friendly option. You can create endless effects with different colors, techniques, and stencils.
Wood is another popular choice, offering a wide range of styles from rustic shiplap to sleek, modern panels. However, wood projects often require more tools and experience. Wallpaper is a great way to add pattern and texture, but it can be tricky to install correctly. And then there are more unconventional options like brick veneer, fabric, or even reclaimed materials. The sky's the limit!
Consider the following factors when choosing your materials:
- Budget: How much are you willing to spend on materials?
- Skill Level: Are you comfortable using power tools? Do you have experience with wallpapering?
- Time Commitment: How much time are you willing to dedicate to the project?
- Maintenance: How easy will the finished wall be to clean and maintain?
Pro Tip: Always order a little extra material to account for mistakes and waste. It's better to have too much than not enough!
Color Psychology and Texture Considerations
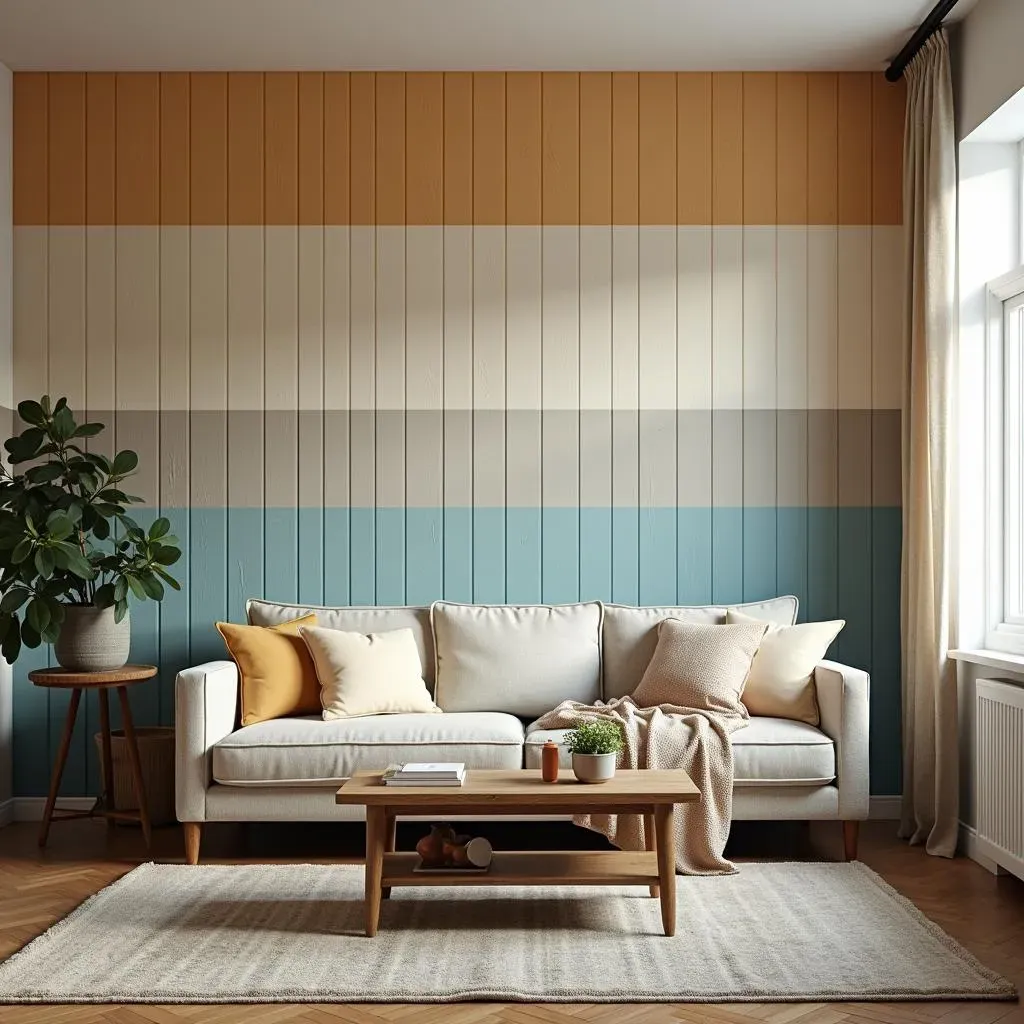
Don't underestimate the power of color! Color psychology plays a huge role in how a room feels. Blues and greens are generally calming, reds and oranges are energizing, and yellows are cheerful. Consider the mood you want to create in the room and choose your colors accordingly.
Texture is another important element to consider. A textured wall can add depth and visual interest, even if it's painted a neutral color. Think about using textured paint, wood panels, or even adding a layer of fabric. The texture can also help to hide imperfections in the wall.
Here's a quick guide to color associations:
Color | Associations |
|---|---|
Blue | Calming, serene, trustworthy |
Green | Nature, growth, harmony |
Red | Energy, passion, excitement |
Yellow | Happiness, optimism, creativity |
Gray | Neutrality, sophistication, balance |
Ultimately, the best way to choose your colors and textures is to experiment! Get some paint samples, try out different textures, and see what you like best. Have fun with it!
StepbyStep Guide to Installing Your DIY Accent Wall
StepbyStep Guide to Installing Your DIY Accent Wall
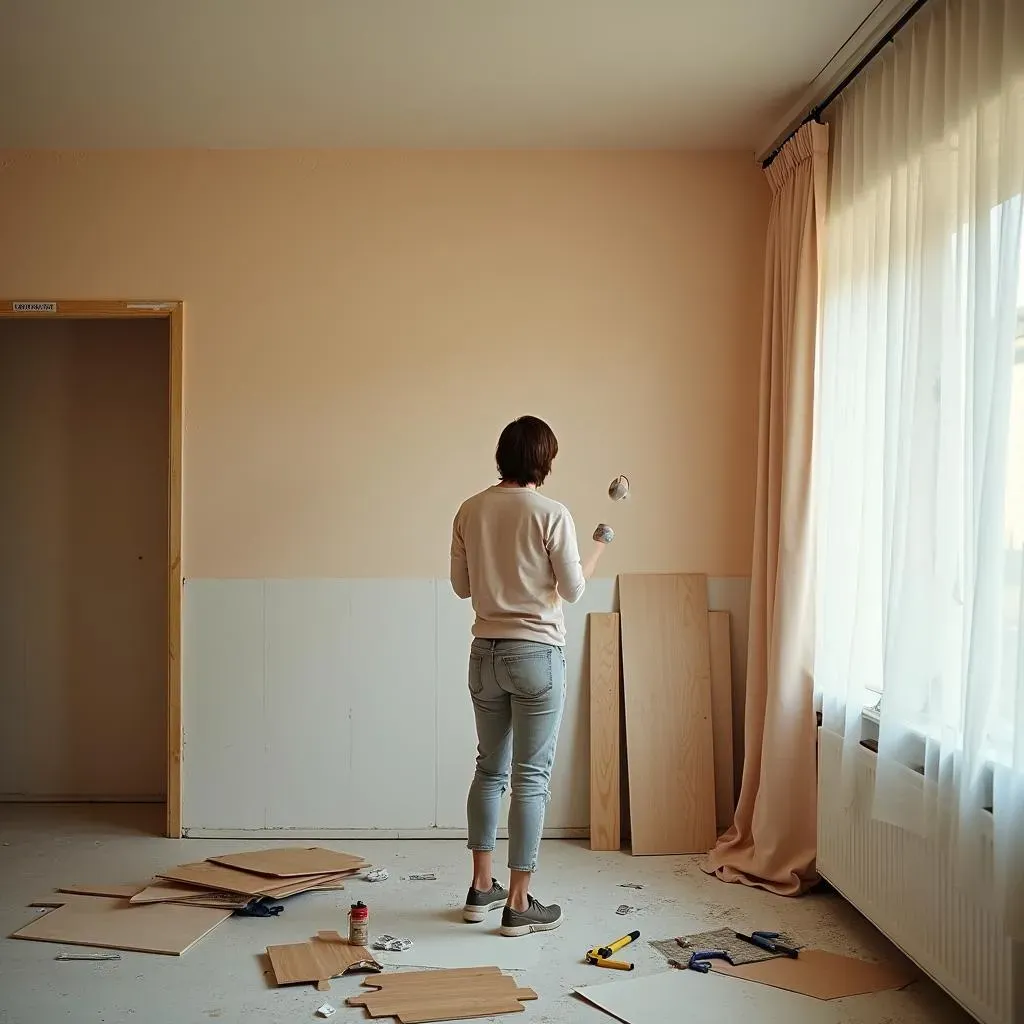
Prep Like a Pro: Wall Preparation is Key
Alright, you've got your design, your materials, and a vision. Now, let's talk prep! I cannot stress this enough: proper wall preparation is the secret sauce to a professional-looking accent wall. Start by giving your wall a good cleaning. Remove any dust, dirt, or grime with a damp sponge and mild detergent. If there are any holes or imperfections, fill them with spackle and let it dry completely. Sand the spackle smooth for a seamless finish.
Next, grab your painter's tape and carefully tape off the edges of the wall, including the ceiling, floor, and any adjacent walls. This will create a clean, crisp line and prevent paint from bleeding. If you're working with wood or wallpaper, you might need to prime the wall first. Primer helps the adhesive stick better and prevents the existing paint color from showing through. Let the primer dry completely before moving on to the next step.
Here's a quick checklist for wall preparation:
- Clean the wall
- Fill any holes or imperfections
- Sand smooth
- Tape off edges
- Prime (if necessary)
Trust me, spending the extra time on prep will pay off in the long run. A smooth, clean surface is essential for a flawless finish.
Installation Techniques: From Paint to Panels
the wall is prepped, and you're ready to start installing your accent wall! The specific techniques will vary depending on the materials you've chosen, but here are some general guidelines:
Paint: Apply even coats of paint using a roller or brush. For a smooth finish, use a high-quality roller and avoid applying too much pressure. Let each coat dry completely before applying the next. If you're using a stencil, secure it to the wall with painter's tape and use a stencil brush to apply the paint. Be careful not to use too much paint, or it will bleed under the stencil.
Wood Panels: Measure and cut your wood panels to size. Apply construction adhesive to the back of each panel and press it firmly against the wall. Use a nail gun to secure the panels in place. If you're using shiplap, overlap the edges of each panel for a rustic look. You can also use a level to make sure everything is aligned correctly.
Wallpaper: Apply wallpaper paste to the back of the wallpaper and carefully align it with the top edge of the wall. Use a smoothing tool to remove any air bubbles. Trim off any excess wallpaper with a utility knife. Overlap the edges of each strip of wallpaper for a seamless look.
Here's a table summarizing the key installation steps for different materials:
Material | Installation Steps |
|---|---|
Paint | Apply even coats, let dry, use stencils if desired |
Wood Panels | Measure, cut, apply adhesive, secure with nail gun |
Wallpaper | Apply paste, align, smooth, trim excess |
Creative Easy DIY Accent Wall Ideas for Every Room
Creative Easy DIY Accent Wall Ideas for Every Room
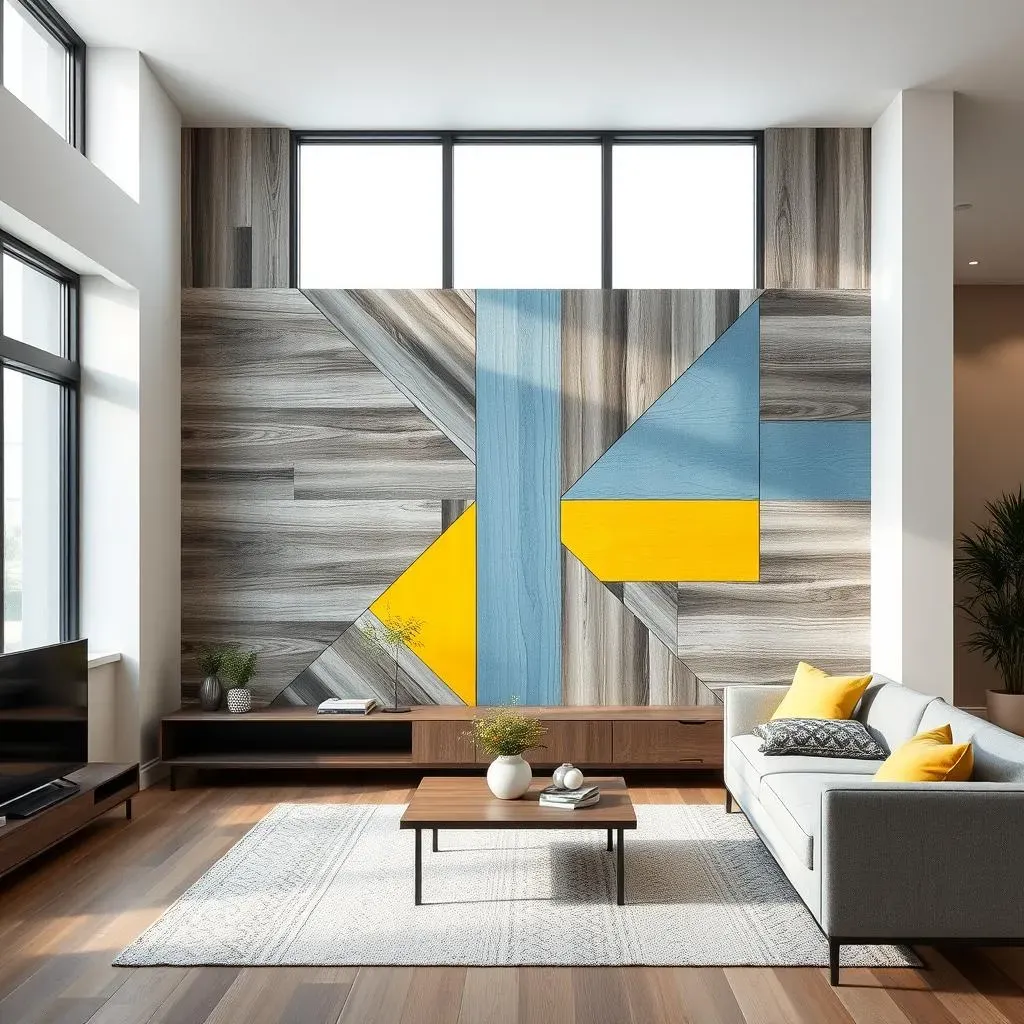
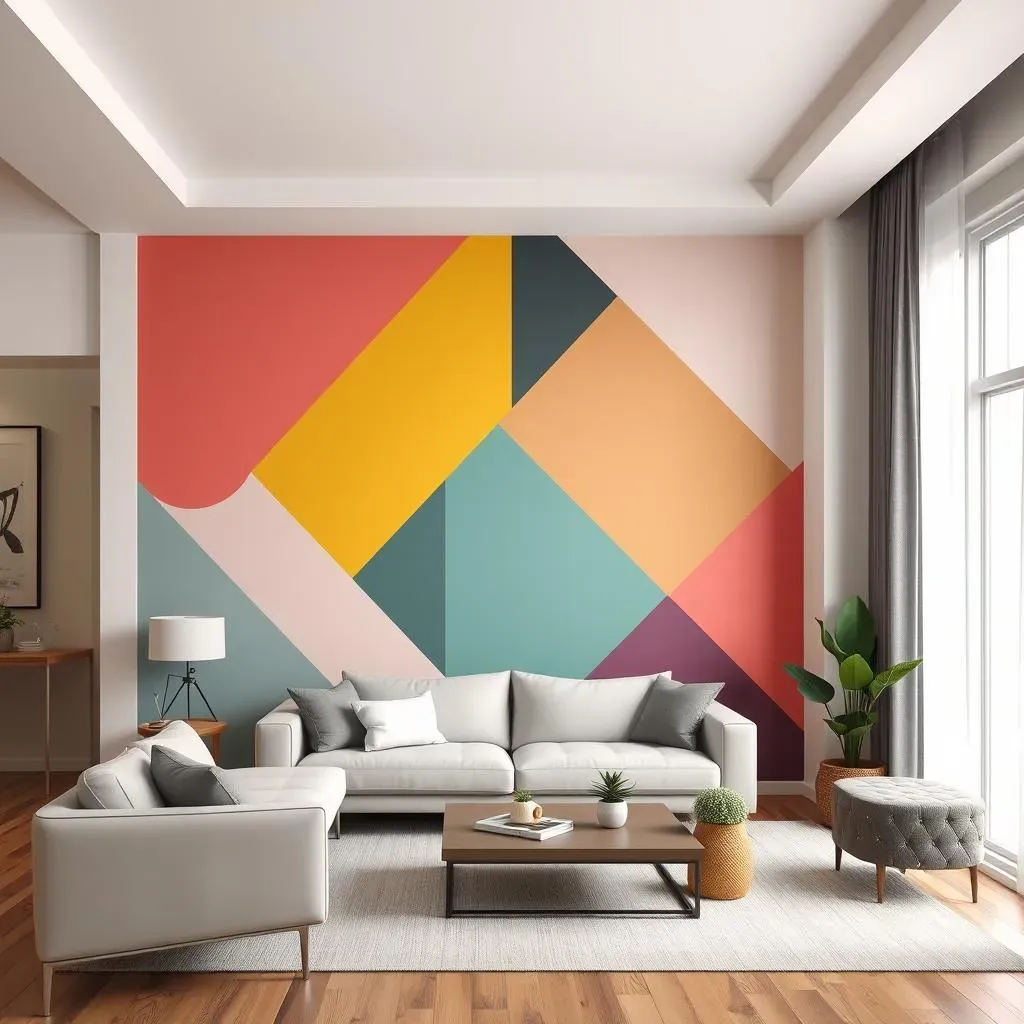
Geometric Glam: Painting with Precision
Want to add a modern touch? Geometric patterns are your friend! Grab some painter's tape, a level, and your favorite paint colors. Create triangles, squares, or even more complex designs. The key is precision – take your time with the tape to ensure clean lines. For a bolder look, use contrasting colors. For something more subtle, stick with different shades of the same color. This is super customizable and totally budget-friendly. You could even try a gradient effect, fading from one color to another!
If freehanding geometric shapes feels daunting, stencils are your secret weapon. You can find tons of geometric stencils online or at craft stores. Just secure the stencil to the wall with tape and paint over it with a stencil brush or sponge. Remove the stencil carefully and voila! Instant geometric glam. Remember to let each section dry completely before moving on to the next to avoid smudging.
Here are some popular geometric patterns for accent walls:
- Chevron
- Honeycomb
- Triangles
- Squares
- Diamonds
Rustic Retreat: Embrace Natural Wood
For a cozy and inviting vibe, consider incorporating natural wood into your accent wall. Shiplap is a classic choice, adding texture and character to any room. You can buy pre-made shiplap panels or create your own by ripping down plywood boards. For a more rustic look, use reclaimed wood with knots and imperfections. Attach the wood to the wall using construction adhesive and a nail gun. Stain or paint the wood to match your décor.
Another option is to create a wood plank wall. Simply cut wood planks of varying lengths and widths and arrange them on the wall in a random pattern. This creates a unique and eye-catching focal point. You can also add a coat of polyurethane to protect the wood and enhance its natural beauty. And don't forget to consider the direction of the wood – horizontal planks can make a room feel wider, while vertical planks can make it feel taller.
Quote to live by:
Troubleshooting and Maintaining Your DIY Accent Wall
Troubleshooting and Maintaining Your DIY Accent Wall
Common Problems and Quick Fixes
So, you've got your fabulous accent wall up, but what happens when things go a little sideways? Don't panic! Most issues are easily fixable. Peeling paint? Likely a prep problem – make sure you cleaned and primed properly next time. For a quick fix, sand the peeling area, re-prime, and repaint. Bubbling wallpaper? Air got trapped! Gently poke a small hole with a needle, release the air, and smooth it down with a seam roller. Wood panels coming loose? Add a little extra construction adhesive and re-nail. The key is to address problems early before they escalate.
Another common issue is fading color. Sunlight can wreak havoc on certain paint colors, especially reds and blues. To prevent fading, use a high-quality paint with UV protection and consider applying a clear coat sealant. Regularly dust your accent wall to keep it looking fresh. For textured walls, use a soft brush attachment on your vacuum cleaner. And if you spill something, clean it up immediately with a damp cloth and mild detergent. A little maintenance goes a long way in preserving your DIY masterpiece!
Here's a handy troubleshooting guide:
Problem | Possible Cause | Solution |
|---|---|---|
Peeling Paint | Poor prep, moisture | Sand, re-prime, repaint |
Bubbling Wallpaper | Trapped air | Poke hole, release air, smooth |
Loose Wood Panels | Insufficient adhesive | Add adhesive, re-nail |
Fading Color | Sunlight exposure | UV-resistant paint, sealant |
Long-Term Care and Touch-Up Tips
To keep your accent wall looking its best for years to come, establish a regular maintenance routine. Dust it weekly, clean it as needed, and touch up any scratches or imperfections. Store leftover paint, wallpaper, or wood in a cool, dry place so you can easily make repairs. When touching up paint, use the same batch number to ensure a perfect color match. If you can't find the exact batch, mix the old and new paint together for a seamless blend.
For wallpaper, keep a small piece of leftover wallpaper on hand for patching. Cut a patch slightly larger than the damaged area, align the pattern, and carefully apply it to the wall. Use a utility knife to trim off any excess wallpaper. For wood panels, you can use wood filler to repair any scratches or dents. Sand the filler smooth and stain or paint it to match the surrounding wood. And remember, prevention is key! Avoid bumping furniture against your accent wall and be careful when hanging pictures or decorations.
Here are some tips for long-term care:
- Dust weekly
- Clean as needed
- Touch up scratches
- Store leftover materials
- Prevent damage
Conclusion: Unleash Your Creativity with Easy DIY Accent Walls
Creating an accent wall is a fantastic way to personalize your space, express your style, and add visual interest without a major overhaul. With the tips, techniques, and inspiration shared in this guide, you're well-equipped to tackle your own **easy DIY accent walls** project. Remember to plan carefully, choose materials that suit your budget and skill level, and don't be afraid to experiment. Whether you opt for a bold paint color, a rustic wood treatment, or a sophisticated geometric pattern, your new accent wall is sure to become a cherished focal point in your home. So, go ahead, transform your space and enjoy the satisfaction of a job well done!