Table of Contents
Tired of staring at the same boring walls? I get it. Your space should be a reflection of you, not some cookie-cutter catalog. That’s where an easy DIY accent wall comes in. It's like giving your room a personality makeover without needing a contractor or spending a fortune. Think of it as the quickest way to inject some serious style and character into your home. We're not talking about complicated construction projects here, no way. We're diving into simple, weekend-friendly ideas that anyone can tackle. From bold paint choices that scream ‘look at me!’ to easy-to-apply peel-and-stick wallpapers, and the timeless charm of shiplap, there’s a DIY accent wall for every taste and skill level. We’ll even explore elegant picture frame trim and the classic board and batten looks. Get ready to transform a plain wall into a stunning focal point. This article is your guide to making a big impact with minimal effort. Let's turn those plain walls into something amazing!
Easy DIY Accent Wall: Bold Paint and Simple Steps

Easy DIY Accent Wall: Bold Paint and Simple Steps
The Power of Paint
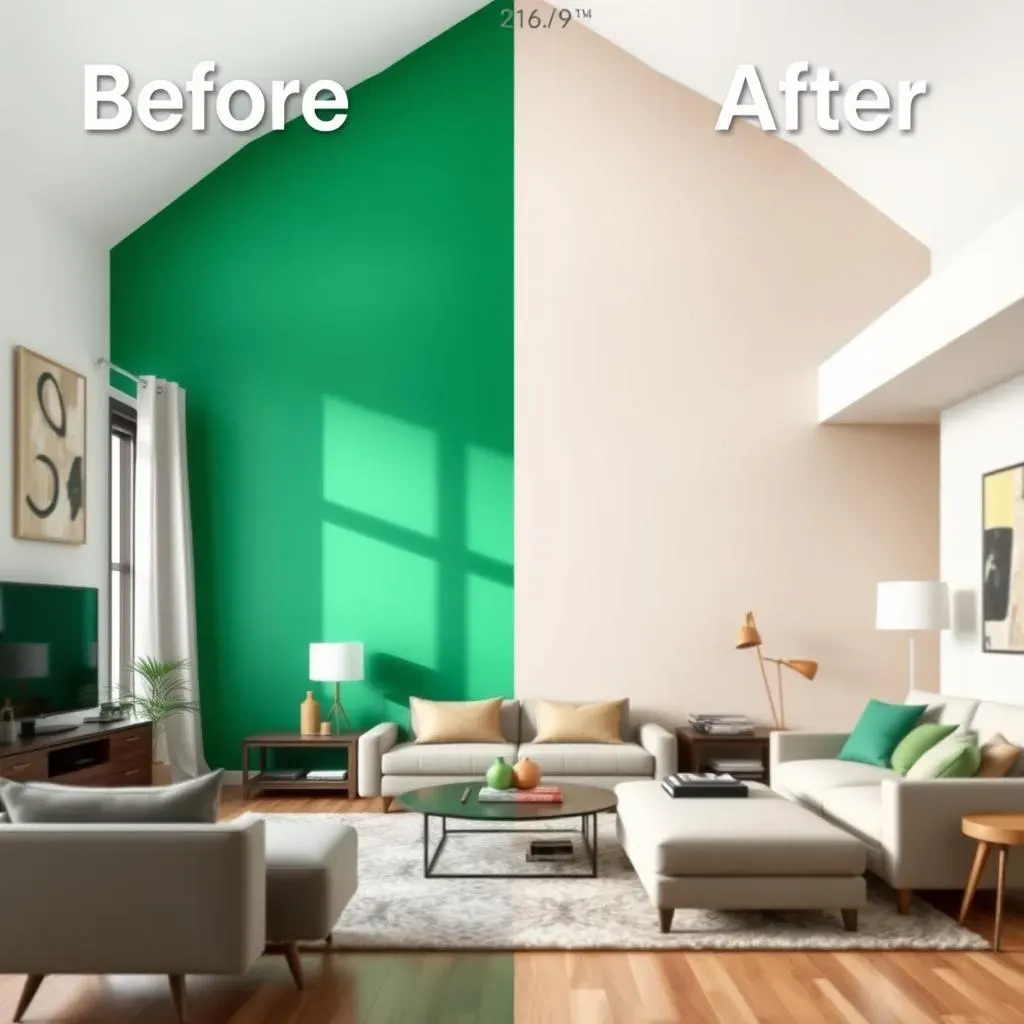
Okay, let's kick things off with the easiest, most impactful way to create an accent wall: paint. It's like the superhero of DIY, swooping in to save your room from blahness. Seriously, a fresh coat of paint can do wonders. Forget those boring beige walls, we're talking about making a statement. Think deep navy for a cozy vibe, a vibrant emerald green to add some life, or even a sophisticated charcoal gray for a touch of drama. The best part? It’s super affordable and doesn't require any fancy skills. Just grab a brush (or a roller, if you're feeling fancy), some painter's tape, and get ready to transform your space in an afternoon. I’ve seen people who are not very handy do this, and they are always amazed by the results.
I remember when I first painted an accent wall in my living room. I went with this deep teal, and it instantly made everything else in the room pop. It was like the room finally had some personality. Plus, it's so easy to change if you get tired of it, unlike some other DIY projects we'll talk about later.
Choosing Your Color
Now, choosing the right color is key. Don't just grab the first can you see. Think about the mood you want to create. Want a relaxing sanctuary? Go for cool blues or soft greens. Want something more energetic? Bright yellows or oranges can do the trick. And don't be afraid to go bold! An accent wall is the perfect place to experiment with a color you might be too nervous to use on all four walls. If you are not sure, grab some samples, and test them on your wall. Look at them during the day and at night, the light is different, and the color will look different too. It’s better to spend a few extra bucks on samples, than hating the whole wall after.
Also, consider the existing colors in your room, you want the accent wall to complement the rest of your decor. If you have a lot of warm tones, go with a warmer color, and vice versa. Or if you want it to be a statement, chose a contrasting color. This is your wall, go for it!
Color Mood | Color Suggestions | Best For |
|---|---|---|
Relaxing | Soft blues, greens, lavenders | Bedrooms, bathrooms |
Energetic | Bright yellows, oranges, pinks | Living rooms, kitchens |
Sophisticated | Charcoal grays, deep teals, navy | Living rooms, dining rooms |
The Simple Steps
Alright, let’s get down to brass tacks. Here’s the super easy process for painting your accent wall. First, prep the wall. Clean it, remove any nails or screws, and use painter's tape to create clean lines around the edges. Then, grab your paint and start rolling. Two coats are usually the magic number, but sometimes you might need a third, it depends on the color you chose. Let each coat dry completely before adding the next one. Once everything is dry, peel off the tape, and there you have it, a brand-new accent wall, ready to impress!
I always feel a sense of accomplishment when I finish a paint project. It’s amazing how such a simple thing can make such a big difference. It’s also a fun way to spend a weekend, especially if you put on some good music and have a friend to help you out.
PeelandStick and Shiplap: Easy DIY Accent Wall Techniques

PeelandStick and Shiplap: Easy DIY Accent Wall Techniques
Peel and Stick Wallpaper: Instant Transformation
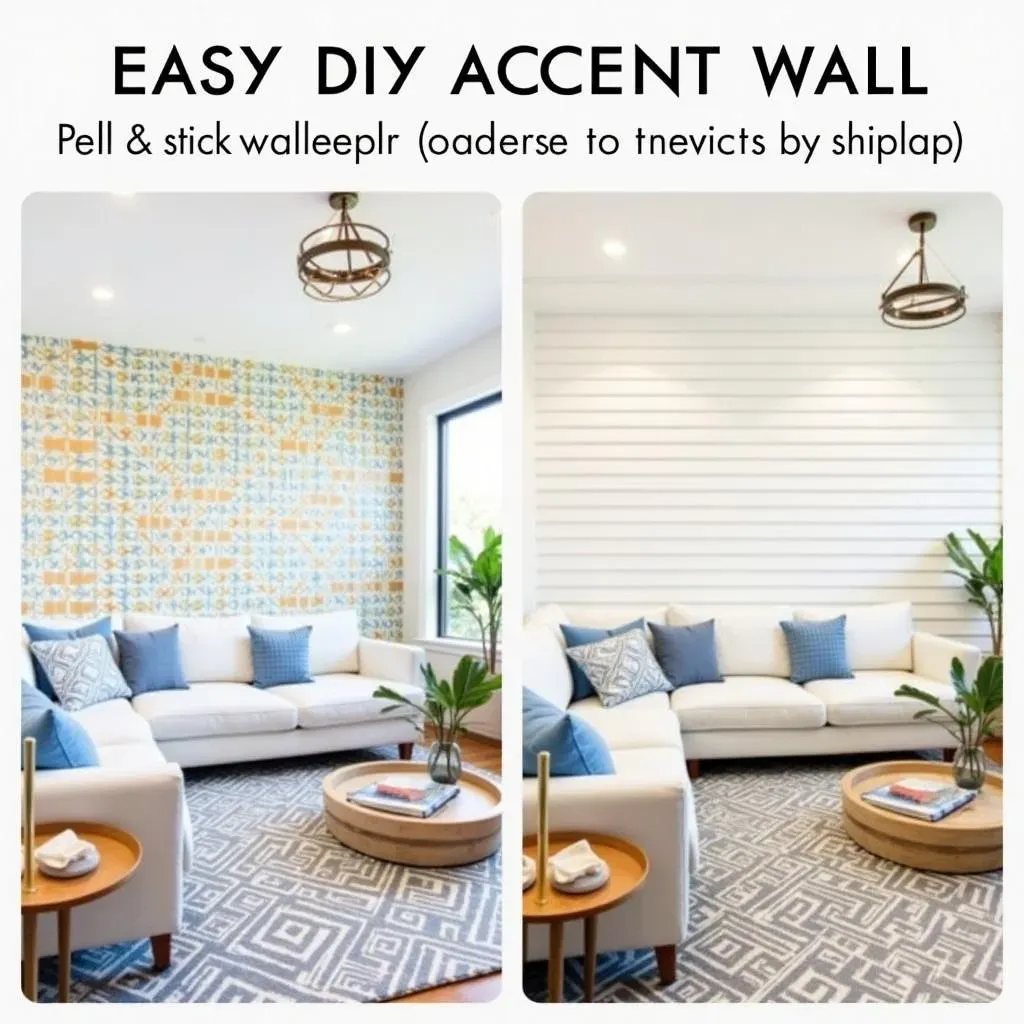
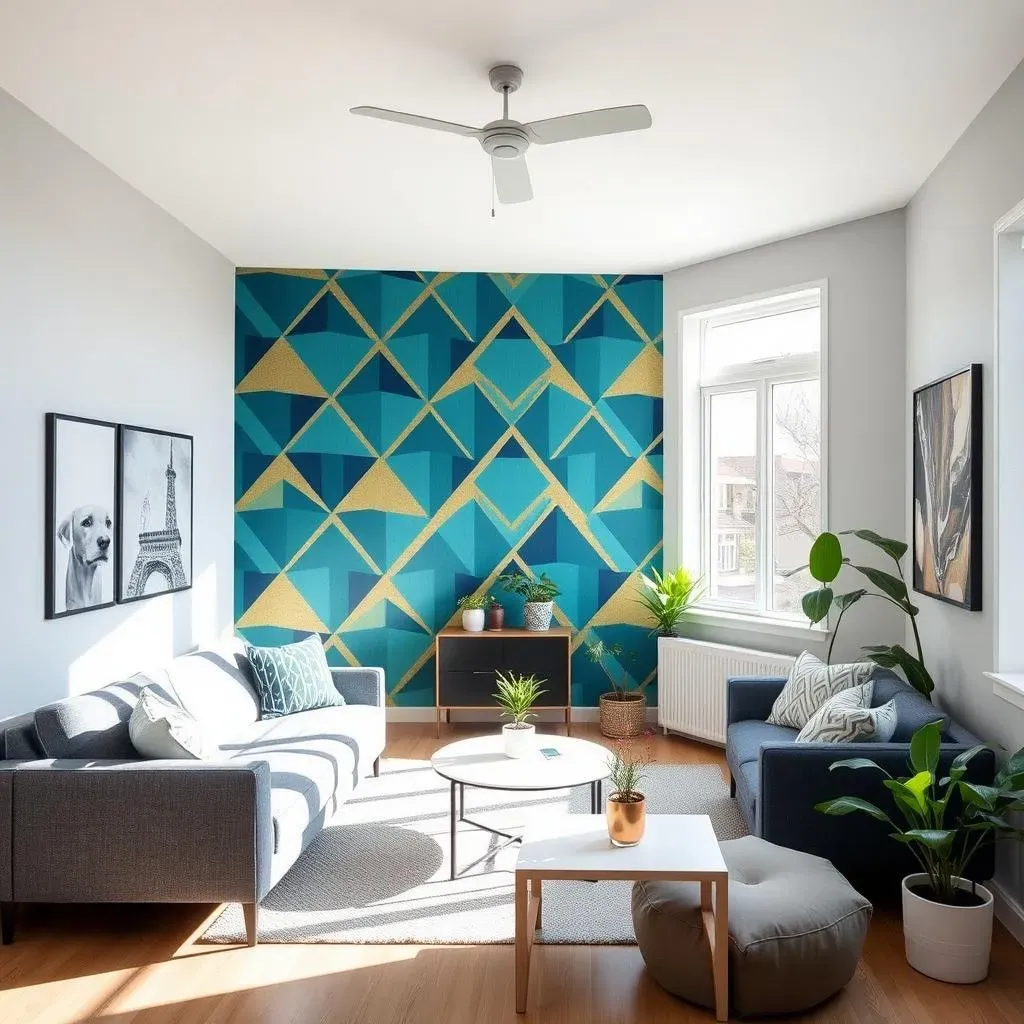
Alright, let's talk about peel and stick wallpaper. If you're renting or just love to change things up often, this is your best friend. It's like the magic wand of wall decor. No messy glue, no complicated tools, just peel, stick, and boom – you've got a brand-new wall. Seriously, it's that easy. You can find peel and stick wallpaper in pretty much any pattern or color you can imagine. From bold geometric designs to subtle textures, the options are endless. I’ve seen people use it to create a faux brick wall, a botanical paradise, or even a sleek, modern look. It’s all about finding something that fits your style.
I remember helping my sister put up peel and stick wallpaper in her apartment, we were done in less than 2 hours, and it completely transformed her living room. She went for a cool geometric pattern, and it made the space feel so much more modern. Plus, when she moved out, she could just peel it off without damaging the walls. It’s a renter's dream come true, and a perfect way to add personality to any space.
Shiplap: Rustic Charm with a Modern Twist
Now, if you're craving a bit of texture and that cozy, rustic vibe, shiplap is the way to go. It's like adding a hug to your wall. Shiplap is essentially a series of wooden planks that are installed horizontally, creating a beautiful, layered effect. It's been super popular lately, and for good reason. It adds character and depth to any room, making it feel more inviting and stylish. You can use real wood for a more authentic look, but MDF (medium-density fiberboard) is a more affordable and easier to work with option, which is what I prefer. You can paint it any color to match your decor, or leave it natural for a more rustic feel. It’s surprisingly easy to install, and the results are always stunning.
I helped my friend install a shiplap wall in his living room, and it completely changed the feel of the space. He went with a classic white, and it made the room feel brighter and more open. It was also a fun project to do together, and we were both really proud of how it turned out. It's a great way to add some personality and texture to a room, and it’s way easier than you might think.
Technique | Pros | Cons |
|---|---|---|
Peel and Stick Wallpaper | Easy to install, renter-friendly, wide variety of patterns | Can be more expensive than paint, may not stick well to textured walls |
Shiplap | Adds texture and character, can be painted any color, relatively easy to install | Requires some basic carpentry skills, can be more time-consuming than paint or wallpaper |
Elevate Your Space: Picture Frame and Board & Batten Easy DIY Accent Wall

Elevate Your Space: Picture Frame and Board & Batten Easy DIY Accent Wall
Picture Frame Trim Wall: Elegant and Sophisticated
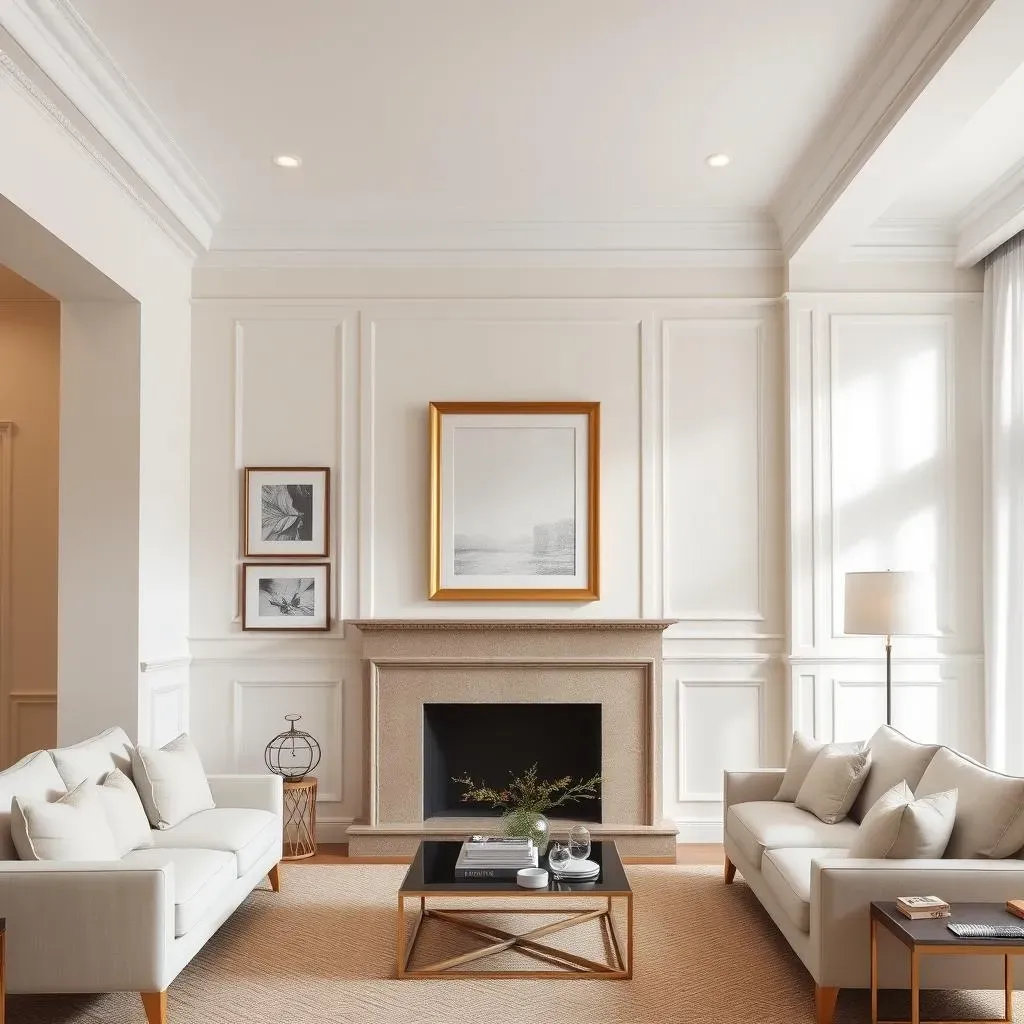
Okay, so you're looking for something a bit more refined? Picture frame trim is where it's at. It's like adding a touch of class to your walls without breaking the bank. This technique involves creating rectangular or square frames on your wall using thin strips of molding. It's surprisingly simple to do, and the effect is seriously impressive. You can go for a classic, symmetrical look or play around with different sizes and shapes for a more modern vibe. I’ve seen it used in dining rooms to create an elegant backdrop, in bedrooms for a touch of sophistication, and even in hallways to elevate the space. It’s all about creating a sense of depth and visual interest.
I remember when my cousin added a picture frame trim wall in her dining room. It was like stepping into a fancy restaurant. The room suddenly felt so much more put-together and sophisticated. Plus, it was a relatively easy project to tackle, and the results were absolutely worth it. It's a great way to add a touch of luxury without spending a fortune, and it’s surprisingly easy to customize to your own style.
Board and Batten Wall: Classic and Timeless
Now, for a touch of timeless charm, let’s talk about board and batten. It's like the classic black dress of wall decor – it never goes out of style. Board and batten involves adding vertical strips of wood or MDF to your wall, creating a series of panels. It’s a simple technique that adds depth and dimension, and it works with pretty much any decor style. You can paint it a bold color for a dramatic effect or keep it neutral for a more understated look. I’ve seen board and batten used in nurseries for a cozy, classic feel, in living rooms for a touch of elegance, and even in bathrooms for a spa-like vibe. It’s a versatile option that can really transform a space.
I helped my neighbor install a board and batten wall in his entryway, it was like a new house. It made the space feel so much more welcoming and stylish. He painted it a soft gray, and it perfectly complemented his existing decor. It was a fun project to work on together, and we were both really impressed with how much of a difference it made. It’s a great way to add some character and texture to a room, and it’s surprisingly easy to install with some basic tools.
Technique | Style | Best For |
|---|---|---|
Picture Frame Trim | Elegant, Sophisticated | Dining rooms, bedrooms |
Board and Batten | Classic, Timeless | Entryways, nurseries, living rooms |
These techniques, though different, both share a common goal to transform your walls into a stunning feature. Whether you prefer the clean lines of picture frame trim or the classic charm of board and batten, both techniques provide an easy and effective way to elevate the look of your home. And the best part? They're both achievable DIY projects, so you don’t have to be a professional designer to create a beautiful space.
