Table of Contents
Ready to add a touch of rustic charm or modern sophistication to your home? Then get ready to explore the exciting world of the DIY stone accent wall! This comprehensive guide will walk you through every step of the process, from initial planning and gathering the necessary supplies to the actual installation and long-term maintenance. We’ll demystify the seemingly daunting task of creating a stunning DIY stone accent wall, making it achievable for even the most novice DIY enthusiast. Forget expensive contractors and generic designs; this article empowers you to design and build a truly unique accent wall that reflects your personal style. Whether you envision a cozy fireplace surround, a dramatic living room feature, or a rustic bathroom upgrade, we’ve got you covered. Prepare to be inspired as we delve into the details of planning your project, sourcing the perfect materials, executing a flawless installation, and ensuring your DIY stone accent wall remains a beautiful focal point for years to come. Let's transform your home, one stone at a time!
Planning Your DIY Stone Accent Wall Project

Planning Your DIY Stone Accent Wall Project
Choosing Your Wall and Design
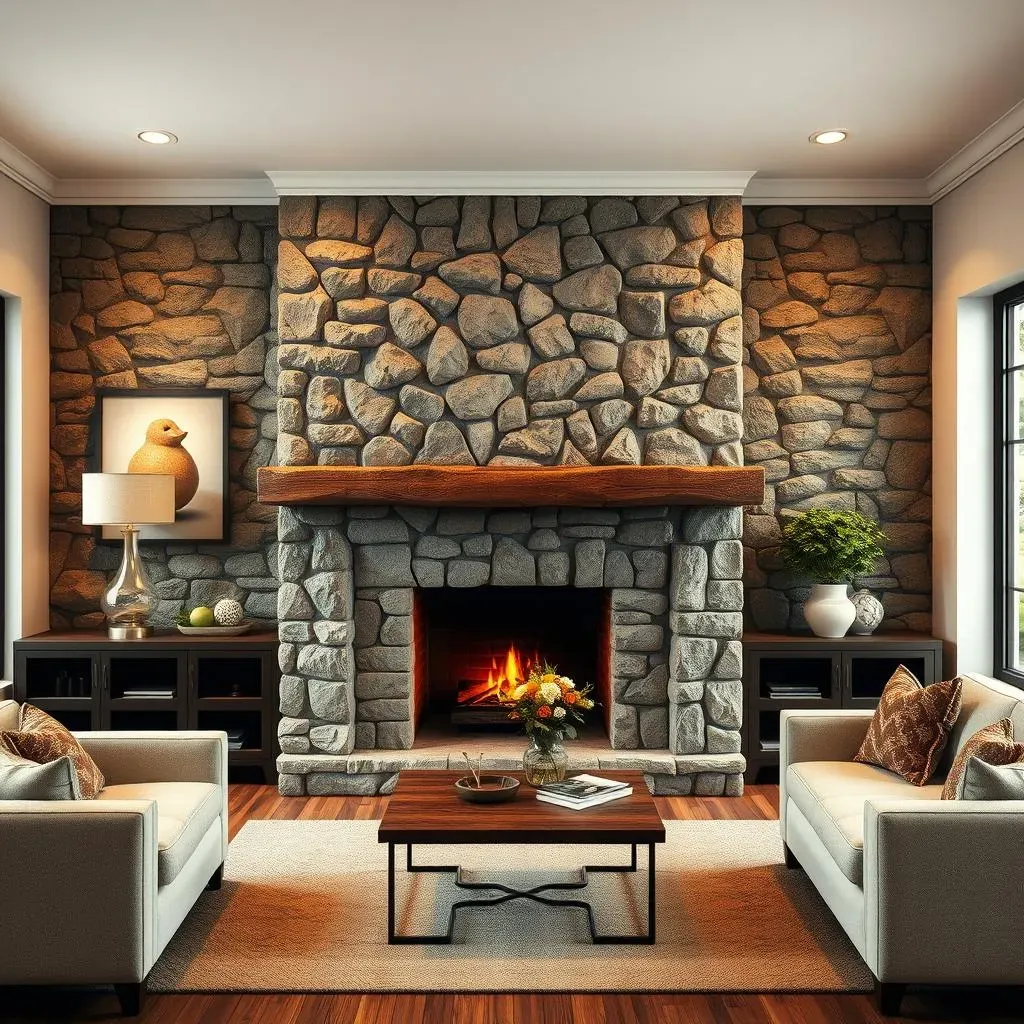
First things first: pick your wall! Consider the size and existing décor. A small wall in a cramped space might look overwhelmed by a large stone feature. For a striking statement, choose a prominent wall, like the one behind your fireplace or a large living room expanse. But don't rule out smaller areas; a stone accent in a bathroom or even a hallway can add a unique touch. Browse some inspiring ideas on our DIY accent wall ideas on a budget page to spark your creativity. Think about the overall style you want to achieve – rustic, modern, minimalist, etc. – and how the stone will complement your furniture and existing color scheme. This initial planning phase is crucial for a successful project.
Next, let's talk design! Do you want a full wall of stone, or just a partial accent? Will you use natural stone or a more affordable faux stone veneer? Natural stone offers a more rugged, authentic look, but it can be heavier and more expensive. Faux stone is a great alternative, offering a similar aesthetic at a fraction of the cost. Consider the stone's color and texture; it should harmonize with your room's existing palette. Create a rough sketch of your design, noting the wall's dimensions and the stone's layout. You can even create a mockup on the floor using cardboard cutouts to visualize the final look. For smaller projects, you might find inspiration in our DIY accent wall ideas for small spaces guide.
Design Element | Considerations |
|---|---|
Wall Selection | Size, prominence, existing décor |
Stone Type | Natural vs. faux, cost, weight, aesthetic |
Layout | Full wall, partial accent, pattern |
Budgeting and Material Selection
Before you rush to the home improvement store, create a realistic budget. Factor in the cost of the stone, mortar, tools, and any additional materials you might need. Remember to add a buffer for unexpected expenses – things always seem to pop up during DIY projects! If you're on a tight budget, check out our cheap DIY accent wall ideas for living room for some helpful tips. Once you have your budget in place, it's time to select your materials. Research different types of stone and compare prices. Consider the stone's weight, durability, and ease of installation. Don't forget to account for the mortar and any other necessary supplies like wire mesh, sealant, or grout. Obtaining accurate measurements of your wall is essential to avoid purchasing too little or too much material. A little extra is always a good idea, just in case of mistakes or breakage.
Remember to check if your local home improvement store offers any discounts or sales on building materials. If you have some flexibility in your timeline, waiting for a sale could save you a significant amount of money. Also, consider if you want to use reclaimed or recycled materials. This can be a great way to reduce costs and add a unique, sustainable element to your project. For example, you might find interesting wood pieces for a DIY accent wall with reclaimed wood project at a local salvage yard. Thorough planning will ensure a smooth and cost-effective process.
- Stone Type and Quantity
- Mortar and Grout
- Tools and Equipment
- Additional Materials (e.g., sealant, wire mesh)
Gathering Supplies and Tools for Your DIY Stone Accent Wall

Gathering Supplies and Tools for Your DIY Stone Accent Wall
Essential Materials for Your Stone Wall
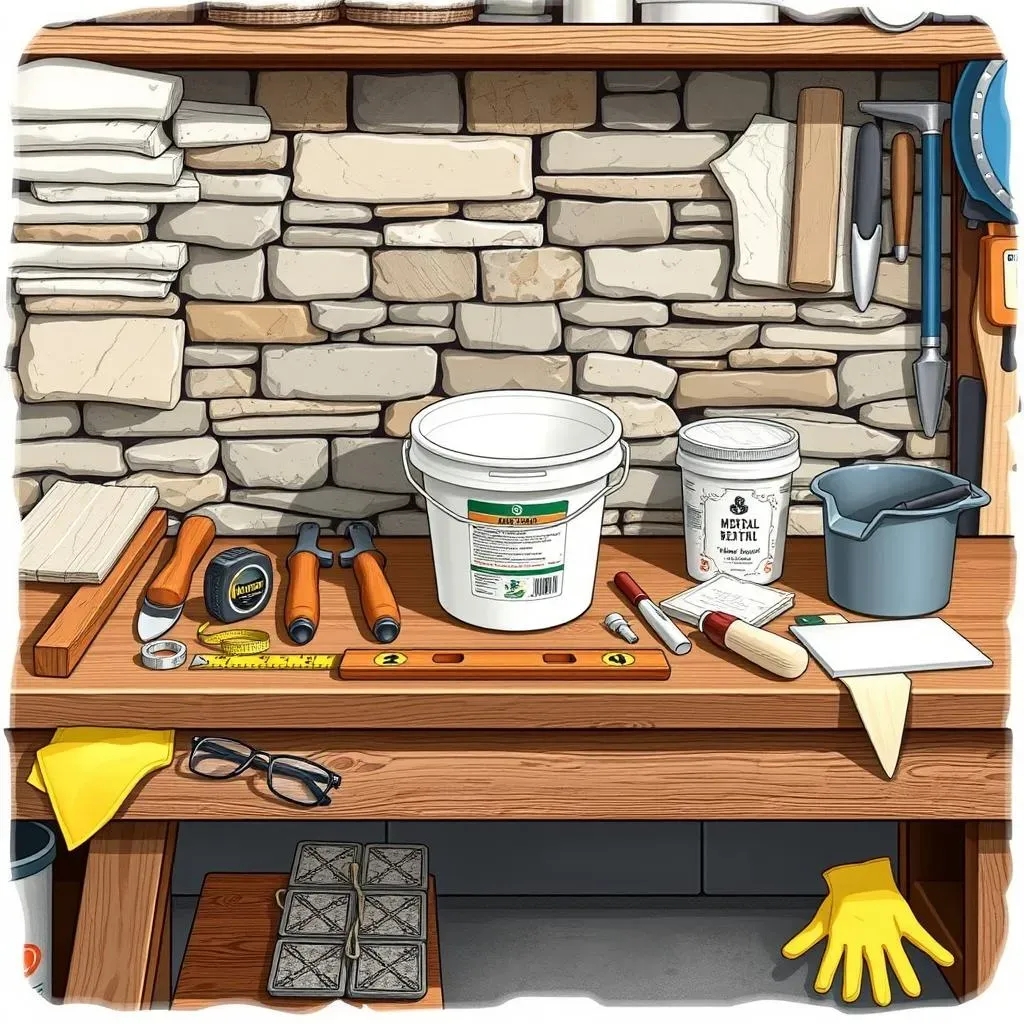
Right, let's talk tools and materials! This is where the fun begins (and where things can get a little pricey, so stick to your budget!). First, you'll need your chosen stone, of course. Remember to buy a little extra – Murphy's Law dictates that you'll inevitably break a few pieces. Next up is mortar. Choose a color that complements your stone; white or a light gray are popular choices. Don't forget the grout! This fills the gaps between the stones, giving your wall a finished look. For a truly professional finish, consider using a pre-mixed grout; it's easier to work with than mixing your own. Check out our guide on DIY accent walls with paint for more color inspiration, even if you're not using paint directly on the stone.
You'll also need a few essential tools. A trowel is a must-have for applying the mortar and grout. A notched trowel helps create channels in the mortar for better adhesion. A bucket for mixing the mortar is essential – get a sturdy one, you'll be mixing a lot of it! A level is crucial to ensure your stone wall is perfectly straight. A measuring tape and pencil for marking are also necessary. And finally, safety glasses and work gloves are a must for any DIY project. If you're working with natural stone, you might need a tile saw to cut pieces to size, but faux stone is usually easier to work with. For a more detailed approach to materials, see our article on DIY stone accent walls for a comprehensive list.
- Stone (with extra for breakage)
- Mortar (choose a color that matches your stone)
- Grout (pre-mixed is recommended for ease of use)
- Trowel (both standard and notched)
- Mixing bucket
- Level
- Measuring tape and pencil
- Safety glasses and work gloves
- Tile saw (optional, for natural stone)
Optional but Helpful Tools
While not strictly essential, certain tools can make your DIY stone accent wall project significantly easier and more efficient. A wet saw, while more expensive than a standard tile saw, offers cleaner cuts and reduces the risk of chipping, especially when working with natural stone. A grout float is a specialized tool that helps spread and smooth the grout evenly between the stones, resulting in a professional-looking finish. Consider using a sponge and a bucket of water to clean up excess grout as you work; this prevents it from drying and becoming difficult to remove. For those who love a really detailed look, consider a DIY accent wall with stencils as a way to add some really unique detail to your project.
Depending on the type of stone you choose, you might also need additional tools. For example, if you're using large, heavy stones, you might need a helper to lift and position them. A small hand brush can be useful for cleaning up any dust or debris during and after the installation. Finally, a drop cloth or plastic sheeting will protect your floor from spills and splatters. For inspiration on different wall treatments, check out our DIY accent wall texture ideas page for some creative ideas. Remember, a well-equipped workspace leads to a smoother and more enjoyable project.
Tool | Purpose |
|---|---|
Wet Saw | Precise stone cutting |
Grout Float | Even grout application |
Sponge and Bucket | Grout cleanup |
Hand Brush | Dust removal |
Drop Cloth | Floor protection |
StepbyStep Guide: Installing Your DIY Stone Accent Wall

StepbyStep Guide: Installing Your DIY Stone Accent Wall
Preparing the Wall Surface
Before you even think about sticking a single stone, prep your wall! This crucial step ensures a secure and long-lasting installation. Start by cleaning the wall thoroughly; remove any loose paint, dirt, or debris. A wire brush can be helpful for stubborn dirt. Next, apply a moisture barrier. This protects the wall from absorbing moisture from the mortar, which can cause problems down the line. Tar paper or a specialized wall sealant works great. For extra strength, consider applying a layer of wire mesh over the barrier – this adds an extra layer of grip for the mortar. If you're tackling a larger project, refer to our guide on DIY accent walls with shiplap for some similar prep tips. Remember, a well-prepared surface is the foundation of a successful project.
Now, it's time to apply a scratch coat of mortar. This thin layer of mortar creates a textured surface for the stones to adhere to. Using a trowel, apply an even layer of mortar across the entire wall area. Then, use a notched trowel to score the surface, creating grooves that will further enhance the grip. Let the scratch coat dry completely before moving on. This drying time varies depending on the weather and the type of mortar used, so check the manufacturer's instructions. For additional inspiration on creating texture, you might want to browse through our DIY accent wall texture ideas for even more options.
- Clean the wall thoroughly
- Apply a moisture barrier (tar paper or sealant)
- Apply wire mesh (optional, but recommended)
- Apply a scratch coat of mortar and let it dry completely
Applying the Stones
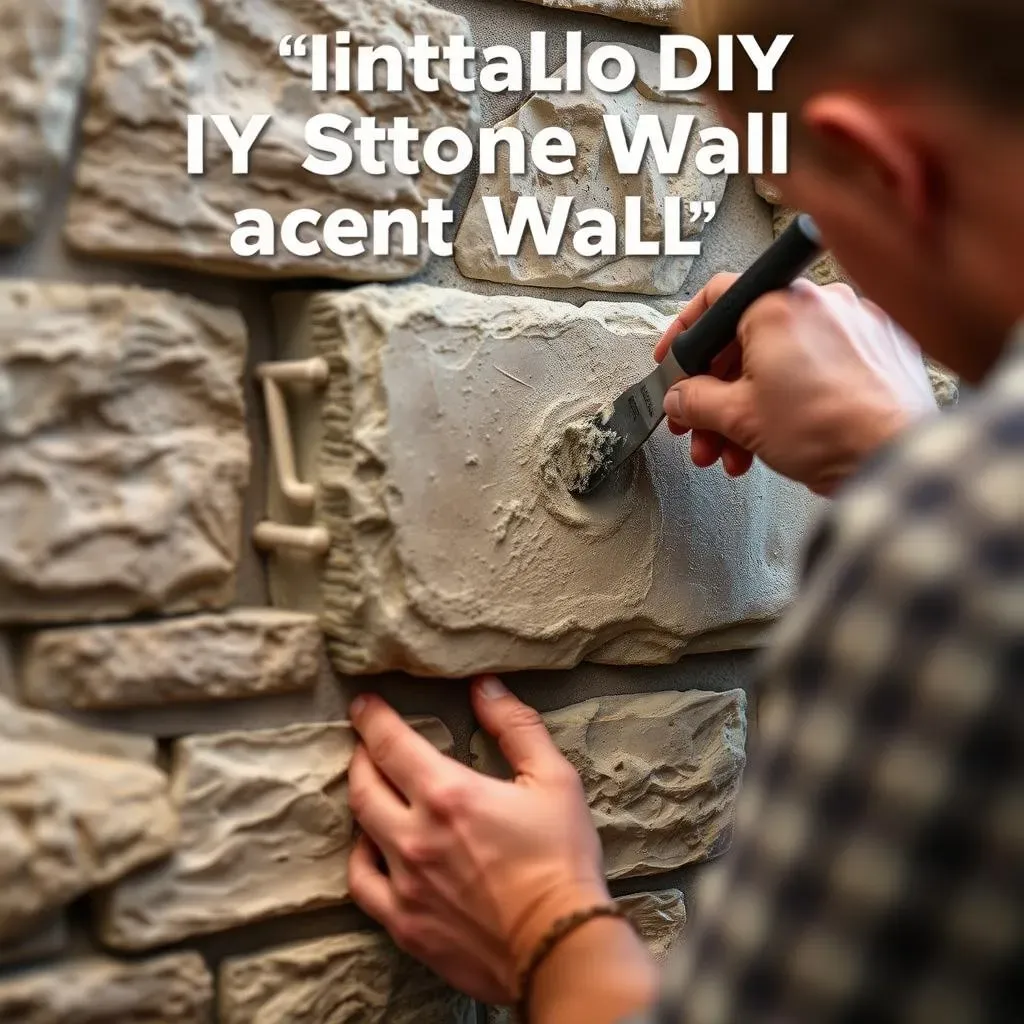
With the wall prepped and the scratch coat dry, it's time for the fun part – installing the stones! Start by mixing up a fresh batch of mortar. The consistency should be thick enough to hold its shape but still spreadable. Using a trowel, apply a generous amount of mortar to the back of each stone. Don't skimp on the mortar; this is what holds your masterpiece together! Press each stone firmly onto the scratch coat, ensuring good contact. Use a level to check for straightness, especially at the edges and corners. Work in small sections, starting from one corner and moving across, creating a pattern that you like. For smaller-scale projects, you might find ideas in our DIY accent wall ideas for small spaces.
As you work, remember to adjust the stone placement as needed. Don't be afraid to make small adjustments to achieve a natural, even look. If a stone isn't quite fitting, you can use a hammer and chisel (carefully!) to trim it slightly. Always wear safety glasses and gloves when working with stone and mortar. If you find you need to remove a stone, simply pry it off gently and reapply mortar before reinstalling it. For a unique design, consider using different sizes and shapes of stones to create a mosaic-like effect. If you are looking for other ideas that involve using smaller pieces, you might find some inspiration in our DIY accent wall with tiles article.
Step | Description |
|---|---|
1 | Mix mortar |
2 | Apply mortar to stone |
3 | Press stone onto wall |
4 | Check for levelness |
Grouting and Finishing
Once all the stones are in place and the mortar has set slightly (usually a few hours, check the mortar instructions), it's time for the grout. Mix your grout according to the manufacturer's instructions. Using a grout bag or a trowel, carefully fill the gaps between the stones. Work in small sections to prevent the grout from drying out. Use a grout float or a damp sponge to smooth the grout and remove any excess. For a truly professional finish, consider using a premixed grout as it is easier to use and more consistent. For more inspiration on adding finishing touches, check out our article on DIY accent walls with molding for ideas on how to add extra details to your project.
After the grout has dried (again, check the manufacturer's instructions for drying time), use a damp sponge to clean any residual grout from the stone surfaces. A soft-bristled brush can help clean hard-to-reach areas. Once everything is dry and clean, you can apply a sealant to protect your DIY stone accent wall from moisture and stains. This is an important step, especially in areas like bathrooms or kitchens, which are prone to moisture. Finally, stand back and admire your handiwork! You've successfully created a beautiful and unique DIY stone accent wall. For additional ideas on how to light your new feature, you may find some inspiration in our DIY accent wall lighting ideas article. Enjoy your new feature wall!
- Mix grout and apply to gaps between stones
- Smooth grout and remove excess
- Clean stone surfaces
- Apply sealant (especially in moisture-prone areas)
Maintaining and Enhancing Your DIY Stone Accent Wall
Cleaning and Protecting Your Stone Accent Wall
So, you've finished your amazing DIY stone accent wall – congratulations! Now, let's talk about keeping it looking its best. Regular cleaning is key. Dust and dirt can accumulate, dulling the stone's natural beauty. For everyday cleaning, a soft brush and a damp cloth usually suffice. For tougher stains, try a mild detergent solution, but always test it in an inconspicuous area first to avoid damaging the stone. Avoid harsh chemicals or abrasive cleaners, as these can scratch or discolor the stone. For more ideas on cleaning and maintenance, check out our guide on DIY accent walls with paint, as many of the same principles apply.
Protecting your investment is just as important as cleaning it. A sealant applied during installation helps prevent moisture damage and staining, but it's not a permanent solution. Over time, the sealant can wear down, leaving your stone vulnerable. Consider reapplying a sealant every few years, especially in areas prone to moisture like bathrooms or kitchens. This will help maintain the stone's appearance and longevity. For those who are looking for additional protection, check out our article on DIY accent walls with shelves, as they often require additional protection against moisture and wear.
- Regular dusting and cleaning
- Use mild detergent for stains (test in an inconspicuous area first)
- Avoid harsh chemicals and abrasive cleaners
- Reapply sealant every few years
Repairing Minor Damage
Even with careful installation and regular maintenance, minor damage can occur. A chipped stone or loose grout is easily fixed. For loose grout, simply remove the old grout, clean the area, and apply new grout, ensuring a tight seal. For chipped stones, you might be able to carefully repair them with a matching stone and mortar. If the damage is significant, you might need to replace the entire stone. If you're working with a smaller project, our guide on DIY accent wall ideas for small spaces might offer some more focused tips on small repairs.
Remember to always use the same type of mortar and grout as the original installation. This ensures consistency in color and texture. For larger repairs or if you're unsure how to proceed, it's always best to consult a professional. They have the expertise and tools to make the repair seamlessly blend with the existing wall. For a more decorative approach to repairs, you might find some inspiration in our DIY accent walls with stencils article. Sometimes a small decorative element can hide a small imperfection.
Damage Type | Repair Method |
|---|---|
Loose Grout | Remove old grout, clean, apply new grout |
Chipped Stone | Repair with matching stone and mortar, or replace |
Adding Personality and Style
Once your DIY stone accent wall is installed and maintained, it’s time to add your own personal touches! Consider adding some carefully chosen accessories to complement your design. A few strategically placed plants can add a touch of life and vibrancy to the space. For example, trailing plants can be hung from shelves or wall mounts, creating a cascading effect. If you are looking for more ideas on adding plants, our article on DIY accent walls with plants might give you some inspiration.
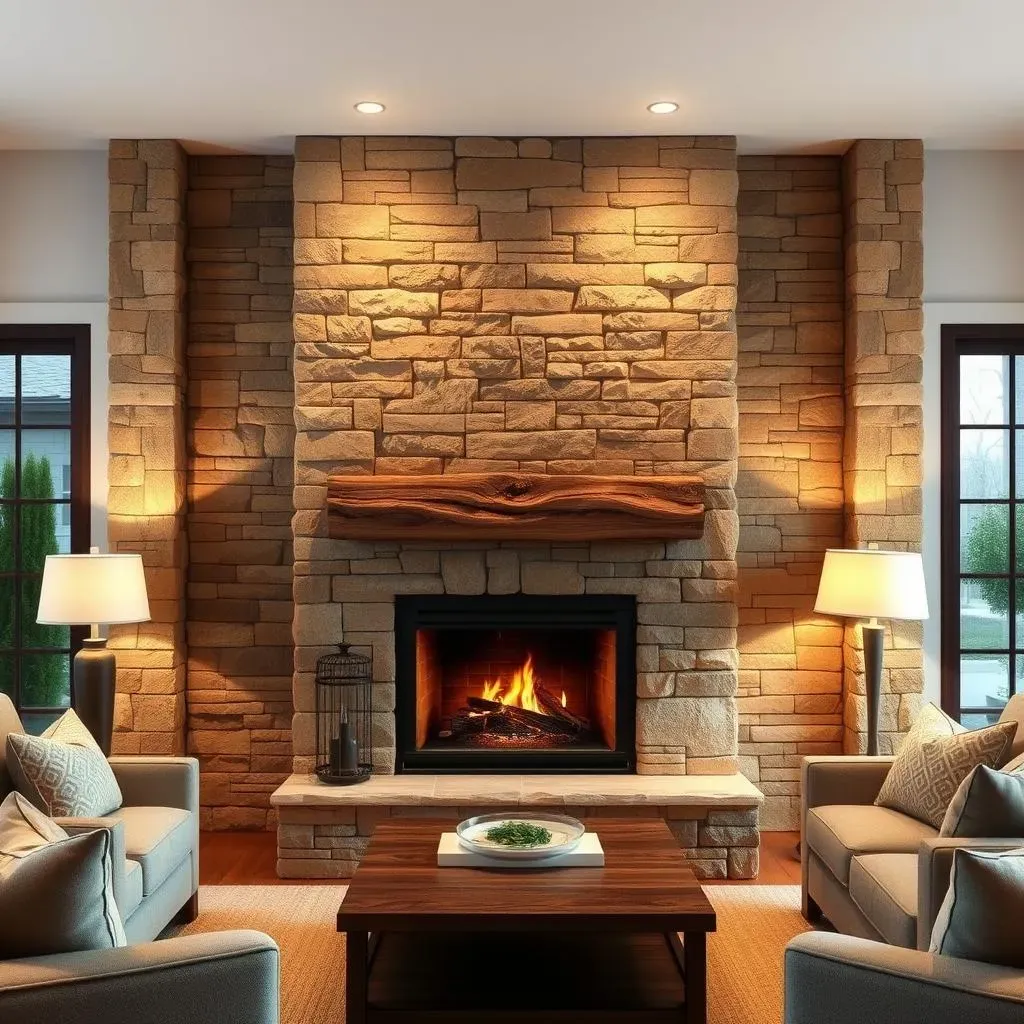
Adding lighting can also dramatically enhance the wall's visual impact. Recessed lighting can highlight the stone's texture and color, while strategically placed spotlights can create a dramatic focal point. Consider adding wall sconces or even string lights for a more whimsical touch. For more ideas on lighting options, you might find our guide on DIY accent wall lighting ideas helpful. Remember, a well-lit accent wall will always look more impressive.
- Add plants for a touch of nature
- Use lighting to highlight the stone's texture and color
- Consider adding wall sconces or string lights
