Table of Contents
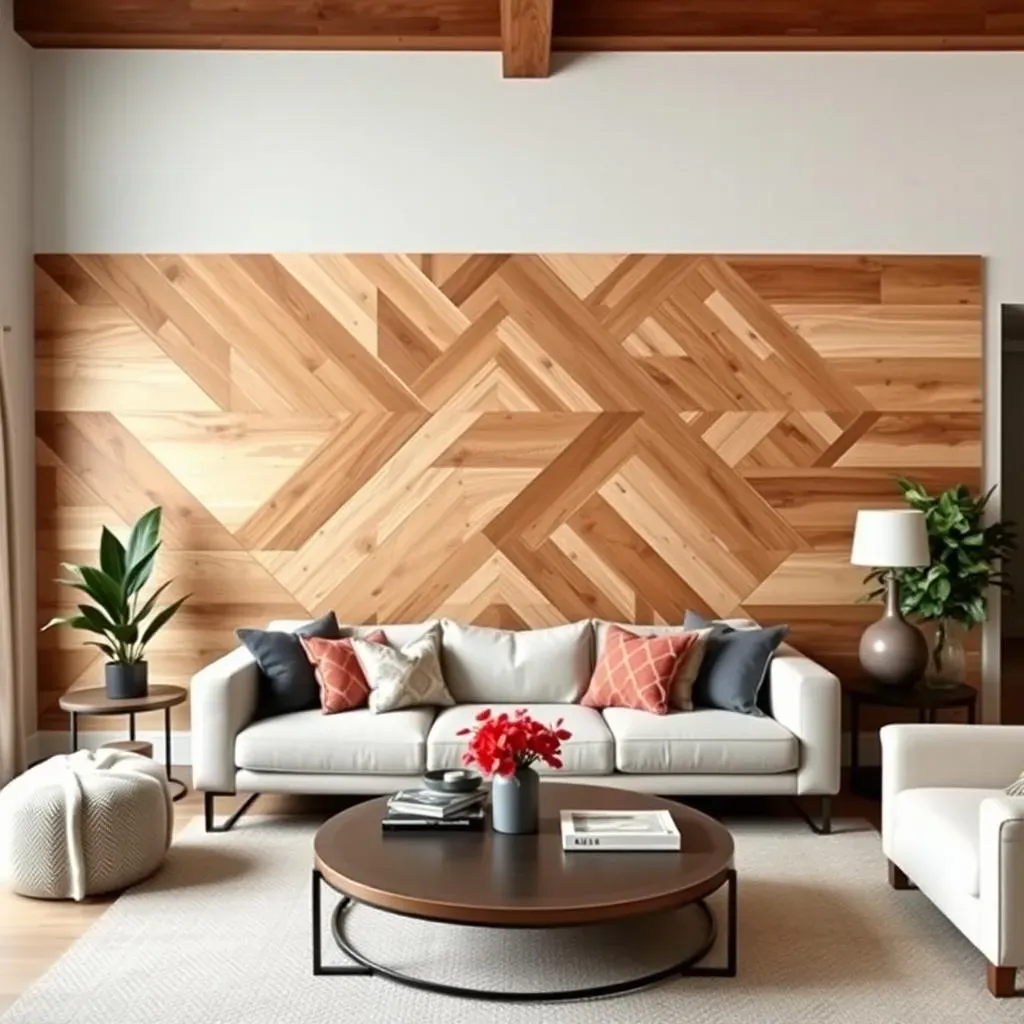
Ever stared at a boring wall and thought, "This needs a serious upgrade?" I did! And that's how my journey into creating a DIY modern accent wall began. It's not about being a pro, it's about adding your own flair to your space. This article will walk you through the process, from gathering your gear to the final reveal. We'll cover the essential materials and tools, how to come up with a design that’s uniquely you, and a step-by-step guide that even a beginner can follow. You'll learn how to handle tricky angles, fill those little gaps, and get that sleek, finished look. This isn't just about adding a splash of paint, it's about creating a focal point that screams "you." So, if you're ready to say goodbye to plain walls and hello to a statement piece, let's dive into the world of the DIY modern accent wall.
Materials and Tools for Your DIY Modern Accent Wall

Materials and Tools for Your DIY Modern Accent Wall
The Essentials: What You Absolutely Need
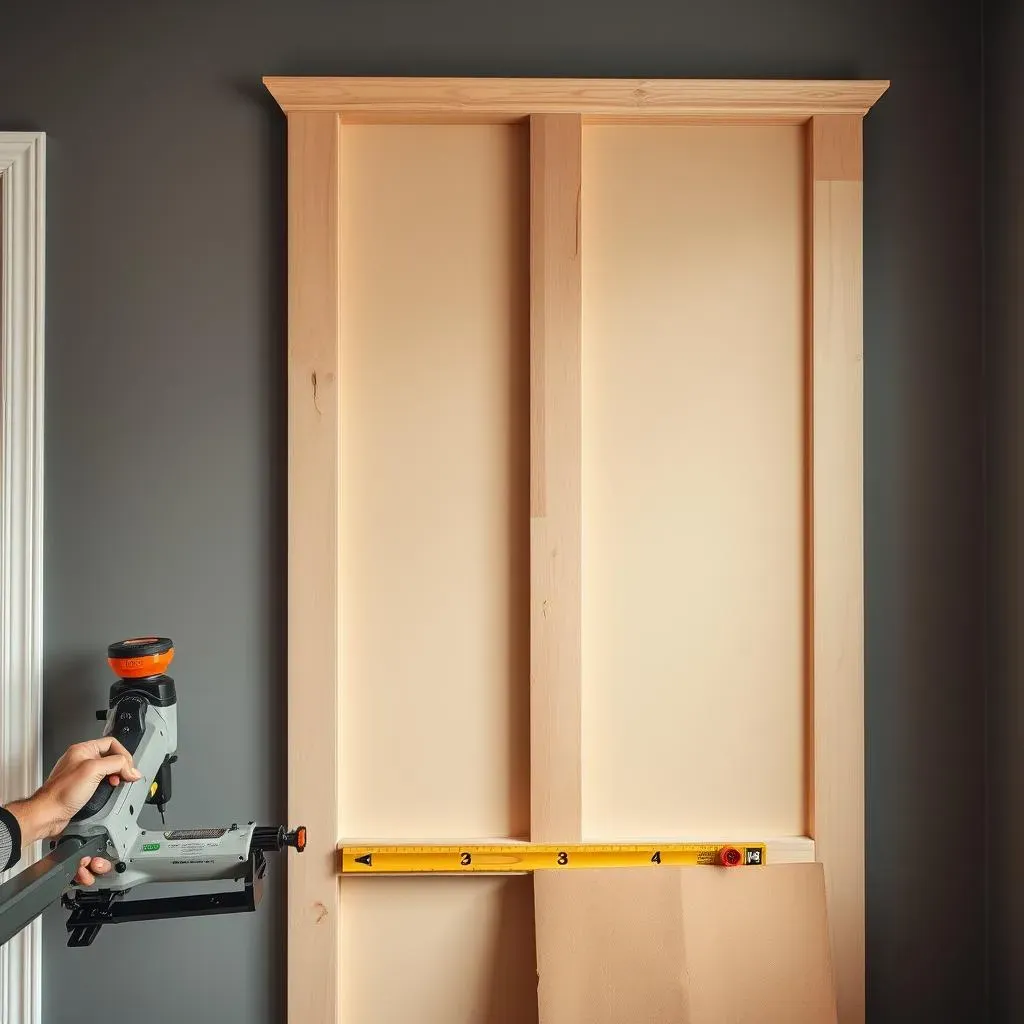
Okay, so you're pumped to create your own DIY modern accent wall? Awesome! Let's talk about the stuff you’ll need. Think of it like gathering your superhero tools – you can't fight crime without a cape, and you can't build an awesome wall without the right gear. First off, you'll need some wood. I used MDF trim because it’s smooth and easy to work with, but you can use whatever tickles your fancy. You'll also need a way to cut that wood, and a miter saw is your best buddy for that. Trust me, trying to get clean cuts with a hand saw is a workout you don't need. Also, grab a brad nailer, it's like a super-powered stapler for wood. It'll make attaching the trim a breeze, and a laser level is a must for keeping everything straight and true.
Measuring and Marking Tools
Now, let's get into the nitty-gritty. You can't just slap wood on a wall and hope for the best. Precision is key! A tape measure, obviously, is a must, but also a T-bevel angle finder. This little gem will help you measure those tricky angles, which are inevitable, especially if your wall is like mine and has a bit of a slant. A pencil is also important for marking your cuts, and you can use a level to ensure that your lines are straight before you start cutting. Oh, and don’t forget spacers! These little guys make sure your gaps are even and consistent. Nothing looks worse than uneven gaps, trust me. It’s all about the details. And finally, a good pair of safety glasses, because you only get one set of eyes, and sawdust in them is not fun.
Tool | Why You Need It |
|---|---|
Miter Saw | For making precise cuts in wood |
Brad Nailer | To attach trim pieces quickly and easily |
Laser Level | To ensure straight lines and even placement |
T-Bevel Angle Finder | To measure and transfer angles for precise cuts |
Spacers | To maintain consistent gaps between trim pieces |
Finishing Up
Almost there! Once the wood is up, you'll need to make it look seamless. Spackling paste is your friend here; it fills all those little holes and gaps. A putty knife will help you apply it smoothly. Caulk is crucial for sealing edges and giving a professional look. It hides any imperfections and makes everything look clean. And finally, sandpaper or a sanding block is important for smoothing out the spackle and caulk for a flawless paint job. Oh, and of course, the paint of your choice and a good brush or roller! That's it. With these tools and materials, you're ready to create a wall that will impress everyone who sees it. Let's get building!
Designing Your DIY Modern Accent Wall

Designing Your DIY Modern Accent Wall
Alright, so you've got your tools and materials, now comes the fun part: the design. You can't just throw wood at the wall and hope for a masterpiece. It's time to get creative! I’ll be honest, I thought I’d have some super intricate design all planned out, like something you’d see in a fancy magazine. I even asked my nephew, who's a bit of a whiz with design software, to create three options for me. But guess what? I ended up chucking them all and just going with the flow. Sometimes the best ideas come when you’re just messing around. The key is to find a design that fits your style and the vibe of the room. Think about the size of your wall, what furniture will be around it, and how much time you want to spend on it.
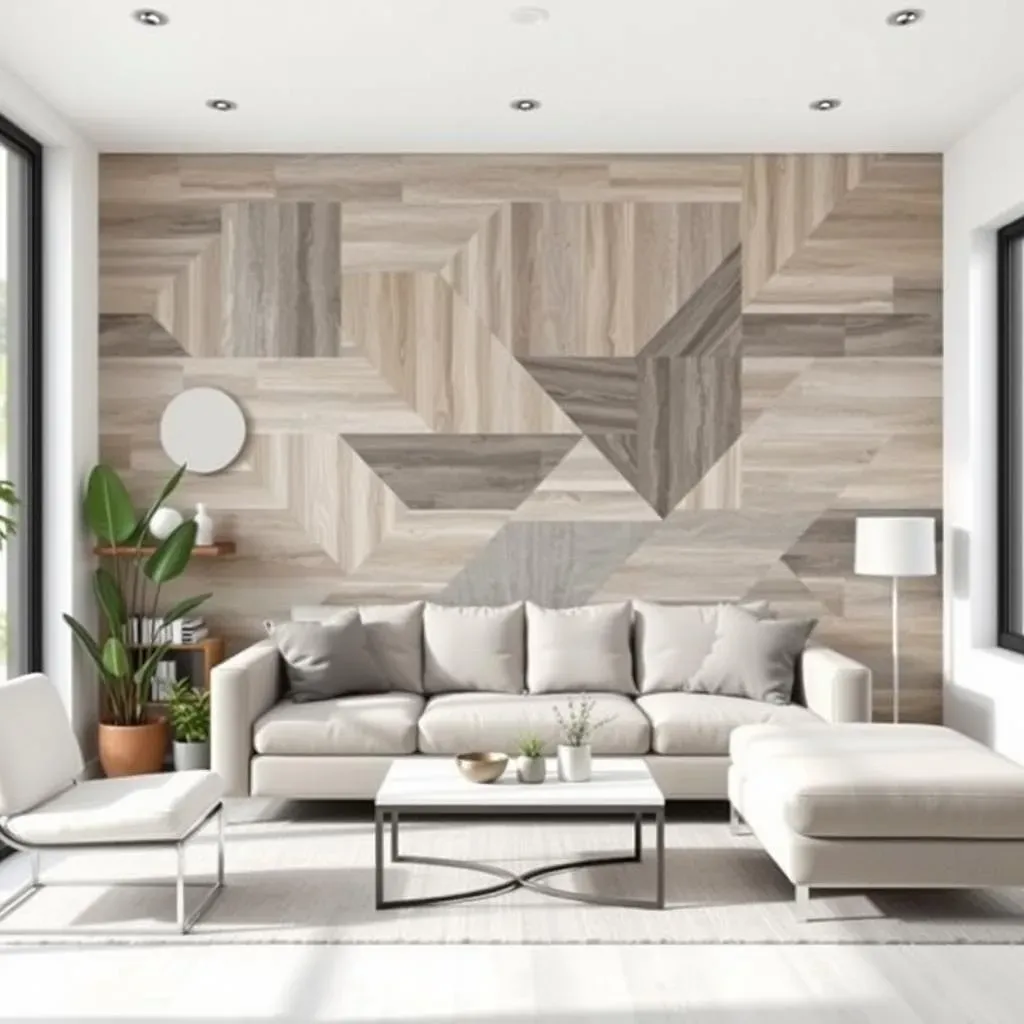
When I started, I thought about dividing my wall into sections, a bit like a puzzle. I knew I wanted a modern, geometric feel, but I didn’t want it to be too busy. So, I grabbed some painter's tape and started marking out lines directly on the wall, just to get a sense of how it’d look. It was a little bit of trial and error, but that’s half the fun. I played around with different angles and spacing, and once I had a general idea, I started transferring those lines to the wood. Don’t be afraid to experiment; it’s your wall, after all! You can use graph paper to sketch out ideas, or even use digital tools to plan your design. But remember, sometimes the best designs are the ones that evolve organically. Just start playing, and see where it takes you.
Design Tip | Description |
|---|---|
Start Simple | Begin with basic geometric shapes and patterns. |
Use Painter's Tape | Visualize your design directly on the wall before cutting. |
Consider the Room | Make sure your design complements the existing decor and furniture. |
Experiment | Don't be afraid to try different ideas and adapt as you go. |
StepbyStep Guide to Creating a Modern Accent Wall

StepbyStep Guide to Creating a Modern Accent Wall
Cutting and Installing the Trim
Okay, so you've got your design, your wood, and your tools. Now it's go time! First, take your measurements from the wall and transfer them to your wood pieces. Remember that T-bevel angle finder I mentioned? This is where it shines. Use it to measure the angles on your wall, especially if it's not perfectly square, and then transfer those angles to your wood. This ensures the pieces will fit together like a glove. Once you've marked your cut lines, it's time to fire up that miter saw. Make sure you are using safety glasses and make clean, precise cuts. It’s better to cut a little long at first and then trim it down to the exact size. Once a piece is cut, use that brad nailer to attach it to the wall. This is where the laser level comes in handy, make sure everything is straight and aligned.
Working Around Obstacles and Spacing
Now, walls aren’t always perfectly empty canvases, are they? I had to work around a bed, which meant some of my design was going to be partially hidden. Don’t let this throw you off. Adapt your design to fit the space, it’s what makes it unique. Also, those spacers are your best friend at this stage. Place them between each piece of trim to maintain even gaps. This is what gives your accent wall that professional, polished feel. Take your time and make sure everything is aligned and spaced correctly. It’s like putting together a puzzle, but way cooler, because it’s on your wall. Don’t rush, double check your measurements, and make sure each piece is fitting correctly.
Step | Description |
|---|---|
Measure | Transfer wall measurements to wood using T-bevel for angles. |
Cut | Use a miter saw for precise cuts, slightly longer to start. |
Attach | Use a brad nailer and laser level to attach wood to the wall. |
Space | Use spacers to maintain even gaps between trim pieces. |
Finishing Up and Painting
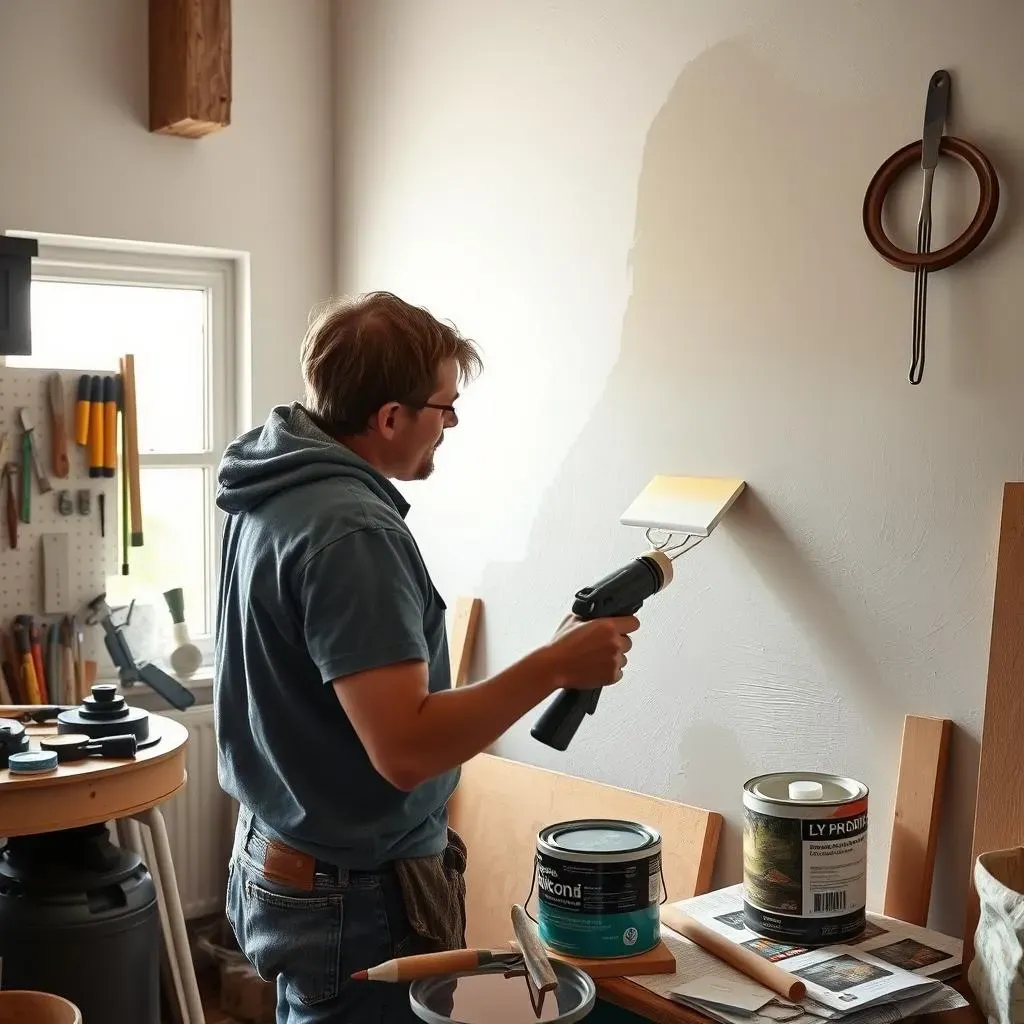
Once all your trim is up, it’s time to make it all look seamless. Grab that spackling paste and putty knife, and fill all those nail holes and any small gaps. Smooth it out, let it dry, and then sand it down until everything is nice and flush. Next up, caulk the edges where the trim meets the wall. This is where the magic happens, it covers up any imperfections and makes everything look clean and professional. Now, for the grand finale, painting! Choose a color that you love, and apply a couple of coats for full coverage. Let it dry completely, and then step back and admire your masterpiece. You just created a DIY modern accent wall, and it’s awesome!
Finishing Touches and Tips for Your DIY Accent Wall

Finishing Touches and Tips for Your DIY Accent Wall
The Art of the Smooth Finish
Okay, so you've got all your trim up, and it's looking pretty good, right? But it's the finishing touches that take it from 'nice' to 'wow!'. This is where patience is key. Don't rush the spackling and sanding process. You want a surface that's as smooth as a baby's bottom, or as close as you can get. Use a good quality spackling paste and apply it in thin layers, letting each layer dry completely before sanding. This will prevent it from cracking. And when you're sanding, use a fine-grit sandpaper to avoid any scratches. It's tedious, I know, but trust me, it's worth it. The smoother the surface, the better your paint will look.
Remember, caulk is your secret weapon. It fills all those tiny gaps where the trim meets the wall, creating a seamless look. Apply it evenly, and smooth it out with a wet finger or a caulking tool. This will make your trim look like it was professionally installed. And don't skimp on the paint, use a good quality paint and apply at least two coats for even coverage. Let each coat dry completely before applying the next. It's all about the layers! This is where you can really make your design shine.
Lighting and Placement Matters
Now, let’s talk about lighting. The way light hits your new accent wall can completely change its appearance. Consider the natural light in your room, and how it will affect the colors and shadows. You might need to adjust your design or paint color accordingly. And think about your furniture placement. Will the accent wall be a focal point behind your couch, or will it be partially hidden by a bookshelf? The key is to plan your design with your existing space in mind. It’s all about creating a cohesive look that enhances your room.
Finishing Tip | Description |
|---|---|
Spackle Carefully | Apply thin layers, let them dry, and then sand smooth. |
Caulk Smartly | Use caulk to create seamless edges and a professional look. |
Paint Patiently | Use quality paint and apply multiple thin coats. |
Light Consciously | Consider how natural and artificial light will affect your design. |
Personalizing Your Space
Finally, don't be afraid to add your own personal touch. This is your wall, after all! You can add wall art, floating shelves, or even plants to enhance your design. It’s all about expressing your style and creating a space that you love. And remember, there's no right or wrong way to do it. This is your chance to get creative and have fun with it. So, go ahead, add that quirky piece of art you've been eyeing, or that funky plant you’ve always wanted to display. The possibilities are endless.
And one last thing, take a step back and admire your work. You did it! You transformed a boring wall into a statement piece, and that’s something to be proud of. Now, go show it off to all your friends! And don't forget to subscribe to my blog for more DIY projects and home decor inspiration, because I've always got something fun in the works.
