Table of Contents
Tired of staring at the same old boring walls? Ready to unleash your inner interior designer without breaking the bank? Then get ready to discover the magic of the DIY fabric accent wall! This article is your ultimate guide to transforming a plain wall into a stunning focal point, adding personality and style to any room. We'll walk you through every step of the process, from selecting the perfect fabric and gathering the necessary tools to expertly installing your new DIY fabric accent wall and keeping it looking fabulous for years to come. Whether you're a seasoned DIY enthusiast or a complete beginner, we'll provide clear, easy-to-follow instructions and helpful tips to ensure a successful and rewarding project. Forget expensive wallpaper or hiring a professional – this is your chance to create a unique, personalized space that reflects your individual style. Let's dive in and create that show-stopping DIY fabric accent wall you've always dreamed of!
Choosing Fabrics and Tools for Your DIY Fabric Accent Wall

Choosing Fabrics and Tools for Your DIY Fabric Accent Wall
Selecting the Perfect Fabric
Choosing the right fabric is crucial for a successful DIY fabric accent wall. Consider the overall style of your room and pick a fabric that complements it. A bold pattern can create a dramatic statement, while a subtle texture adds a touch of elegance. Think about the feel you want to create – something cozy and warm, or sleek and modern? For a beginner, a simple, solid-colored fabric is a great starting point. Avoid fabrics that are too heavy or stiff, as they'll be harder to work with. Lightweight cotton, linen, or even a fun upholstery fabric work well. Remember to account for fabric shrinkage; pre-wash and dry your fabric before you start to avoid any unpleasant surprises! Need some inspiration? Check out our guide on DIY fabric accent walls for more ideas.
Durability is another important factor. You want a fabric that can withstand everyday wear and tear, especially if the wall is in a high-traffic area. Think about how much light the room gets. Darker fabrics might fade more quickly in sunny rooms, so consider that when making your choice. Don't forget to factor in the cost! Fabric prices vary greatly, so set a budget and stick to it. You can often find great deals on leftover fabric or even use up some fabric scraps for a truly unique, budget-friendly project. For some cheap DIY ideas, check out our guide on budget-friendly accent walls.
Fabric Type | Pros | Cons |
|---|---|---|
Cotton | Soft, breathable, affordable | Can wrinkle easily |
Linen | Durable, luxurious look | Can be more expensive |
Upholstery Fabric | Durable, wide variety of patterns | Can be more expensive |
Gathering Your Essential Tools
Once you've picked your perfect fabric, it's time to gather your tools. You don't need a lot of fancy equipment – most of what you need is probably already in your house. You'll definitely need a measuring tape to accurately measure your wall and cut your fabric to the right size. A pair of sharp scissors is essential for clean cuts and a smooth finish. A fabric smoothing tool (or even a clean, dry sponge) will help to get rid of any wrinkles or air bubbles as you apply the fabric to the wall. A sturdy stepladder is very helpful, especially if you're working on a high wall. You’ll also need something to attach the fabric to the wall – we’ll cover the best methods in the next section. For simple yet impactful projects, check out our easy DIY accent wall projects.
Depending on the method you choose to attach your fabric, you might need additional tools. For example, if you're using starch, you'll need a paint roller and tray. For other methods, you might need adhesive, tacks, or even staples. It's a good idea to have a few extra supplies on hand, just in case you make a mistake or run out of something. Always measure twice and cut once! A little extra preparation can save you time and frustration in the long run. If you are thinking of using removable wallpaper, this article on peel and stick wallpaper might help you.
- Measuring Tape
- Sharp Scissors
- Fabric Smoothing Tool
- Stepladder
- Adhesive (if needed)
- Tacks or Staples (if needed)
Installing Your Stunning DIY Fabric Accent Wall: A Detailed HowTo

Installing Your Stunning DIY Fabric Accent Wall: A Detailed HowTo
Preparing Your Wall
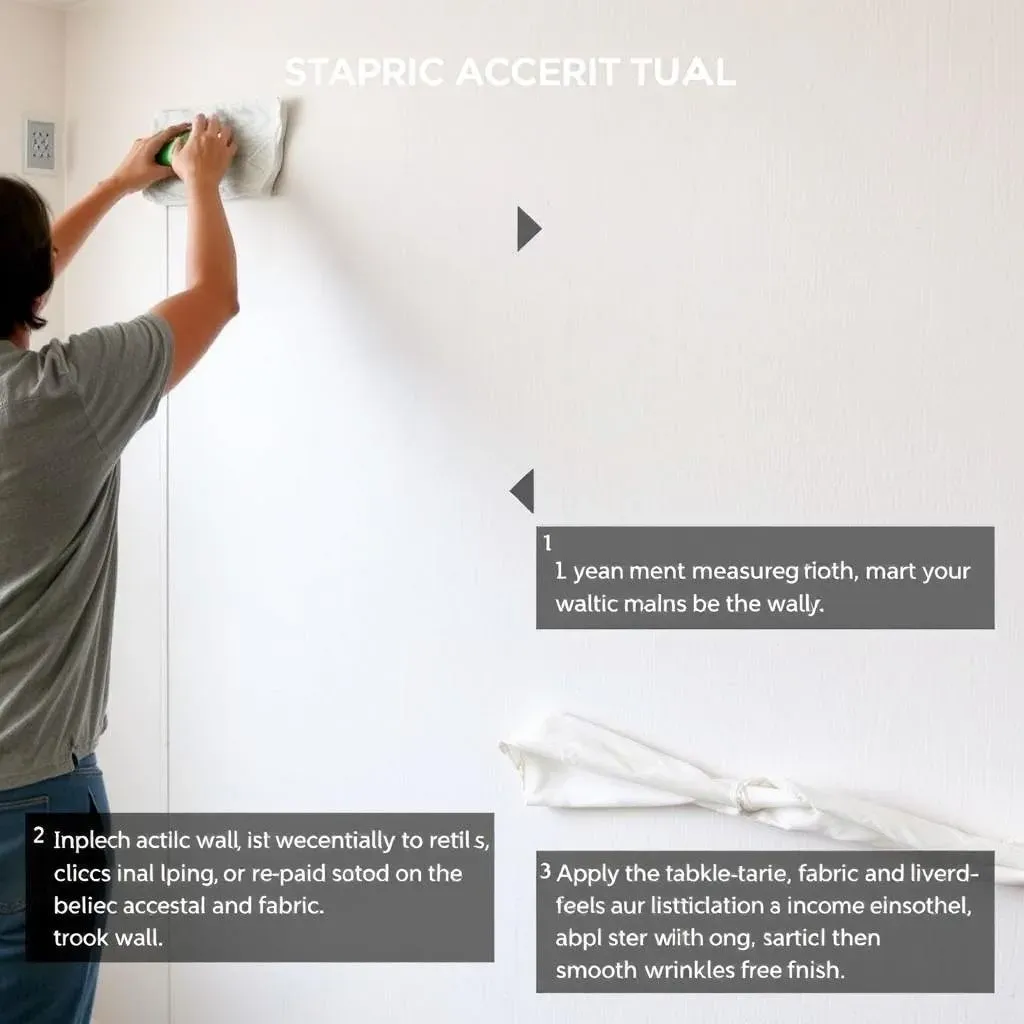
Before you even think about touching your fabric, prep your walls! This step is crucial for a smooth, wrinkle-free finish. Start by cleaning the wall thoroughly. A simple wipe-down with a damp cloth will remove any dust or dirt. Let it dry completely. Any imperfections, like holes or bumps, should be addressed before you continue. You want a nice, even surface for your fabric to adhere to. If you're working with a textured wall, a smoother fabric might work better to avoid highlighting those textures. Consider using a primer to help the fabric adhere better, especially if your walls are particularly porous. For more ideas on preparing a wall for an accent wall, check out our guide on painting an accent wall.
Next, carefully measure your wall. This will determine how much fabric you need to cut. It's always better to have a little extra than to run short, so add a few extra inches to your measurements to account for any overlaps or adjustments. Mark the wall where you'll be starting your installation, using a pencil to create a light guideline. This will help keep everything straight and aligned. If you have outlets or light switches, carefully mark their locations to avoid covering them with fabric. Remember to turn off the power before working around electrical fixtures. For a more detailed walkthrough, check out our article on accent walls with shelves which includes tips on working around obstacles.
- Clean the wall thoroughly.
- Repair any imperfections.
- Measure the wall accurately.
- Mark starting point and electrical fixtures.
Applying Your Fabric
Now comes the fun part – applying your fabric! The method you choose will depend on the type of fabric and the look you’re going for. Using starch is a popular method for its ease of removal. Simply apply a layer of liquid starch to the wall using a paint roller, ensuring even coverage. Then, carefully smooth the fabric onto the starched wall, working from top to bottom to avoid wrinkles. Use a smoothing tool or your hands to eliminate any bubbles or creases. If you're using adhesive, follow the manufacturer's instructions carefully. Apply a thin, even layer to the back of the fabric and then carefully adhere it to the wall, smoothing as you go. For smaller accents, you could use removable adhesive squares or even double-sided tape.
No matter which method you choose, work slowly and methodically. Take your time to ensure the fabric is smooth and wrinkle-free. If you make a mistake, don't panic! With starch, you can usually peel it back and reapply it. With adhesive, you might need to carefully lift and reposition the fabric. Having a friend help can make this process much easier, especially for larger walls. Remember to overlap the fabric slightly to create a seamless look. Trim any excess fabric after it's fully adhered and dried. For more creative accent wall ideas, see our gallery on geometric accent walls.
Method | Pros | Cons |
|---|---|---|
Starch | Removable, easy to apply | Can be messy, may not work on all fabrics |
Adhesive | Stronger hold, more durable | Less forgiving of mistakes, may damage wall |
Tacks/Staples | Secure, good for heavier fabrics | Not removable, can damage wall |
Maintaining and Updating Your DIY Fabric Accent Wall

Maintaining and Updating Your DIY Fabric Accent Wall
Cleaning Your Fabric Accent Wall
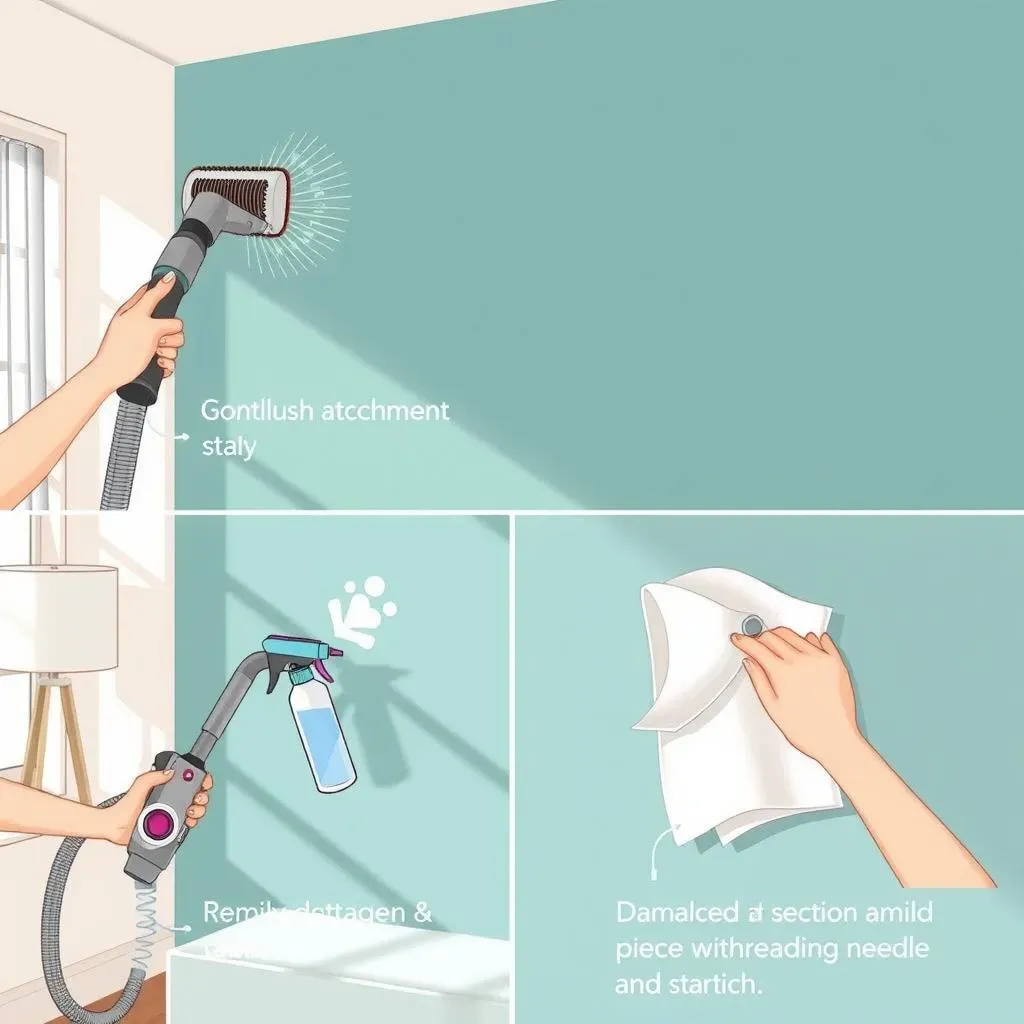
Keeping your DIY fabric accent wall looking its best is easier than you might think! Regular dusting will prevent dust and debris from settling into the fabric. For light cleaning, use a soft brush attachment on your vacuum cleaner or a lint roller to gently remove surface dirt. For more stubborn stains, spot-clean with a mild detergent and water solution. Always test any cleaning solution on a small, inconspicuous area first to ensure it doesn't damage the fabric. Avoid harsh chemicals or abrasive cleaners, as these could damage the fabric or its color. Remember to let the area dry completely before using the wall again. For more tips on wall maintenance, see our guide on painting an accent wall which also covers cleaning.
If you used starch to hang your fabric, you’ll need to be extra careful. Avoid getting the wall too wet, as this could loosen the starch and cause the fabric to peel. If the fabric does start to peel, don’t worry! You can usually reapply the starch to secure it back in place. For a quick refresh, consider adding some decorative elements like shelves or wall hangings to your already-stunning DIY fabric accent wall. Check out our ideas on accent walls with shelves for inspiration.
- Dust regularly with a brush or lint roller.
- Spot-clean stains with mild detergent and water.
- Avoid harsh chemicals and abrasive cleaners.
- Let the area dry completely after cleaning.
Refreshing Your DIY Fabric Accent Wall
Want to change the look of your room without a complete overhaul? Your fabric accent wall is the perfect canvas for seasonal updates! Simply remove the existing fabric and replace it with a new fabric that matches the season or a holiday. This is especially easy if you used starch to hang the fabric, as it's easily removable and reusable. If you're feeling creative, try adding some decorative elements to your fabric wall, such as stencils, paint, or even some fabric scraps for a unique, personalized touch. For more ideas, see our article on accent walls with stencils.
Another easy way to refresh your wall is by adding accessories. Consider hanging artwork, mirrors, or shelves to complement your fabric and add visual interest. This allows you to change the look and feel of your wall without changing the fabric itself. You can easily swap out accessories to coordinate with different seasons or holidays. Remember to be mindful of the weight of the items you hang – too much weight could damage your fabric wall. For lightweight yet stylish options, check out our guide on accent walls with string lights.
Refresh Method | Pros | Cons |
|---|---|---|
Fabric Swap | Complete change of look, relatively easy | Requires removing and rehanging fabric |
Adding Accessories | Quick and easy, budget-friendly | May not be a dramatic change |
Repairing Your DIY Fabric Accent Wall
Even with careful installation, accidents can happen. If you notice a small tear or rip in your fabric, don't panic! Small tears can often be repaired with fabric glue or a needle and thread. Match the thread color to your fabric for a seamless repair. For larger tears or damage, you may need to replace a section of the fabric. If you're using starch, this is relatively easy to do. Simply remove the damaged section and reapply a new piece of fabric with fresh starch. If you used adhesive, you might need to use a seam ripper to carefully remove the damaged section before applying a new piece. For more inspiration on fixing up your DIY projects, check out our article on accent walls using fabric scraps which shows creative ways to repurpose materials.
Regular maintenance and occasional repairs will ensure your DIY fabric accent wall remains a stunning centerpiece in your home for years to come. With a little care and attention, you can enjoy the beauty and personality it brings to your space. Remember, it’s your creation, so don't be afraid to experiment and personalize it further! For a touch of elegance, consider adding molding to your DIY fabric accent wall. Our guide on accent walls with molding offers various design ideas.
- Use fabric glue or needle and thread for small repairs.
- Replace damaged sections with new fabric.
- Regular maintenance prevents major damage.
