Table of Contents
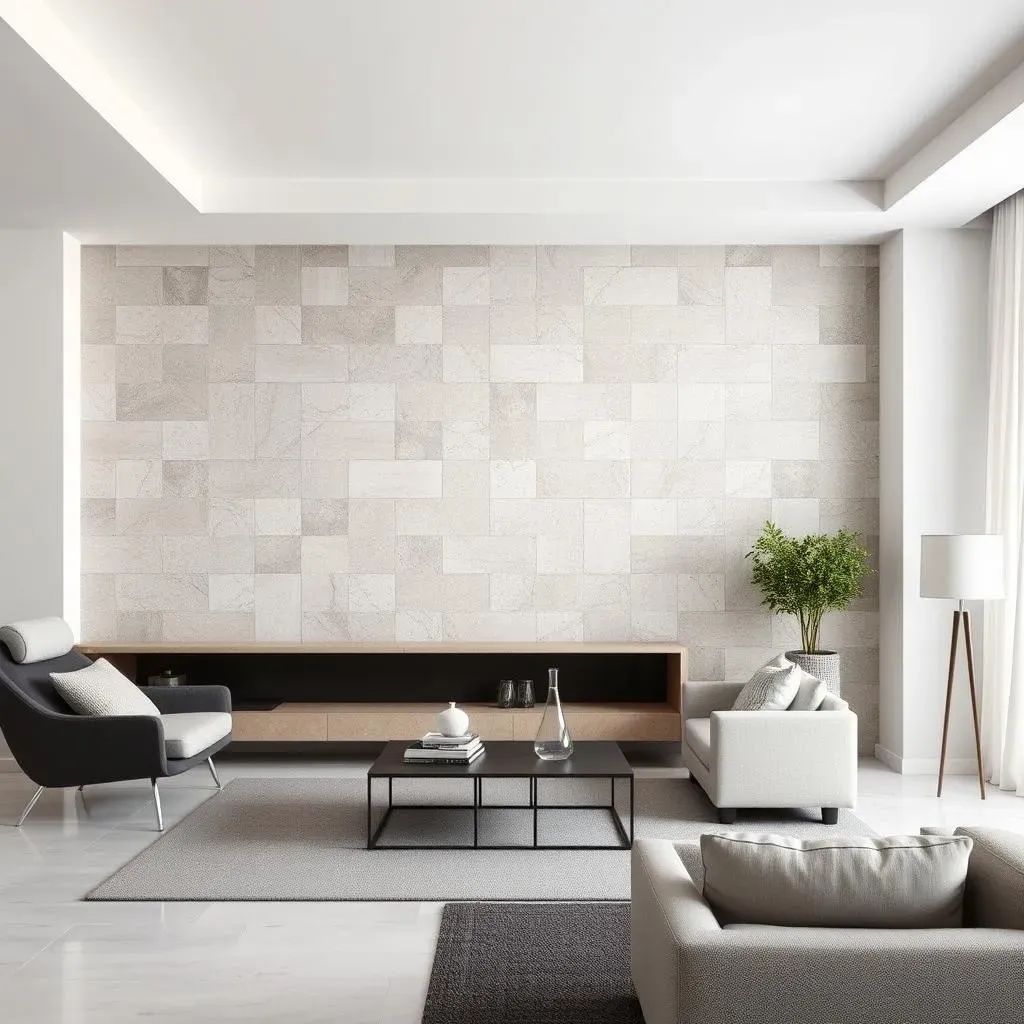
Ready to add a touch of personality and pizzazz to your home without breaking the bank? Then get ready to explore the exciting world of "DIY accent walls with tiles"! This article is your ultimate guide to transforming a plain wall into a stunning focal point. We'll walk you through every step of the process, from initial planning and tile selection to the satisfying final installation. Forget expensive renovations; we'll show you how to create a professional-looking DIY accent wall with tiles that will impress your friends and family. We'll cover essential tips for choosing the right tiles, tools, and design that best suits your style and space. Then, we'll provide a clear, easy-to-follow step-by-step guide to installation, tackling potential challenges head-on. Finally, we'll unleash your creativity with inspiring ideas and finishing touches to make your DIY accent wall with tiles truly unique. So grab your tools, let's get started, and prepare to be amazed by what you can create!
Planning Your DIY Accent Wall with Tiles: Choosing Tiles, Tools, and Design

Planning Your DIY Accent Wall with Tiles: Choosing Tiles, Tools, and Design
Choosing the Right Tiles for Your Accent Wall
Picking tiles is like choosing the perfect outfit – it needs to match your style and the overall vibe of the room! Think about the size and shape of the tiles. Larger tiles create a modern, minimalist feel, while smaller ones, like mosaics, can add texture and visual interest. Don't forget about the color and pattern! A bold geometric pattern can be a real statement piece, while softer, more neutral tones can create a calming atmosphere. Consider the material too. Ceramic tiles are affordable and easy to maintain, while porcelain offers greater durability. For a unique touch, explore natural stone or even glass tiles! Remember to order extra tiles to account for cuts and potential breakage. It's always better to have a little extra than to fall short and have to search for matching tiles later!
Before you head to the store, measure your wall carefully to figure out how many tiles you'll need. Don't forget to account for any cuts you’ll need to make around windows, outlets, or other features. A quick sketch of your wall with the tile layout can be helpful. You can even use some online tools or apps to plan your tile layout. This will help you visualize the final look and calculate the number of tiles needed more accurately. Check out some DIY accent wall with tiles ideas for inspiration!
Tile Type | Pros | Cons |
|---|---|---|
Ceramic | Affordable, easy to clean | Less durable than porcelain |
Porcelain | Durable, water-resistant | More expensive than ceramic |
Natural Stone | Unique look, adds character | Can be porous, requires sealing |
Gathering Your Tools and Supplies
Having the right tools makes the job easier and safer. You'll need a tape measure for accurate measurements, a pencil for marking your layout, and a level to ensure everything is perfectly aligned. A wet saw is essential for clean cuts, especially for larger tiles, but if you're working with smaller tiles, a tile cutter might suffice. Don’t forget the thinset mortar to adhere the tiles to the wall, grout to fill in the spaces between tiles, and caulk to seal the edges for a watertight finish. You'll also need a notched trowel to spread the thinset evenly, sponges for cleaning excess mortar and grout, and a grout float for smoothing the grout. Protect your flooring and furniture with drop cloths to avoid any unwanted spills or damage. A bucket for mixing your thinset and grout will also be handy.
Before you start, gather all your tools and supplies in one place. This will save you time and frustration during the installation process. Make sure you have enough thinset and grout for the entire project – it’s better to have extra than to run out halfway through! Read the instructions on all your materials carefully before you begin. This will help you understand the best practices and avoid any potential mistakes. If you're unsure about any of the steps, don't hesitate to consult online tutorials or ask for assistance at your local home improvement store. For more budget-friendly options, check out these DIY accent wall ideas on a budget.
- Tape Measure
- Pencil
- Level
- Wet Saw or Tile Cutter
- Thinset Mortar
- Grout
- Notched Trowel
- Sponges
- Grout Float
- Drop Cloths
- Bucket
Designing Your Tile Accent Wall
Now for the fun part – designing your accent wall! Start by considering the overall style of your room. Do you want a bold statement or a subtle accent? The design should complement the existing decor, not clash with it. Think about the layout – you can create a simple pattern, like horizontal or vertical stripes, or go for something more complex like a herringbone or mosaic design. You can also play with different tile sizes and shapes to add visual interest. Remember to consider the size and shape of your wall when choosing a design. A simple pattern might be better suited for a small wall, while a more complex design might be better suited for a larger wall.
Consider using a design software or even just sketching your ideas on paper to visualize the final look. You can also find inspiration from online resources, magazines, and even Pinterest. Once you have a design you like, create a detailed plan, including the number and type of tiles you'll need. This will help you stay organized and avoid any surprises during the installation process. Remember, a well-planned design can make all the difference in the final look of your accent wall. For more inspiration, browse these DIY geometric accent wall ideas.
Installing Your DIY Accent Wall with Tiles: A StepbyStep Guide

Installing Your DIY Accent Wall with Tiles: A StepbyStep Guide
Preparing the Wall
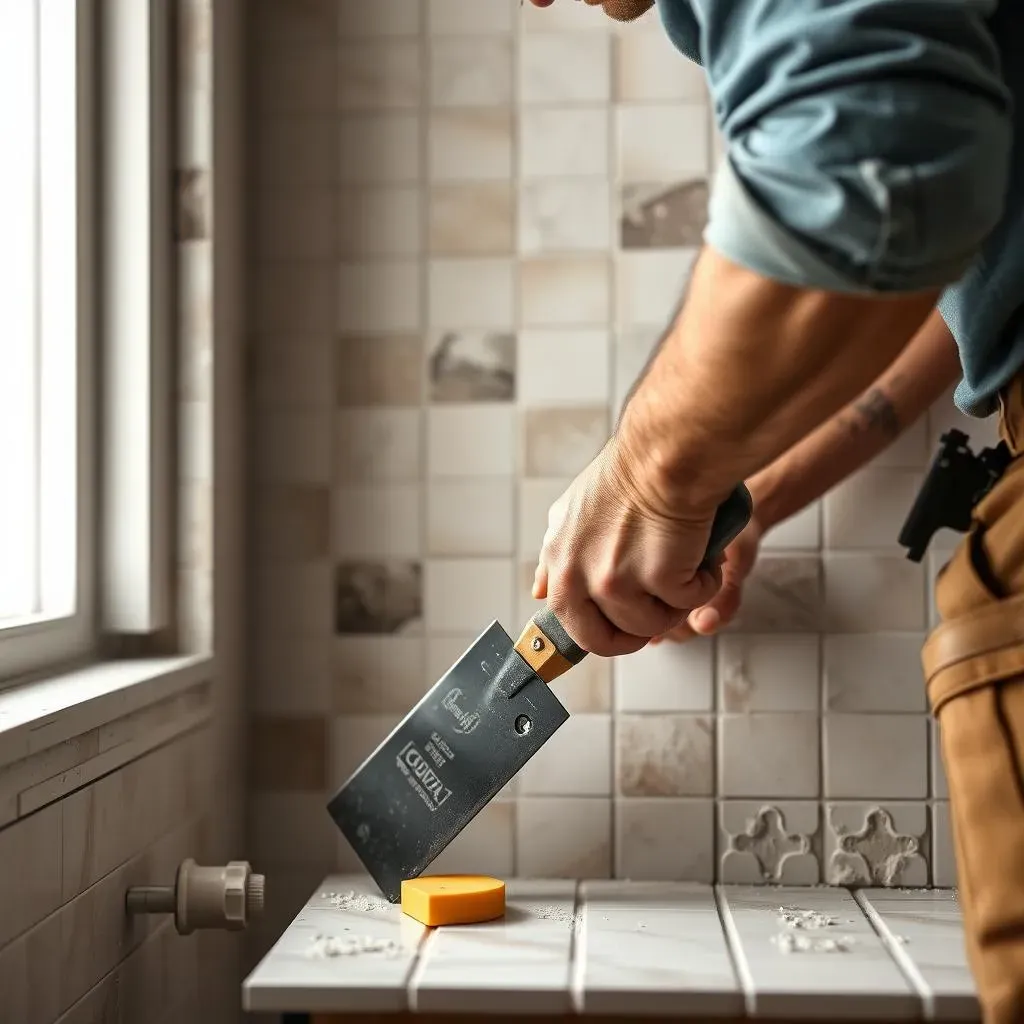
Before you even think about sticking tiles to the wall, make sure it's prepped for success! Start by cleaning the wall thoroughly. Get rid of any dust, dirt, or loose paint. A good scrub with soap and water usually does the trick. For stubborn stains or imperfections, you might need a bit more elbow grease – or a handy scraper. Once it’s clean, let the wall dry completely. This is crucial for the thinset to adhere properly. A damp wall is a recipe for disaster!
Next, check the wall for any unevenness or bumps. If you find any, you’ll need to address them before tiling. A thin layer of joint compound can help smooth out imperfections. Let it dry completely and sand it smooth for a flawless finish. If you have any cracks, fill them with caulk to prevent them from spreading and affecting your tile work. Remember, a well-prepared wall is the foundation of a beautiful DIY accent wall. For more ideas on prepping your wall, check out these DIY accent wall with paint tutorials – the prep work is similar!
- Clean the wall thoroughly
- Repair any imperfections
- Allow the wall to dry completely
Applying the Thinset and Tiles
With your wall prepped, it’s time to get your hands dirty! Mix your thinset mortar according to the manufacturer's instructions. You want a consistency that's spreadable but not runny. Use your notched trowel to apply a thin layer of thinset to the wall, working in small sections. The notches create grooves that help the tiles adhere properly. Now comes the fun part – placing your tiles! Start at the bottom corner and work your way up, using spacers to ensure even gaps between tiles. Press each tile firmly into the thinset, making sure it's fully seated. Use a level to check for alignment as you go – you want those tiles perfectly straight!
Remember to wipe away any excess thinset immediately with a damp sponge. Don’t let it dry on the surface of the tiles – it’s a pain to remove later! Continue working in small sections, ensuring each tile is firmly in place before moving on. Take your time and be patient. Rushing the process can lead to mistakes. When working around outlets or other wall fixtures, you’ll need to cut your tiles to fit. Use your wet saw or tile cutter to make clean, precise cuts. If you're feeling overwhelmed, consider breaking the project into smaller, manageable chunks. Check out these easy DIY accent wall projects for inspiration.
Step | Description |
|---|---|
1 | Mix thinset mortar |
2 | Apply thinset to wall |
3 | Place tiles and use spacers |
4 | Clean excess thinset |
Grouting and Finishing
Once the thinset has dried completely (check the manufacturer's instructions for drying time), it’s time to grout! Mix your grout according to the instructions. Again, you want a workable consistency. Use your grout float to apply the grout to the spaces between the tiles, working at a 45-degree angle to ensure full coverage. Remove any excess grout with a damp sponge before it dries. For a truly professional finish, use a grout sponge specifically designed for tile work. These sponges are designed to remove excess grout without scratching the tile surface.
Allow the grout to dry completely, then seal it with a grout sealer to protect it from stains and moisture. This is especially important in areas like bathrooms or kitchens where the tiles might be exposed to water. Once the sealer is dry, you can admire your handiwork! Your DIY accent wall with tiles is complete. If you're looking for extra inspiration, check out these DIY accent wall with tiles ideas for unique finishing touches.
Finishing Touches and Creative Ideas for Your DIY Accent Wall with Tiles
Adding the Finishing Touches
Okay, the tiles are up, the grout is dry, and you're practically ready to pop the champagne! But before you do, let's add those finishing touches that will elevate your DIY accent wall from "good" to "absolutely stunning." First, take a close look at your grout lines. Are there any gaps or imperfections? A little extra grout can easily fix those minor issues. Once it's all perfectly smooth, use a damp sponge to gently clean up any excess grout and give your tiles a final shine. Then, let everything dry completely before moving on to the next step. For a truly professional look, consider using a grout sealer to protect your handiwork from stains and moisture. This is especially important in bathrooms and kitchens.
Next, let's address those pesky little areas where the tiles meet other surfaces. We're talking about those edges around windows, doors, or electrical outlets. A bead of matching caulk will neatly seal those gaps, preventing water damage and giving a seamless, polished look. Caulk comes in various colors, so choose one that closely matches your grout for a cohesive finish. And finally, step back and admire your incredible tile work. You've officially created a masterpiece! For extra inspiration on finishing touches, check out these DIY accent wall with shelves ideas – they often use similar techniques.
- Clean excess grout
- Seal grout with sealer
- Caulk edges for a seamless finish
Creative Ideas to Personalize Your Accent Wall
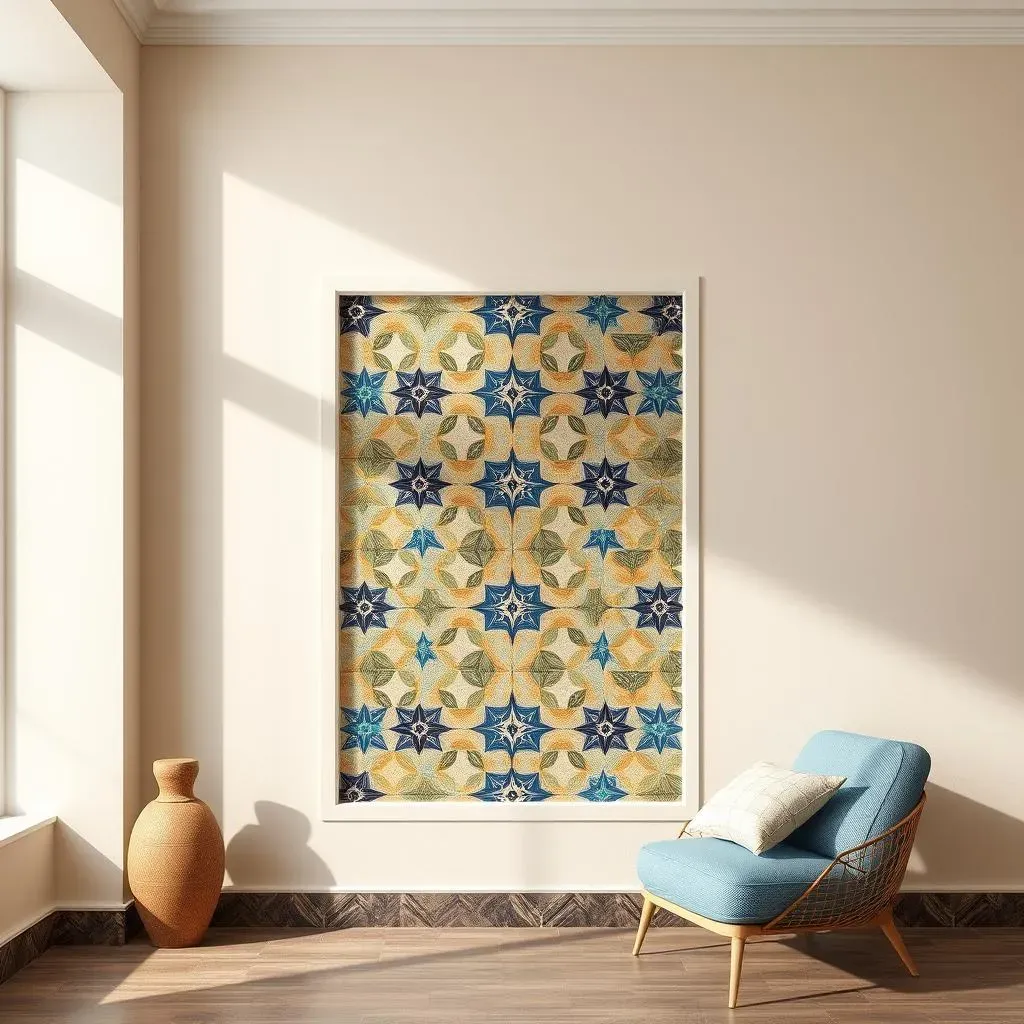
Now that you've mastered the basics, it's time to unleash your creativity! Don't be afraid to think outside the box and add some unique touches to make your accent wall truly one-of-a-kind. Consider adding a decorative border using different colored tiles or mosaic tiles. This can add a pop of color and visual interest to the design. Or how about incorporating some metallic accents? Metallic tiles, or even just metallic grout, can create a luxurious and modern feel. Another fun idea is to use stencils to create patterns or designs on top of your tiles. You can find stencils at most craft stores, or even make your own! Remember, there's no right or wrong answer when it comes to personalizing your accent wall. Let your imagination run wild!
For a truly unique look, consider incorporating other materials alongside your tiles. For example, you could add a wooden frame around the tiled area, or even incorporate some textured wallpaper. The possibilities are endless! If you’re feeling adventurous, try incorporating lighting into your design. Recessed lighting or strategically placed spotlights can highlight the texture and color of your tiles. And if you’re still looking for more inspiration, don't forget to browse through online resources like Pinterest or home décor blogs. You’ll find countless ideas to spark your creativity. For more budget-friendly ideas, check out these cheap DIY accent wall ideas for living rooms.
Idea | Description |
|---|---|
Decorative Border | Use different colored tiles or mosaics |
Metallic Accents | Incorporate metallic tiles or grout |
Stencils | Create patterns or designs |
Showcasing Your Finished DIY Accent Wall
You've put in the time and effort, and now it's time to showcase your amazing creation! Consider adding some carefully chosen artwork or decor to complement your new accent wall. A large mirror can make a small room feel bigger and brighter, while a collection of smaller framed prints can add a touch of personality. Make sure that the decor you choose complements the colors and patterns of your tiles, rather than competing with them. Let the accent wall be the star of the show!
Once you've added your finishing touches, take some time to step back and admire your handiwork. You've successfully transformed a plain wall into a stunning focal point for your room. Share your accomplishment with friends and family – they'll be amazed by what you've achieved! And don't forget to take some photos to share online – you might inspire others to embark on their own DIY accent wall adventures. For more inspiration on showcasing your finished wall, take a look at these DIY accent wall with photos ideas.
