Table of Contents
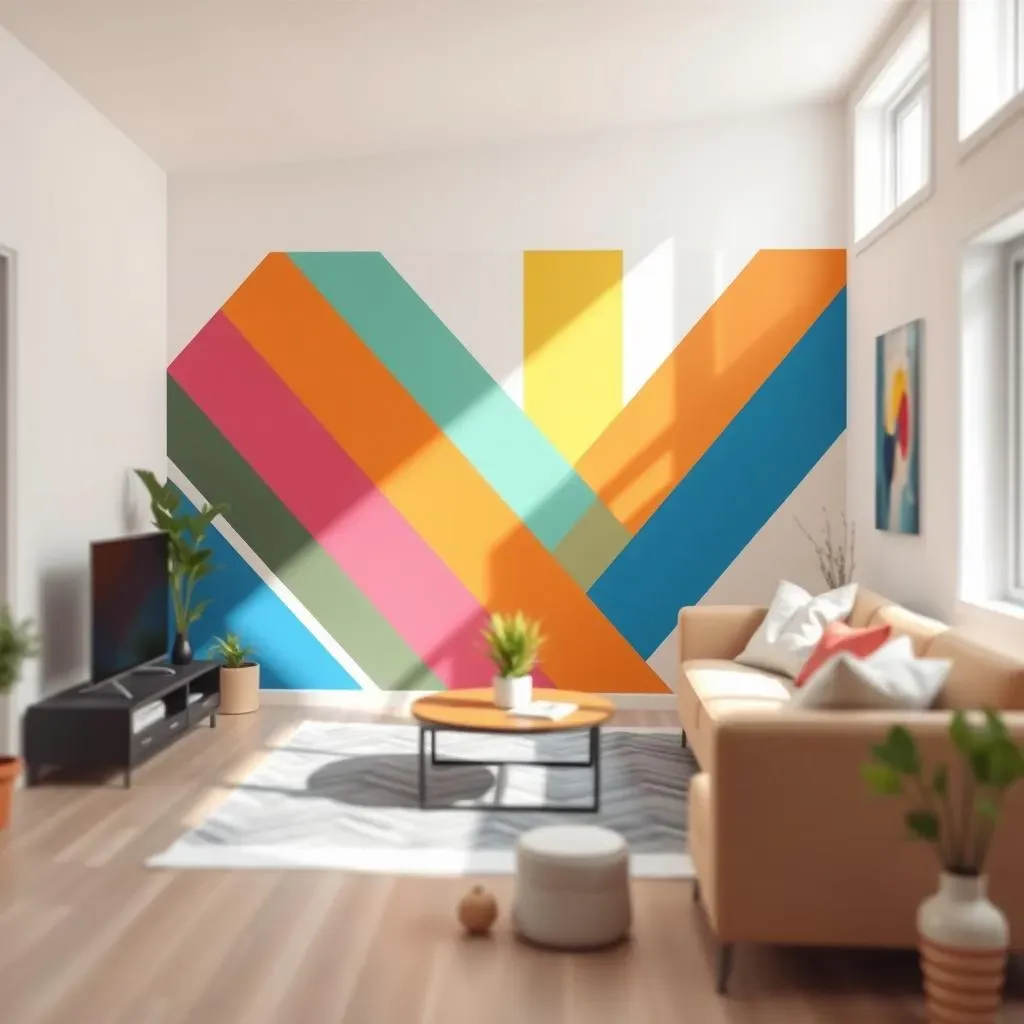
Ever looked at a room and thought, "It needs something... more?" You're not alone. A plain wall can feel like a missed opportunity, a blank canvas begging for a splash of personality. That's where the magic of a "diy accent wall with tape" comes in. It's not about being a professional painter; it's about using a roll of tape and some paint to create something totally unique. Think of it as adult coloring, but on your walls. This article is your guide to transforming any room from drab to fab, with simple techniques and creative ideas. We'll start with the basics of planning, then jump into creating geometric patterns that pop. Next, I'll show you the painting tricks to get those super crisp lines, and finally, we'll tackle common hiccups and how to fix them. Get ready to unleash your inner artist and make your walls the talk of the town!
Getting Started with Your DIY Accent Wall
Getting Started with Your DIY Accent Wall
Picking Your Wall and Design
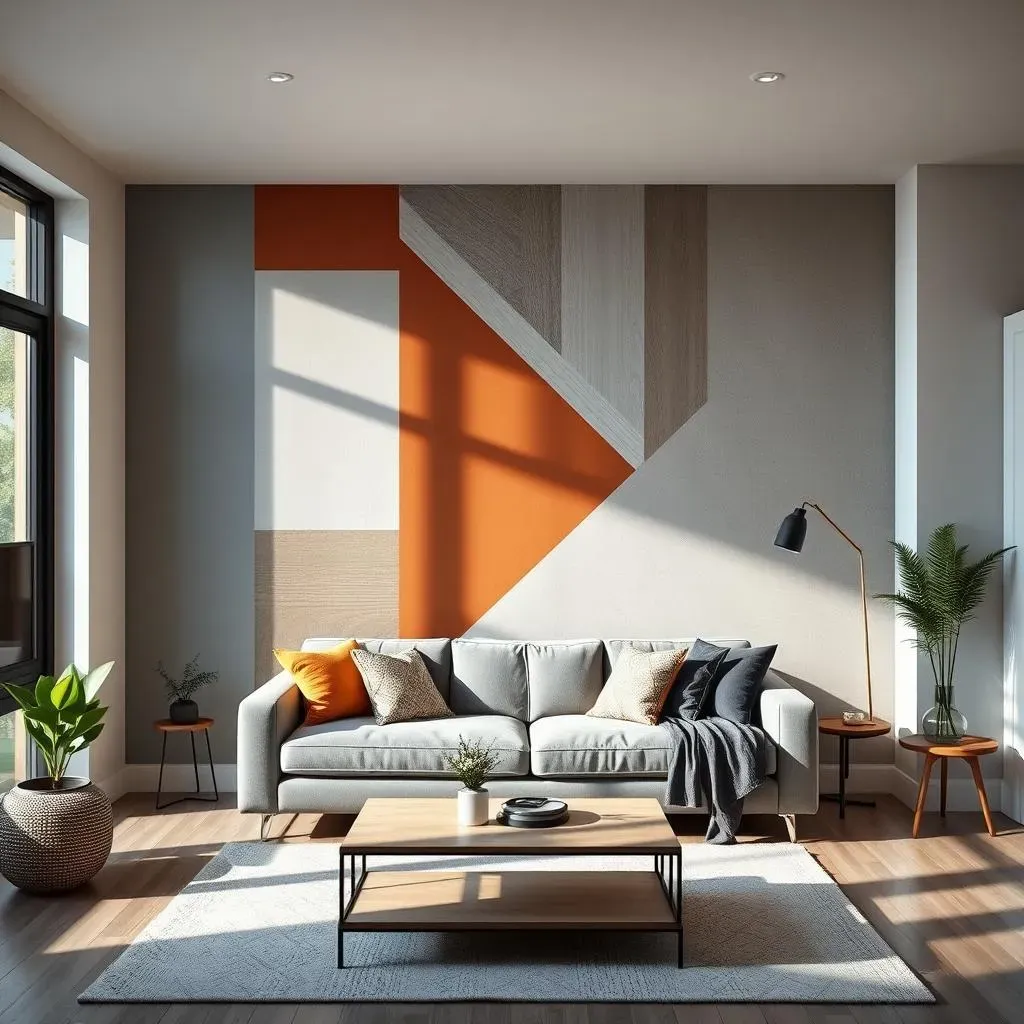
Okay, so you're itching to get started, right? First things first, let's pick the perfect wall. Not all walls are created equal, you know. Think about which wall could use a little extra oomph. Is it the one behind your bed? The one in your living room that everyone stares at? Once you've got your wall, it's time to dream up a design. Don't worry about being a Picasso right now. Simple stripes, bold chevrons, or even just a few geometric shapes can look amazing. The key is to start with something you love, something that makes you happy to look at every day.
Before you even think about tape, let's talk about color. Are you going for a bold statement or something more subtle? Consider the existing colors in your room, and how your new accent wall will play with them. I always recommend grabbing a few paint samples and testing them out on a small area of your chosen wall. You can see how they look in different lights. Trust me, it's much easier to change a small patch of paint than an entire wall.
Gathering Your Supplies
Alright, design and color? Check and check. Now for the fun part, gathering your gear! You'll need a few key items to make your wall dreams a reality. Obviously, you'll want some paint in your chosen colors, a roller, and a paint tray. But the real star of the show is the painter's tape. I swear by the blue stuff, it's a lifesaver. Grab a level too, you don't want crooked lines, unless that's your thing. And a measuring tape to make sure everything is even. Oh, and don't forget some drop cloths or old sheets to protect your floor from paint splatters. It's a messy job, but someone has to do it!
Supply | Why You Need It |
|---|---|
Painter's Tape | To create clean lines and patterns. |
Paint | To add color and personality. |
Roller and Tray | To apply paint smoothly and evenly. |
Level | To ensure straight lines. |
Measuring Tape | To plan and measure accurately. |
Planning and Prepping the Wall
Okay, you've got your supplies, now let's get serious about planning. Before you start sticking tape everywhere, take a step back and visualize your design on the wall. You can even use a pencil to lightly sketch out your ideas. This step is super important, so don't rush it. Once you're happy with your plan, it's time to prep the wall. Make sure it's clean and free of dust or dirt. A quick wipe down with a damp cloth will do the trick. Now, you're ready to start taping! Take your time and make sure each piece of tape is firmly pressed down. No rush, no mistakes. Right?
Creative Geometric Patterns Using Tape
Creative Geometric Patterns Using Tape
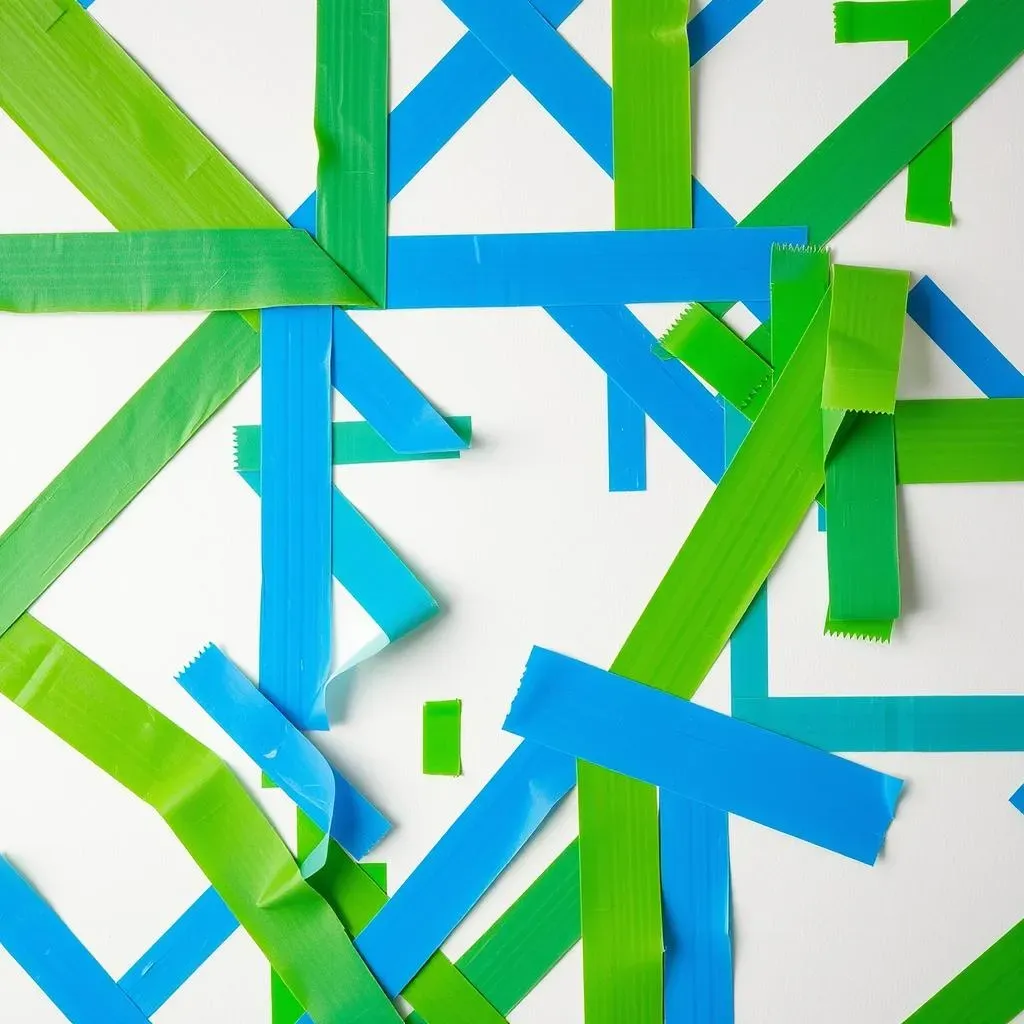
Alright, now for the fun part, let's get into some cool geometric designs. Forget boring straight lines, we're about to get fancy! Think about it, tape is basically your magic wand to create any shape you can imagine on your wall. You could do a classic chevron, which is like a bunch of zigzags, or try a cool geometric pattern, mixing triangles and squares. Or, if you're feeling bold, go for a totally random design, let the tape guide you! The beauty of this is, there are no rules. It's all about playing around and seeing what you can come up with. I remember one time, I was trying to create a super intricate pattern and it ended up looking like a total mess. But, you know what? I just peeled off the tape and started again. That's the best part of DIY; it's all about learning and experimenting.
If you're feeling a little overwhelmed with all the design possibilities, don't worry, there are tons of resources out there for inspiration. Pinterest is a goldmine for geometric wall ideas. You can also check out some design blogs or even just browse through home decor magazines. Once you've got a design in mind, it's time to translate it to your wall. Remember that level we talked about earlier? Yeah, you're gonna need it. It's the key to keeping those lines straight and crisp. Start by marking the key points of your design with a pencil, then carefully apply the tape, pressing down firmly to get a good seal. And here's a little tip, if you're doing a super complex design, use a computer program to create a digital template first. It's a great way to test your color combinations and see how everything will look before you commit to painting.
Pattern | Description | Difficulty |
|---|---|---|
Stripes | Simple horizontal or vertical lines. | Easy |
Chevron | Zigzag pattern made with angled lines. | Medium |
Geometric | Mix of shapes like triangles, squares, and diamonds. | Medium to Hard |
Random | Abstract design with no set pattern. | Medium to Hard |
DIY Painting Techniques for Perfect Lines
DIY Painting Techniques for Perfect Lines
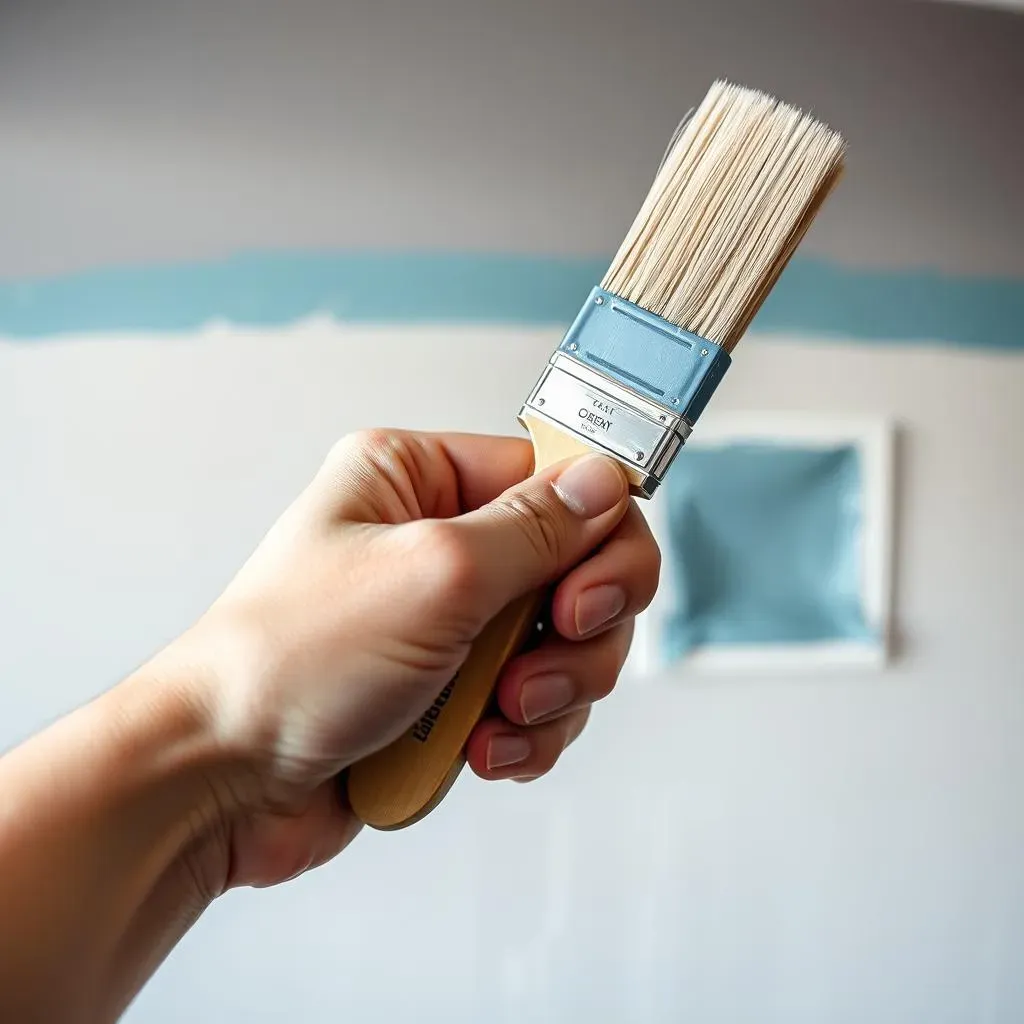
Okay, so you've got your design taped up, and it looks pretty awesome. But here's where the real magic happens: painting those perfect lines. It's not just about slapping paint on the wall, it's about finesse. First off, you need to "seal" the tape. What I mean by that is, take your base color paint, the color that's already on the wall, and lightly paint along the edge of the tape. This might seem weird, but it's a game-changer. It fills any tiny gaps between the tape and the wall, so when you paint your accent color, it won’t bleed underneath. Think of it like a tiny little dam holding back the flood of color. Let that seal coat dry completely before moving on.
Now, grab your roller and your accent color. Load up your roller with paint, but not too much, you don’t want drips. Start painting with light, even strokes, rolling away from the tape. This helps prevent the paint from getting pushed under the tape. Remember, it’s better to do multiple thin coats than one thick, goopy one. Patience is key here. Let each coat dry fully before adding the next. This might feel like it's taking forever, but trust me, the final result is so worth it. Once you’re happy with the color coverage, it's time for the moment of truth. And here’s a little secret, don’t wait for the paint to completely dry before you peel the tape.
Technique | Why It Works |
|---|---|
Sealing the Tape | Prevents paint bleed for crisp lines. |
Light Coats | Avoids drips and ensures even coverage. |
Rolling Away From Tape | Keeps paint from seeping underneath. |
Peeling While Slightly Wet | Reduces risk of tearing paint |
Troubleshooting and Tips for Your Tape Accent Wall
Troubleshooting and Tips for Your Tape Accent Wall
Dealing with Paint Bleed
Okay, so you've peeled off the tape, and uh-oh, the lines aren't as crisp as you hoped. Paint bleed, that sneaky little gremlin, is a common problem, but don't fret, it's totally fixable. First, make sure you sealed your tape properly by using the base color to fill any gaps. If you still see some bleed, use a small artist's brush and carefully touch up those areas with your base color. It's like a little paint surgery. You can also try using a credit card or putty knife to press the tape down firmly, this helps prevent the paint from sneaking under the tape.
Sometimes, the type of paint can affect how much it bleeds. If you're using a high-gloss paint, it tends to be a bit more prone to bleeding. If you are using a flat or matte paint, it's more forgiving. And here's a tip I learned the hard way: don't overload your roller with paint. Less is more, especially when you're painting near the tape. Also, make sure you're using a good quality painter's tape. The cheap stuff can be a real pain and doesn't always stick well, leaving you with jagged lines.
Tape Issues and Solutions
Another tricky thing is when the tape just doesn't stick right. You've pressed it down, you've made sure the wall is clean, but it's still peeling up at the edges. This usually means there's some kind of texture on the wall that's preventing the tape from sealing properly. If you have textured walls, you can try using a smoother tape, it's a bit thicker and more flexible. Or, you can try using a putty knife or a credit card to really press the tape down, making sure it adheres to every bump and crevice. And if all else fails, you can try a little trick I use: lightly warm the tape with a hairdryer before applying it, this helps the adhesive stick better.
Also, remember that painter's tape isn't meant to stay on the wall forever. The longer it stays, the harder it is to remove without peeling off the paint underneath. I always try to remove the tape within 24 hours of painting. If you've got a complex design with multiple layers of tape, remove each layer as you go. Don't wait until the very end to remove everything at once. It can get messy. And if you do accidentally peel off some paint, don’t panic. Just grab a small brush and touch it up.
Problem | Solution |
|---|---|
Paint Bleed | Seal tape, touch up with base color. |
Tape Not Sticking | Use smoother tape, press firmly, warm with hairdryer. |
Tape Peeling Paint | Remove tape within 24 hours, touch up any peeled paint. |
Final Touches and Maintenance
Okay, you’ve tackled the bleed, you’ve got the tape sticking, and you’ve got a killer design. Now is the time for the final touches. Step back and admire your work. You did it! But before you start celebrating, take a good look at your walls. Are there any areas that need a little more attention? Maybe a touch up here or there? Sometimes, the lighting can highlight small imperfections, so go over it with a critical eye. I like to use a small brush for any touch-ups.
And remember, a DIY accent wall isn't a "set it and forget it" kind of thing. Over time, you may need to do some minor touch-ups. But that's part of the fun, right? It's all about keeping your space fresh and personalized. And here’s a little maintenance tip: don't use harsh chemicals when you're cleaning your walls. A damp cloth is usually all you need to keep your accent wall looking its best. And if you ever get tired of your design, well, you can always just grab some tape and paint and start all over again. That’s the beauty of a DIY accent wall. It’s your canvas, and you can change it whenever you want.
