Table of Contents
Ready to breathe new life into your home without breaking the bank? Then get ready to discover the magic of the "DIY accent wall with shelves"! This isn't just about slapping some paint on the wall; it's about transforming a blank space into a personalized masterpiece. This comprehensive guide will walk you through every step, from the initial planning stages to the final styling touches. We'll explore different design options, helping you choose the perfect materials to suit your style and budget. You'll learn how to measure, cut, and install shelves with confidence, even if you're a complete beginner. We’ll demystify the process with clear instructions and helpful visuals, so you can create a stunning accent wall that reflects your unique personality. Get ready to unleash your inner artist and create a space you'll absolutely adore. By the end of this article, you'll not only have a beautiful DIY accent wall with shelves but also the confidence to tackle any home improvement project. So let's get started and turn your walls into works of art!
Planning Your DIY Accent Wall with Shelves

Planning Your DIY Accent Wall with Shelves
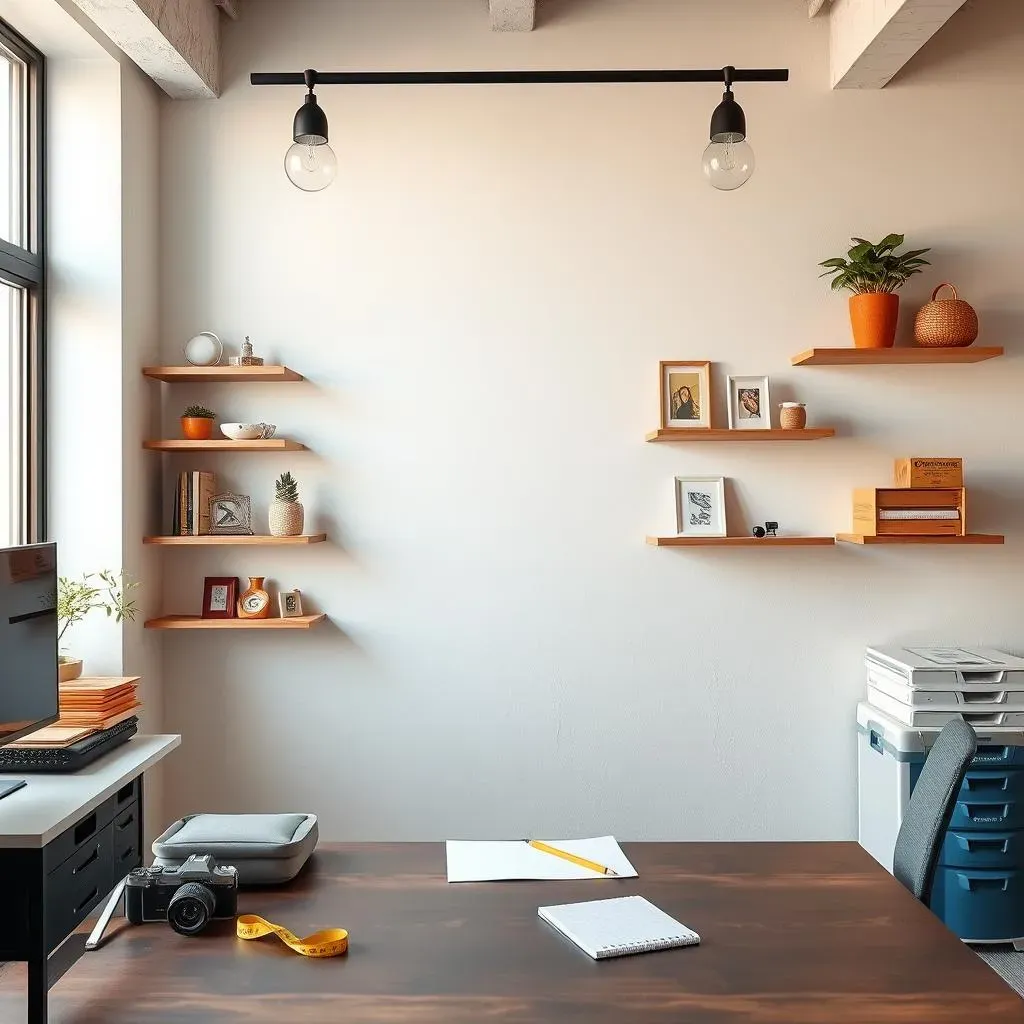
So, you're thinking about tackling a DIY accent wall with shelves? Awesome! Before you even think about grabbing a hammer, let's get organized. The planning stage is crucial – it's where you transform a vague idea into a concrete plan. First, choose your wall. Consider the size, lighting, and existing décor. A small wall might be perfect for a smaller, more focused shelf design, while a larger wall offers more creative possibilities. For inspiration, check out these cheap DIY accent wall ideas for your living room or explore DIY accent wall ideas for your bedroom. Next, sketch your design! Don't worry about being a professional artist; a simple drawing showing the placement of shelves and their sizes is perfect. Play around with different shelf arrangements – symmetrical, asymmetrical, stacked, floating—the options are endless!
Wall Feature | Considerations |
|---|---|
Size | Large walls allow for more ambitious projects; smaller walls demand more focused designs. |
Lighting | Consider natural and artificial lighting. How will it affect the look of your shelves and the items displayed? |
Existing Decor | How will the accent wall complement your existing furniture and style? |
Then, measure everything twice! Accurate measurements are essential to avoid costly mistakes. Measure the wall's height and width, and decide on the shelf depth and width. Don’t forget to account for any existing features like electrical outlets or windows, which might influence your design. If you are using reclaimed wood, check out this DIY accent wall with reclaimed wood tutorial for inspiration. Consider the items you'll display on the shelves. Will you be showcasing books, plants, or decorative objects? This will help you determine the appropriate shelf spacing and depth. Think about the overall style you want to achieve—rustic, modern, minimalist, eclectic? Once you have a clear vision, gather all your materials and tools. This will save you time and frustration later.
- Choose your wall carefully.
- Sketch your design.
- Measure accurately.
- Consider what you’ll display.
- Choose your style.
- Gather your materials.
Finally, create a detailed materials list. This will ensure you have everything you need before you begin. Include the type and quantity of wood, screws, paint, and any other necessary items. This meticulous planning will make the actual building process much smoother. And remember, even if you deviate from your plan a little along the way, having a solid foundation is essential for success. This is just the beginning of your amazing DIY journey! Now, let's talk about choosing the right materials for your project. For some additional ideas, you might want to explore DIY accent wall with shelves for more design inspiration.
Choosing the Right Materials for Your DIY Accent Wall with Shelves
Selecting Your Wood
Choosing the right wood is key to a stunning and durable accent wall. Consider the look you're going for: rustic charm? Sleek modern lines? Different woods offer vastly different aesthetics. Reclaimed wood, for instance, brings a unique character with its natural imperfections – check out this reclaimed wood accent wall for inspiration. Pine is a classic, affordable choice, easy to work with, and readily available. For a more upscale feel, hardwoods like oak or walnut offer rich tones and superior durability, though they'll cost more. Think about how the wood will complement your existing décor and the overall style of your room. Will the wood be stained or painted? If stained, choose a wood with a nice grain pattern that will show through. If painted, the wood type is less critical; however, a denser wood like poplar or MDF might be a better choice for a clean, smooth finish.
- Reclaimed Wood: Unique character, natural imperfections.
- Pine: Affordable, easy to work with.
- Hardwoods (Oak, Walnut): Rich tones, superior durability (more expensive).
- Poplar/MDF: Good for painted finishes.
Hardware and Finishing Touches
Don't overlook the small details! The right hardware can elevate your DIY accent wall with shelves from "nice" to "wow." Choose sturdy shelf brackets that complement your chosen wood and overall style. Hidden brackets offer a sleek, minimalist look, while decorative brackets add visual interest. Consider the weight your shelves will bear; select brackets rated for the appropriate load capacity. Once your shelves are up, you'll need to think about the finishing touches. Paint is a versatile option; choose a color that complements your room's décor. A simple coat of paint can unify the shelves with your wall, or you could use a contrasting color to make them pop. For a more natural look, consider staining your wood. Stain enhances the wood's grain pattern, adding warmth and character. If you're feeling adventurous, you might want to explore some DIY accent wall texture ideas to add extra flair! Finally, remember to seal your wood with a protective finish to prevent damage and ensure longevity. You can use a clear sealant for a natural look or a tinted sealant to enhance the color.
Material | Considerations |
|---|---|
Shelf Brackets | Sturdiness, style (hidden vs. decorative), load capacity. |
Paint/Stain | Color choice, compatibility with wood type, desired finish. |
Sealant | Protection, longevity, desired sheen (matte, satin, gloss). |
StepbyStep Guide: Building Your DIY Accent Wall with Shelves

StepbyStep Guide: Building Your DIY Accent Wall with Shelves
Preparing the Wall
First things first: prep your wall! This step is often overlooked, but it's crucial for a smooth, professional finish. Start by cleaning the wall thoroughly. Dust, dirt, and cobwebs will interfere with paint adhesion. A quick wipe-down with a damp cloth usually does the trick. Next, patch any holes or imperfections. Use spackle to fill in any cracks or nail holes, let it dry completely, and then sand it smooth. For a really clean look, you might even consider priming the wall, especially if you're using a bold or light paint color. Priming creates a uniform surface for the paint, ensuring a consistent finish. This extra step is well worth the effort, trust me! If you're working with a particularly textured wall, you might want to consider using a primer designed for textured surfaces. For some extra inspiration on wall prep, check out these DIY accent wall with paint tutorials.
- Clean the wall
- Patch imperfections
- Prime the wall (optional but recommended)
Installing the Shelves
Now for the fun part – installing the shelves! Begin by carefully marking the shelf locations on the wall using your measurements from the planning phase. Use a level to ensure your marks are perfectly horizontal. This is crucial for a professional look. Next, secure your shelf brackets to the wall using appropriate screws and a drill. Make sure to use a stud finder to locate the wall studs; this provides significantly more support and stability for your shelves. If you are using floating shelves, carefully follow the manufacturer's instructions. Once the brackets are securely fastened, carefully place the shelves onto the brackets. Ensure they are level and firmly seated. If you're using heavier shelves or plan to load them with lots of items, consider using additional support, such as L-brackets or shelf supports. Check out this DIY accent wall with shelves guide for extra tips and tricks.
Step | Description |
|---|---|
1 | Mark shelf locations and check for level. |
2 | Secure brackets to wall studs. |
3 | Place shelves on brackets, ensuring levelness. |
4 | Add extra support if needed. |
Styling Your Stunning DIY Accent Wall with Shelves

Styling Your Stunning DIY Accent Wall with Shelves
Choosing a Color Palette
Now comes the fun part: styling your new accent wall! Think of your shelves as a blank canvas, waiting for your personal touch. First, consider your color palette. Do you want a cohesive look, where the shelves blend seamlessly with the wall, or a bolder statement, where the shelves pop against the backdrop? A neutral wall color offers versatility, allowing you to experiment with different colored shelves and decorative items. Alternatively, a bold wall color can serve as a dramatic backdrop for simpler shelves and accessories. If you're looking for inspiration, check out these DIY accent wall paint ideas to get your creative juices flowing! Think about the overall mood you want to create. Warm colors like earth tones or reds create a cozy atmosphere, while cool colors like blues and greens offer a calming vibe.
Remember to consider the lighting in your room. Darker colors can absorb light, making a room feel smaller, while lighter colors reflect light, creating an airy feel. The color of your shelves should complement, not clash with, your existing décor. Look at the colors of your furniture, rugs, and other accessories to get a sense of what will work best. Experiment with different color combinations using paint swatches or online design tools before you commit to a final choice. Don't be afraid to step outside your comfort zone and try something unexpected! After all, this is your chance to personalize your space and make it truly unique.
- Consider a neutral wall for versatility.
- Use a bold wall color for a statement look.
- Choose colors that complement your existing décor.
- Experiment with different color combinations.
Arranging and Displaying Your Items
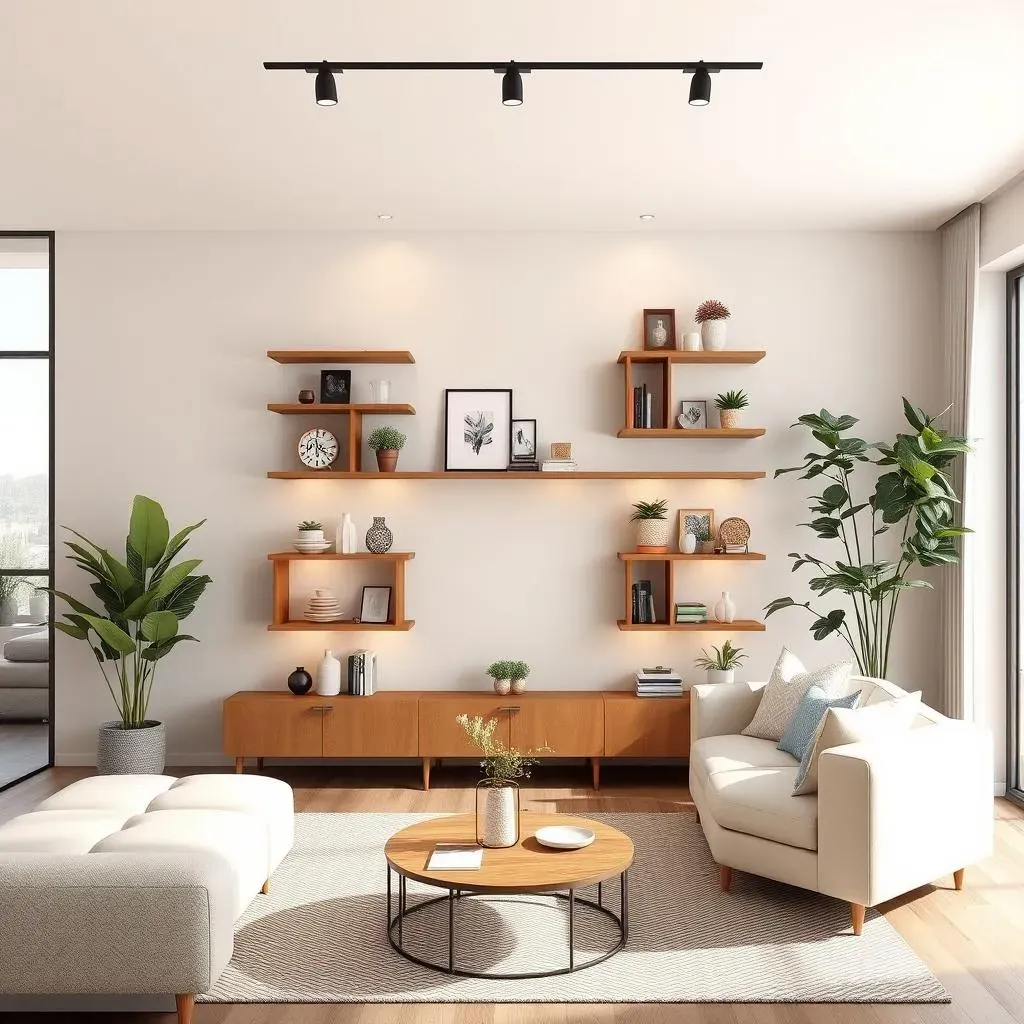
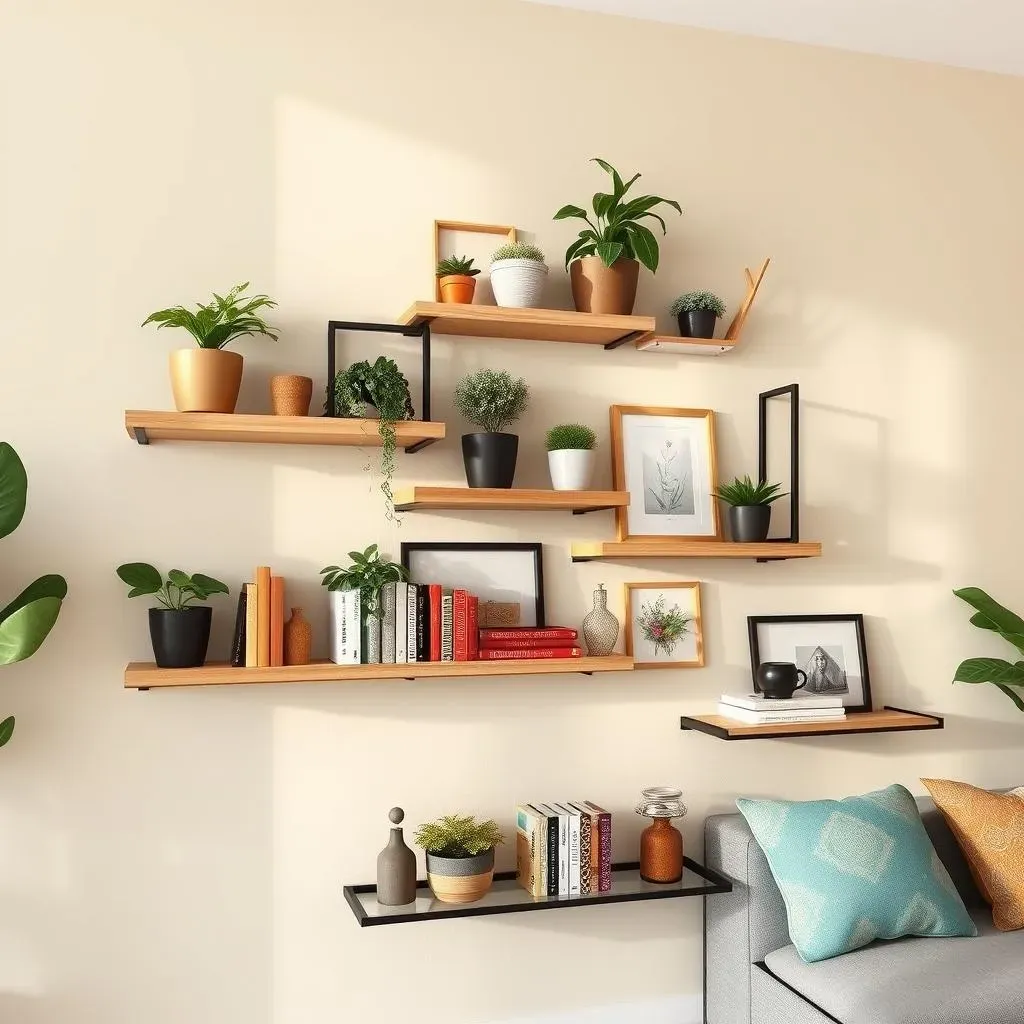
With your shelves in place and your color scheme decided, it's time to style your DIY accent wall with shelves! The key here is balance and visual interest. Avoid overcrowding your shelves; leave some negative space to prevent a cluttered look. Group similar items together to create visual cohesion. For instance, you might group books by color or size, or arrange plants by height and type. Vary the heights and sizes of your decorative objects to add visual interest. Consider using a mix of textures—wood, metal, fabric—to create a multi-dimensional display. For some inspiration on arranging items, check out these DIY accent wall with shelves ideas for different styles.
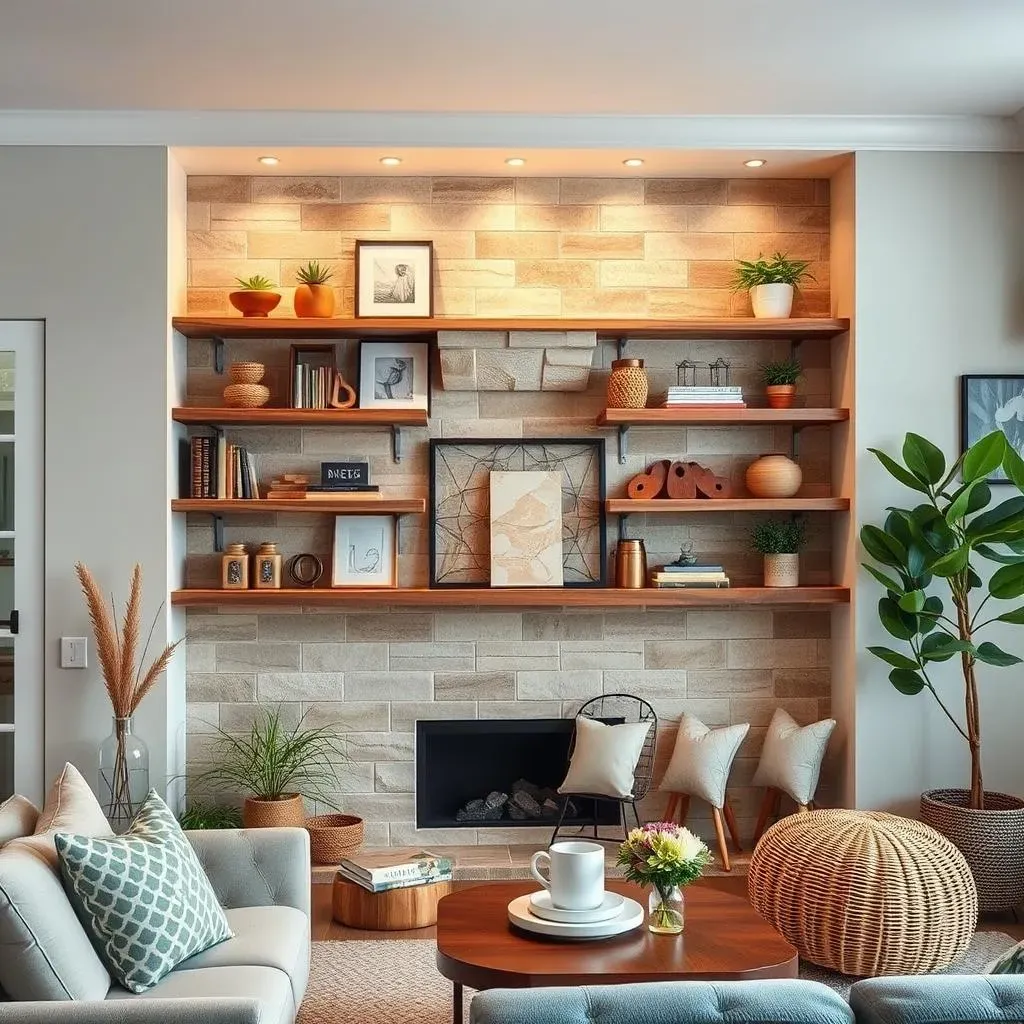
Think about the focal point of your display. Do you have a special item—a piece of art, a family heirloom, a treasured book—that you want to highlight? Place it strategically on the most prominent shelf to draw the eye. Use different heights and levels to create visual interest and add dimension. Consider adding some lighting to highlight your favorite items. Small LED strip lights or strategically placed lamps can add drama and sophistication. Don't be afraid to experiment with different arrangements until you find something that you love. Remember, this is your space; let your creativity shine! And don't forget to have fun with it. The process of styling your shelves should be enjoyable, so relax, experiment, and let your personality shine through.
Styling Tip | Description |
|---|---|
Balance | Avoid overcrowding; leave negative space. |
Cohesion | Group similar items together. |
Visual Interest | Vary heights, sizes, and textures. |
Focal Point | Highlight special items strategically. |
