Table of Contents
Ready to revamp your home without the hefty price tag or endless hours of labor? Then get ready to discover the magic of a DIY accent wall using peel and stick wallpaper! This article is your ultimate guide to transforming any room with ease and style. We'll walk you through everything, from selecting the perfect peel and stick wallpaper to match your personal aesthetic and the specific needs of your space, to mastering the simple installation process. Forget messy glue and complicated patterns; we’ll show you how to achieve a professional-looking accent wall in a fraction of the time and cost of traditional wallpapering. We'll even share tips for maintaining your beautiful new wall and how to easily refresh your design when the mood strikes. Get ready to unleash your creativity and add a touch of personality to your home with a stunning DIY accent wall using peel and stick wallpaper. Let's get started!
Choosing the Perfect Peel and Stick Wallpaper for Your DIY Accent Wall
Material Matters: Choosing the Right Wallpaper
First things first: What kind of peel and stick wallpaper are we talking about? There's a whole world of options out there, from vinyl to fabric to even textured options that mimic brick or wood! Think about the room you're decorating. A bathroom needs something moisture-resistant, like vinyl. For a kid's room, a durable and easily-washable vinyl is ideal. Consider the overall style of your room too. Do you want something bold and graphic, or subtle and textured? Geometric designs are super trendy right now, and offer a lot of visual interest. But don't discount a simple, elegant pattern – sometimes, less is more!
Don't forget about the feel of the wallpaper! Some peel and sticks have a really smooth finish, others are more textured. Touch samples if you can – you want something that feels good to the touch and fits the overall vibe of the room. This is especially important if you're doing a room for a child, where texture plays a big part in sensory experiences. And seriously, who wants a scratchy wall?
Wallpaper Type | Pros | Cons |
|---|---|---|
Vinyl | Durable, washable, moisture-resistant | Can sometimes feel a little stiff |
Fabric | Soft, luxurious feel | Less durable, may not be suitable for high-traffic areas |
Textured | Adds visual interest and dimension | Can be more challenging to install |
Pattern Play: Finding the Perfect Design
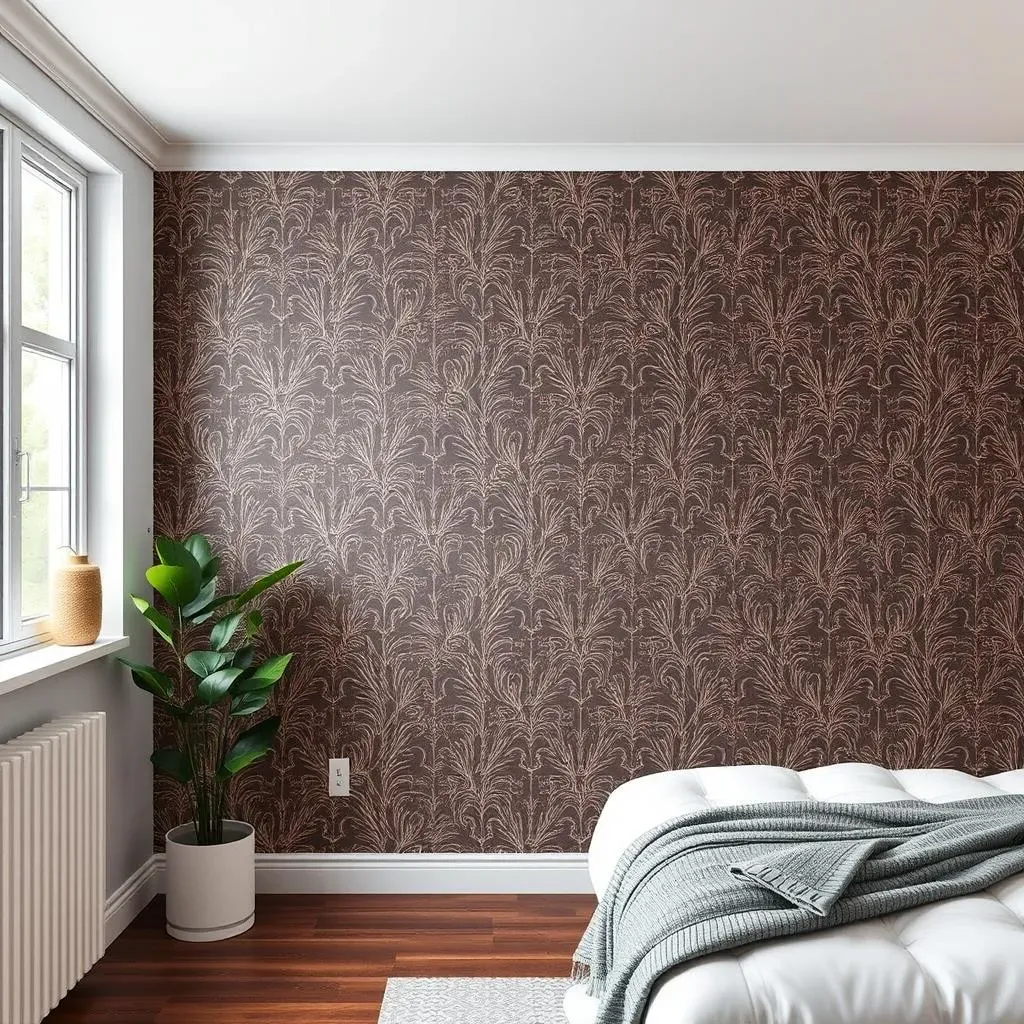
Now for the fun part: choosing the pattern! This is where you get to really express your personality. Do you want a bold, statement-making design that will be the focal point of the room? Or something more subtle that complements the existing décor? Think about your existing color scheme. Are you looking to add a pop of color, or stick with a neutral palette? Remember that peel and stick wallpaper is easily changed, so don't be afraid to experiment! There are tons of cheap DIY accent wall ideas out there, so don't feel pressured to spend a fortune.
Consider the scale of the pattern, too. Large-scale patterns can make a small room feel smaller, while small-scale patterns can get lost in a large space. If you're unsure, opt for a medium-scale pattern – it's a safe bet for most rooms. Also, think about the lighting in your room. A dark, moody wallpaper might look amazing in a dimly lit space, but could feel overwhelming in a bright, sunny room. A DIY accent wall with paint can also provide a great base for your peel-and-stick design.
- Consider the overall style of your room.
- Choose a pattern that complements your existing décor.
- Think about the scale of the pattern and the lighting in the room.
A StepbyStep Guide to Installing Your DIY Accent Wall Using Peel and Stick Wallpaper

A StepbyStep Guide to Installing Your DIY Accent Wall Using Peel and Stick Wallpaper
Prep Your Walls: The Foundation for Success
Before you even think about touching that wallpaper roll, you NEED to prep your walls. Think of it like baking a cake – you wouldn't skip the oven preheating, would you? A clean, smooth surface is key for a flawless finish. Start by washing your wall with a mild detergent and water, then let it dry completely. Any dust or debris will interfere with the adhesive, leading to peeling or bubbling. For textured walls, consider using a primer to create a smooth surface. Check out our guide on painting accent walls for more tips on wall prep!
Next, measure your wall carefully. This sounds obvious, but trust me, it's crucial. You need to know exactly how much wallpaper you'll need to avoid running short (or having way too much leftover). Consider any obstacles like light switches or outlets. It's easier to plan around them from the start. Remember to add a bit extra for trimming. You can find more tips for measuring in our post on budget-friendly accent walls.
- Clean the wall thoroughly
- Measure the wall accurately
- Account for obstacles (lights, outlets)
Wallpaper Application: A Smooth Operation
Alright, let’s get to the fun part! Start by peeling back a small section of the backing paper – about 6-8 inches is a good starting point. Carefully align the wallpaper with your measurements, making sure it’s straight. Use a smoothing tool (a plastic squeegee works great) to gently push out any air bubbles or wrinkles. Work your way across the wall, peeling back small sections of the backing paper as you go. This prevents the adhesive from sticking prematurely and helps avoid wrinkles. If you're working with a patterned wallpaper, make sure the pattern lines up correctly between strips.
If you happen to make a mistake, don't panic! Most peel and stick wallpapers can be repositioned, at least for a short time. Just carefully peel it back and try again. If you're using a textured wallpaper, texturing ideas might help you get that perfect look. For tricky areas like corners or around outlets, use a sharp utility knife to carefully trim the excess wallpaper.
Step | Action | Tip |
|---|---|---|
1 | Peel back a small section of backing | Start at the top corner |
2 | Align and smooth onto the wall | Use a smoothing tool |
3 | Repeat, peeling back small sections | Match patterns carefully |
Finishing Touches: Admire Your Work
Once you've covered your entire accent wall, stand back and admire your handiwork! Seriously, give yourself a pat on the back – you just completed a DIY project like a pro. Now, you may need to do a little more trimming around the edges, especially if you have outlets or light switches. Use a sharp blade to carefully cut away any excess wallpaper. Be gentle to avoid damaging your wall. For more intricate designs, consider using stencils or other stenciling techniques for a truly unique look.
Finally, step back and appreciate your new accent wall! It's amazing what a little bit of peel-and-stick magic can do. You’ve transformed your space with minimal effort and maximum style. If you're looking for inspiration for your next project, check out our range of easy DIY accent wall projects for more ideas. And remember, this is YOUR space, so personalize it to reflect your personality and style. Happy decorating!
Maintaining and Updating Your Stunning DIY Accent Wall with Peel and Stick Wallpaper

Maintaining and Updating Your Stunning DIY Accent Wall with Peel and Stick Wallpaper
Keeping Your Accent Wall Looking Fresh
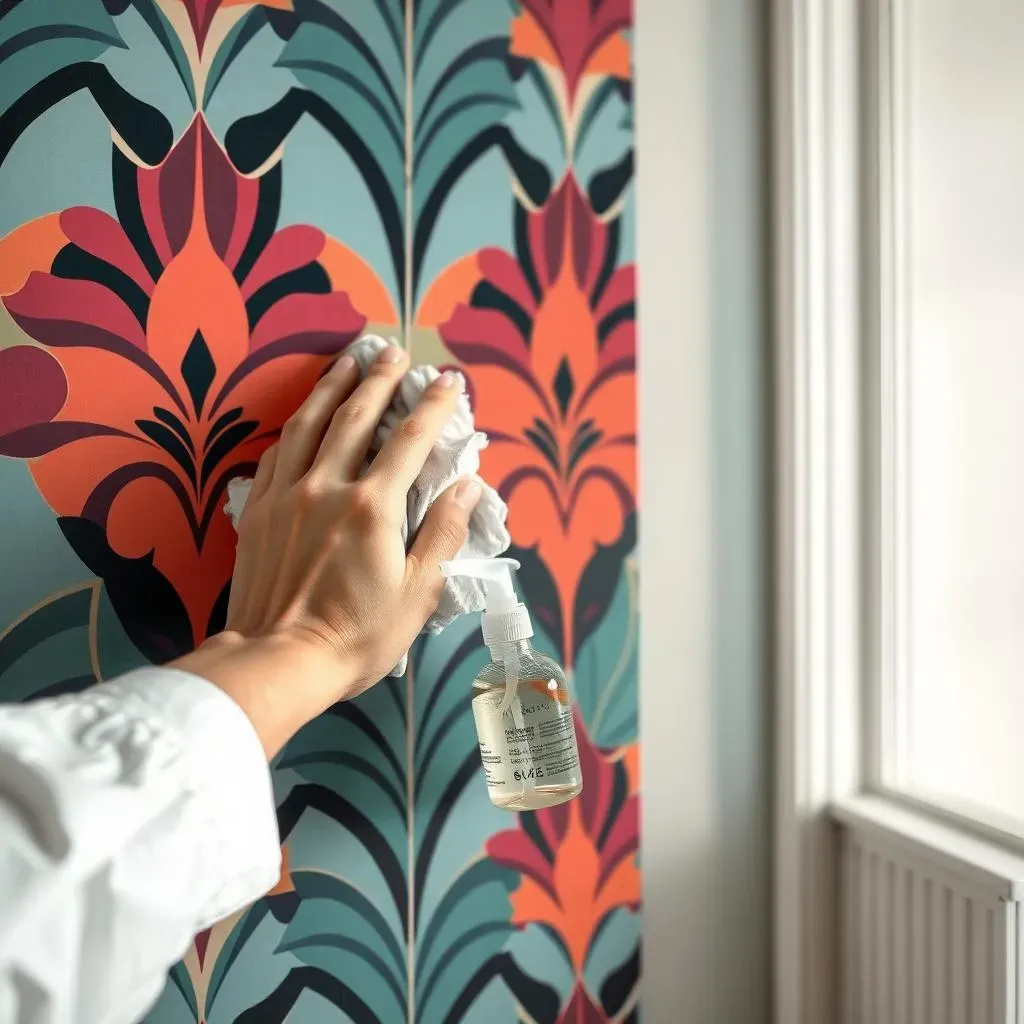
So, you've got your amazing DIY accent wall, looking all stylish and sophisticated. But how do you keep it that way? The good news is, peel and stick wallpaper is pretty low-maintenance. Regular dusting with a soft cloth or feather duster will keep it looking its best. For more stubborn marks, a damp cloth with mild soap should do the trick. Avoid harsh chemicals or abrasive cleaners, as these can damage the wallpaper. For more ideas on keeping your walls clean, check out our post on DIY accent walls with paint.
If you've got a vinyl wallpaper, you're especially lucky; it's super durable and easy to clean. But even with the toughest wallpaper, it's important to avoid excessive scrubbing or harsh chemicals. A gentle approach is always best. You can find more tips on cleaning different types of wallpaper in our article on using peel and stick wallpaper.
- Dust regularly with a soft cloth.
- Use a damp cloth with mild soap for stubborn marks.
- Avoid harsh chemicals and abrasive cleaners.
Updating Your Look: It's Easier Than You Think
One of the best things about peel and stick wallpaper is how easy it is to change! If you're feeling a little bored with your current design, or if your style has evolved, simply peel off the old wallpaper and apply a new one. It's like getting a whole new accent wall without the hassle of repainting or hiring a professional. For inspiration, check out these easy DIY accent wall projects.
Before you apply new wallpaper, make sure to clean the wall thoroughly to remove any residue from the old wallpaper. This ensures that your new wallpaper adheres properly. If you are planning to switch from a dark to a light color, you might need to prime the wall first to avoid the old color showing through. For more ideas on transforming your room, check out our post on DIY accent walls for bedrooms.
Step | Action | Tip |
|---|---|---|
1 | Peel off old wallpaper | Start at a corner |
2 | Clean the wall thoroughly | Remove any residue |
3 | Apply new wallpaper | Follow the same steps as before |
