Table of Contents
Ever feel like your room is just...blah? Like it's missing that certain *oomph*? Well, you're not alone. A super easy way to inject some personality and style into any space is with a DIY accent wall. And guess what? Paint is your best friend here. Forget those expensive makeovers; we're talking budget-friendly, weekend-project level awesome. This article is going to walk you through some fantastic "diy accent wall paint ideas" that are not only simple to pull off but will also make your space feel like a brand-new room. We'll explore everything from simple solid colors that pack a punch to some more adventurous painted patterns and even a few techniques for the pros-in-training. So grab your paintbrushes, maybe put on some tunes, and let's get ready to transform your walls (and your room!) with some seriously cool paint ideas. Get ready to be amazed at how paint can totally change your space.
Simple Solid Color DIY Accent Walls

Simple Solid Color DIY Accent Walls
The Power of One Color
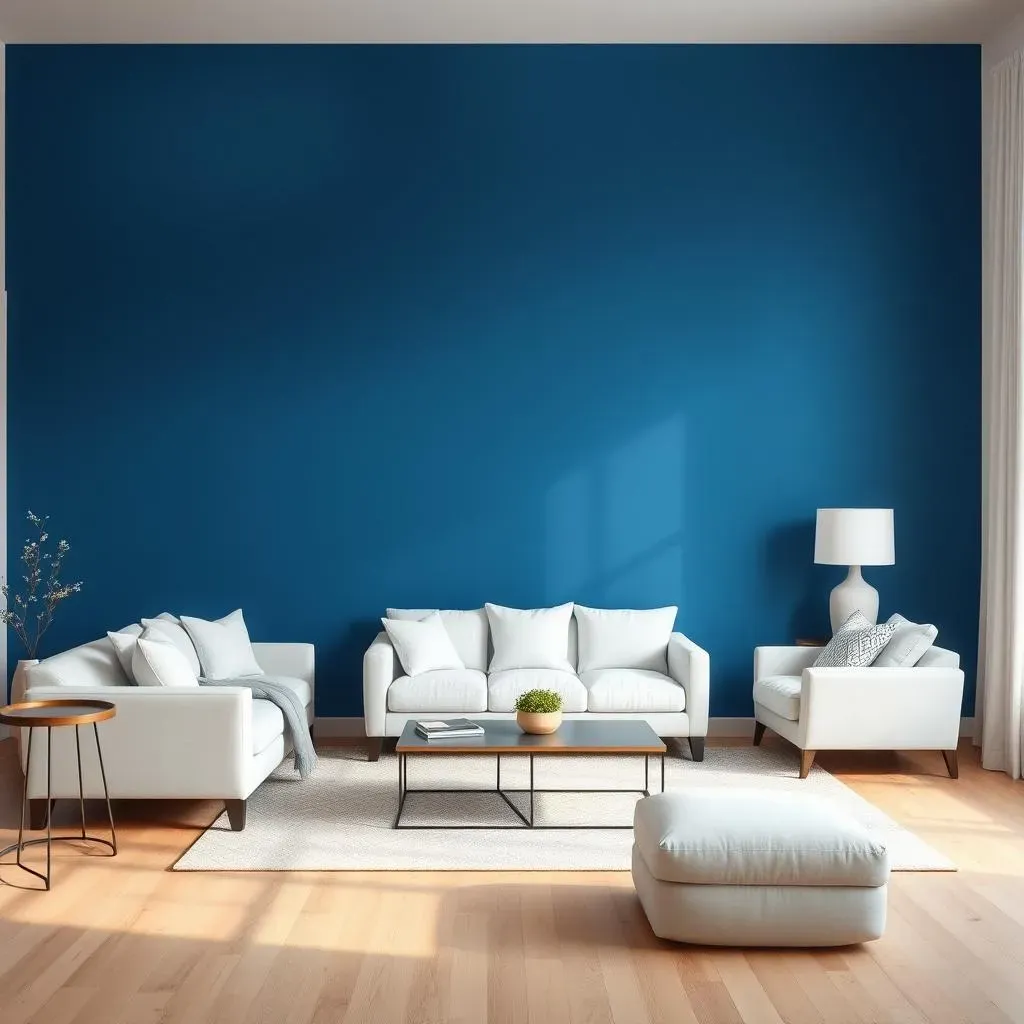
Okay, so you're thinking about an accent wall, but maybe you're not ready to go full Picasso just yet. That's totally cool. A solid color accent wall is like the little black dress of home decor: classic, versatile, and always stylish. It's amazing how much a single wall painted in a bold hue can transform a room. I’ve seen it time and time again, a room that felt a bit blah suddenly jumps to life with just a splash of color. It's all about choosing that one shade that speaks to you and your space.
Think about the mood you want to create. A deep navy or forest green can bring a cozy, sophisticated vibe, while a bright teal or sunny yellow can make a room feel more cheerful and energetic. The beauty of a solid color is its simplicity. It lets your furniture and decor take center stage, while still making a statement. Plus, it’s super beginner-friendly, perfect if you’re just dipping your toes into the DIY world. No fancy techniques needed here, just a good quality paint and some patience.
Choosing Your Color
Now, picking the right color is key. Don’t just grab the first can you see. Consider the existing colors in your room, the amount of natural light, and the overall feel you're going for. I always recommend getting a few sample pots and testing them out on your wall. Seriously, paint colors can look totally different in your space than they do in the store. Live with the samples for a few days, observe how they look in different lighting conditions, and then make your decision. It's also a good idea to think about the undertones of the paint. Is it a warm or cool color? Does it have any hints of blue, green, or yellow? These little details can make a big difference in the overall look.
Don't be afraid to go bold! An accent wall is the perfect place to experiment with colors you might be hesitant to use on all four walls. But hey, if bold isn't your thing, a soft, muted color can be just as effective. The goal is to create a space that you love, so choose a color that makes you happy. When I first started, I was so nervous about choosing a color, I ended up going with a safe beige. Big mistake. It looked terrible. Don't be like me, live a little and take a chance on something you really like.
Color Mood | Color Suggestions |
|---|---|
Cozy and Sophisticated | Deep Navy, Forest Green, Charcoal Gray |
Cheerful and Energetic | Bright Teal, Sunny Yellow, Coral |
Calm and Relaxing | Soft Blue, Sage Green, Light Gray |
Creative Painted Pattern DIY Accent Walls

Creative Painted Pattern DIY Accent Walls
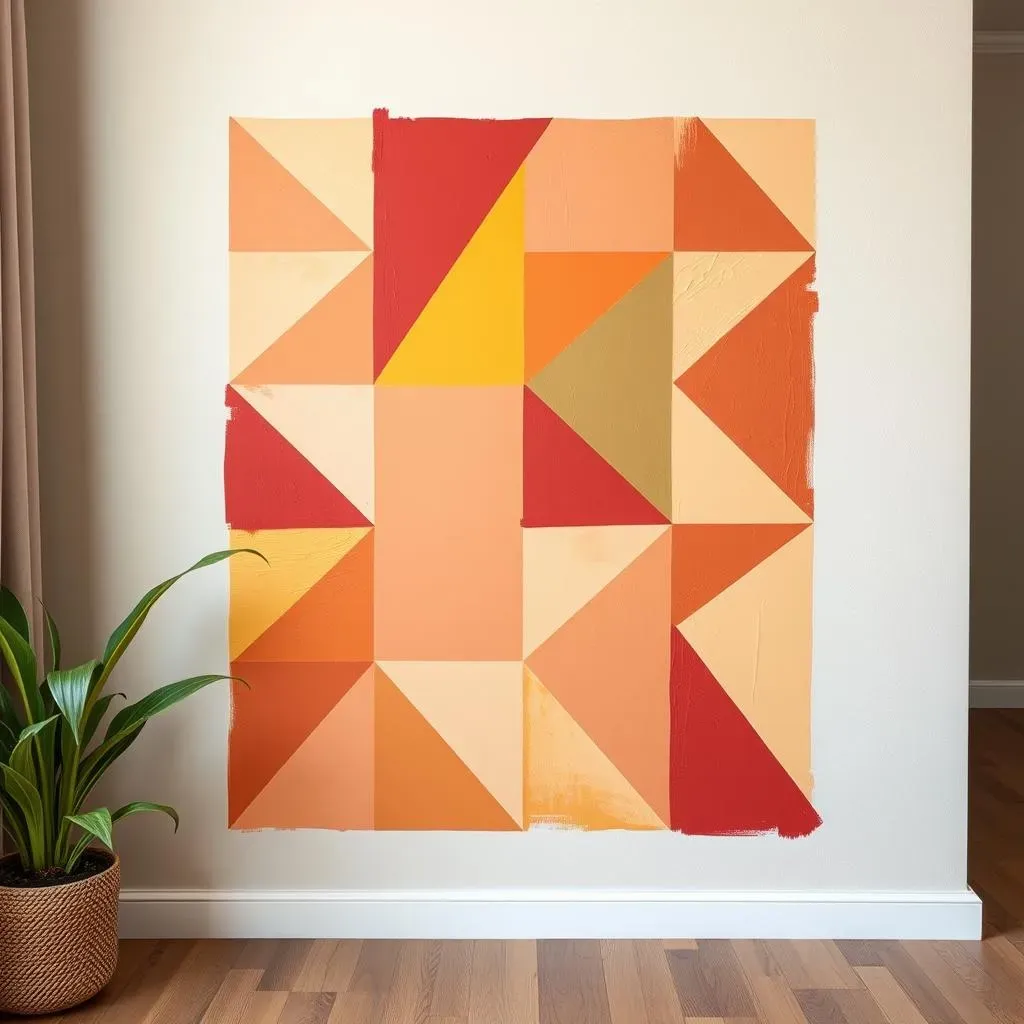
Alright, so you've got the solid color thing down, and now you're itching for something with a bit more pizzazz, right? That's where painted patterns come in. These aren't your grandma's wallpaper patterns (unless your grandma was super cool, of course!). We're talking stripes, chevrons, geometric shapes, even freehand designs. It's like taking your wall from a supporting character to the star of the show. The best part? You can totally customize it to your style. I remember this one time, I saw a wall with these amazing hand-painted triangles. I was so jealous that I went home and tried to recreate it, let’s just say it was not a masterpiece and took a lot of trial and error. But that’s the beauty of it, it doesn't need to be perfect, just have fun with it.
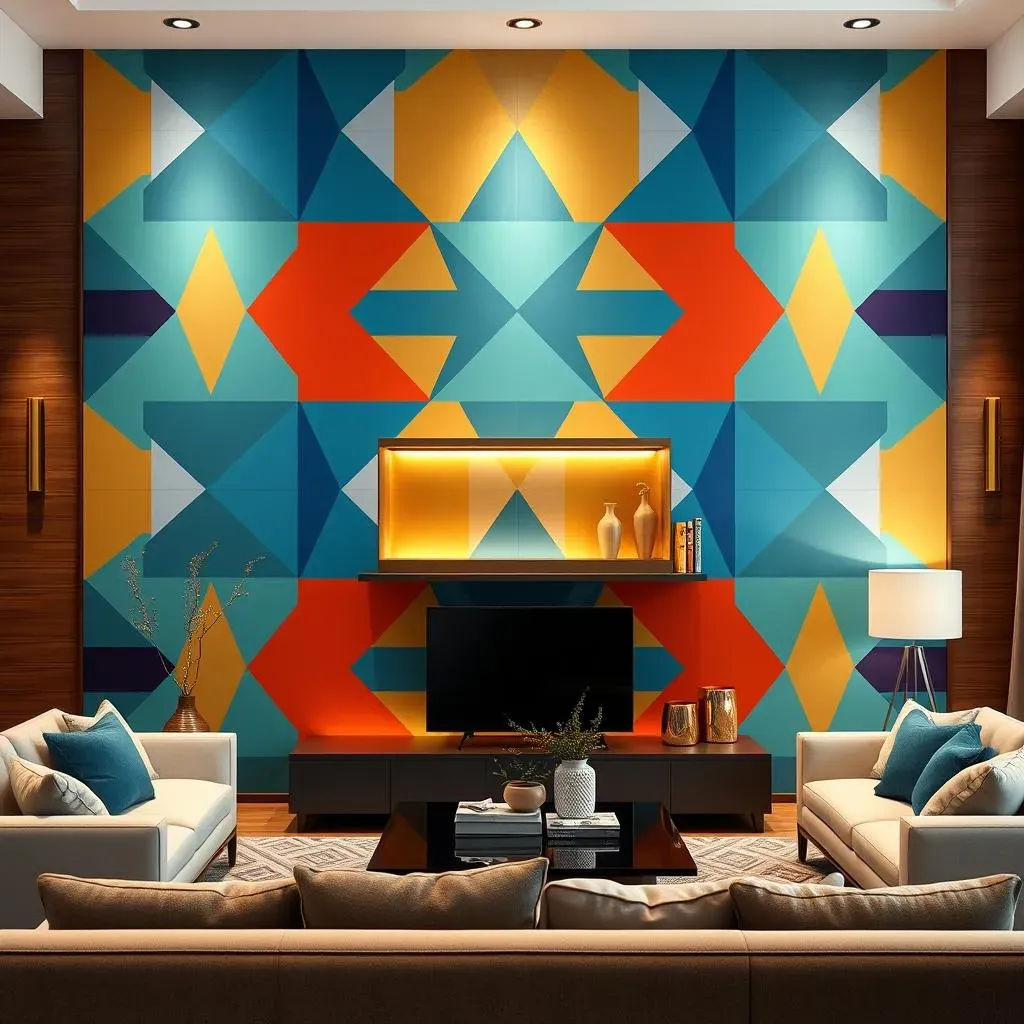
Think about it, stripes are a classic for a reason. They can make a room feel taller or wider, depending on whether you go vertical or horizontal. Chevrons add a fun, energetic vibe, and geometric shapes give a modern, edgy feel. And if you're feeling really creative, you can try a freehand design, like a mural or abstract pattern. The possibilities are truly endless. It's all about choosing a pattern that complements your style and the rest of your decor. It’s a great way to show off your personality and get those creative juices flowing. Remember, it's just paint, so if you don't like it, you can always paint over it, no biggie.
Getting Started with Patterns
Before you get all excited and start slapping paint on the wall, let’s talk prep. First, you'll need to choose your pattern. Do a little Pinterest research or browse through some design magazines to get inspired. Once you have a pattern in mind, it’s time to gather your supplies: painter's tape (the real MVP), a level, measuring tape, paintbrushes, and your chosen paint colors. For a crisp, clean line, make sure to press that tape down firmly. I cannot stress this enough, don't skimp on the tape, it makes all the difference. Also, before you start your pattern, make sure your base color is completely dry, otherwise you'll end up with a sticky, messy situation. Trust me on this one. I’ve learned the hard way.
When it comes to actually painting the pattern, take your time and go slow. Don't rush it, and do multiple thin coats, rather than one thick one. This will help prevent paint from bleeding under the tape. If you're doing a more complex pattern, consider using a stencil to make things easier. If you're doing a freehand pattern, start with a light sketch using a pencil before you start painting. Once you're done, let the paint dry completely before carefully removing the tape. And there you have it, a totally unique, and awesome accent wall that shows off your artistic side. And if you mess up, it's just paint, you can always try again.
Pattern Type | Style | Skill Level |
|---|---|---|
Stripes | Classic, Versatile | Beginner |
Chevrons | Energetic, Fun | Intermediate |
Geometric Shapes | Modern, Edgy | Intermediate |
Freehand Designs | Creative, Unique | Advanced |
Advanced DIY Accent Wall Paint Techniques

Advanced DIY Accent Wall Paint Techniques
Textured Paint Techniques
Okay, so you've mastered the solid colors and dabbled in patterns, now you're ready for the big leagues. Let's talk texture. It's like adding another dimension to your walls, literally. Forget flat and boring, we're going for depth and interest. There are tons of ways to get that textured look, from using sponges and rags to create a subtle, mottled effect, to using special textured paints that give you a stucco or sand-like finish. I once tried a faux concrete finish in my living room and it looked so cool, everyone thought I had actually hired a professional. It was a bit messy, but totally worth it. It really makes your wall a piece of art.
For a simple textured look, try a technique called "rag rolling." Dip a clean rag into your paint and then dab it onto the wall, creating a soft, organic pattern. Or, you can use a sea sponge to create a more porous, natural-looking texture. If you're feeling more adventurous, you can try using a trowel to apply a textured paint, creating peaks and valleys that catch the light in an amazing way. The key to getting the best results is to practice on a piece of cardboard first. Get a feel for how the paint and tools work together, and then go for it on your wall. Don't be afraid to experiment, that’s where the magic happens.
Ombre and Color Wash Effects
Next up, let's talk about ombre and color wash techniques. These are a bit more advanced, but the results are absolutely stunning. An ombre effect is where you gradually blend one color into another, creating a smooth transition from light to dark, or from one hue to another. It’s a really beautiful way to add a soft, dreamy vibe to a room. A color wash, on the other hand, is a technique where you apply a diluted paint over a base coat, creating a translucent, layered look. It's a great way to add a subtle, textured look, it's like painting with watercolors but on your wall. I remember seeing an ombre wall in a magazine once, and I was determined to recreate it. It was a bit tricky at first, but after a few tries, I got the hang of it, and it completely transformed my bedroom. It was like a sunset on my wall.
To create an ombre effect, you'll need to work quickly and blend the colors together while they're still wet. You can use a brush, roller, or even a sponge to blend the colors. For a color wash, you'll need to dilute your paint with water or a glaze, and then apply it in thin layers, letting each layer dry before adding the next. The key with both of these techniques is to not overwork it. The more you blend, the muddier the colors will become. It’s about finding that perfect balance between blending and allowing the colors to stand out on their own. It takes some practice, but it's definitely worth the effort.
Technique | Description | Skill Level | Tools Needed |
|---|---|---|---|
Rag Rolling | Dabbing paint with a rag for a soft texture | Beginner | Clean rag, paint |
Sponge Painting | Using a sea sponge for a porous texture | Beginner | Sea sponge, paint |
Faux Concrete | Textured paint application for a concrete look | Intermediate | Trowel, textured paint |
Ombre | Gradual blending of colors | Advanced | Brushes, rollers, multiple paint colors |
Color Wash | Diluted paint applied in thin layers | Advanced | Brushes, glaze, diluted paint |
Stenciling and Mural Techniques
Alright, last but certainly not least, let's get into stenciling and mural techniques. If you're looking to create a really intricate or detailed design, stencils are your best friend. You can find stencils in a huge range of patterns, from geometric shapes to floral designs, or even custom-made stencils with your own designs. I once used a stencil to create this really cool geometric pattern in my office, it looked like expensive wallpaper, but it was just a few coats of paint and a stencil. Murals are like taking your accent wall to a whole new level. Think of it as creating a piece of art right on your wall. You can paint anything from landscapes to abstract designs, the possibilities are endless. It’s like having a giant canvas right in your home.
When using stencils, make sure to secure them to the wall with painter's tape, and use a stencil brush or sponge to apply the paint. Use a light hand and apply thin layers to prevent the paint from bleeding under the stencil. For a mural, you can either use a projector to transfer your design onto the wall, or you can sketch it out freehand using a pencil. Start with the main elements and work your way to the details, and don’t forget to step back every now and then to see how it looks from a distance. It’s like painting a big picture, but instead of a canvas, you’re using your wall. Both stenciling and murals are fantastic ways to really personalize your space and make it unique. So, if you're feeling creative, give them a try.
