Table of Contents
Let's be honest, looking at a blank wall day after day can feel a bit...beige. You want a change, something that adds personality without requiring a second mortgage or a crew of contractors tromping through your house. We get it. The good news? You can totally transform a room with a striking accent wall using simple **diy accent wall materials**. Forget those glossy magazine spreads that make everything look impossible or outrageously expensive. We're talking about a real, achievable project that won't break the bank. In fact, we'll walk you through creating a modern look for under fifty bucks.
Prepping Your Surface for DIY Accent Wall Materials
Prepping Your Surface for DIY Accent Wall Materials
Clearing the Deck: Out with the Old
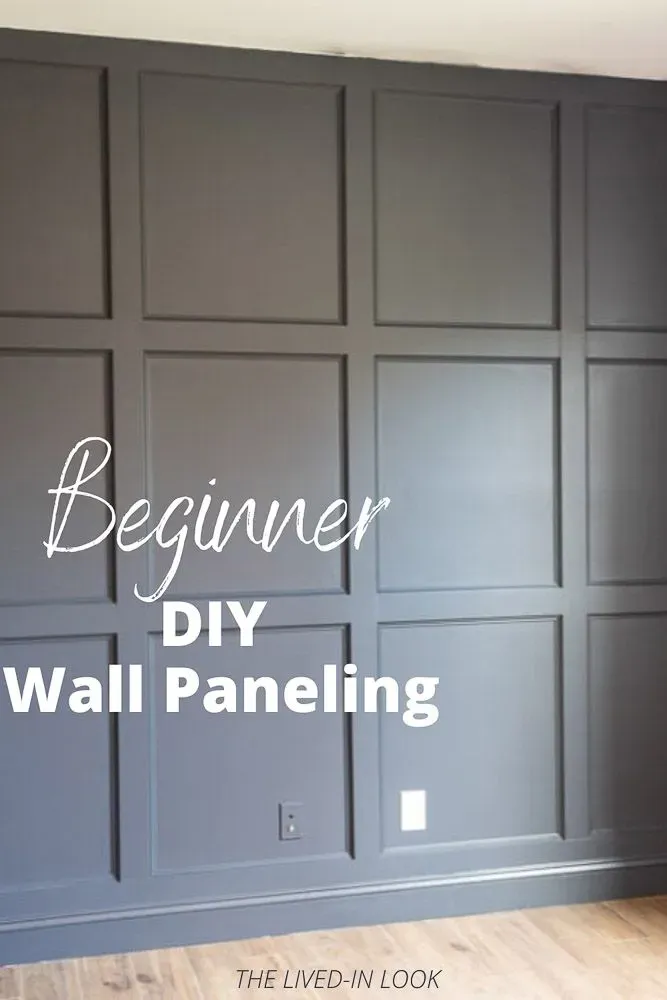
Alright, before you even think about cutting a single piece of your **diy accent wall materials**, you've got to deal with the wall itself. Think of it like building anything – the foundation matters. If your wall has old wallpaper, peel it off. If it's got weird sticky residue from posters from your questionable teenage years, scrub it down. You want a clean, smooth canvas. Remove any nails, screws, or anchors hanging around. Seriously, stubbing your finger on a forgotten nail while you're trying to line up trim is a special kind of pain.
Smooth Operator: Patching and Painting
Now that the wall is bare, chances are it looks a bit like a battlefield with various dents and dings. Grab some spackle and fill every single hole and imperfection. Don't be shy. Let it dry completely, then sand it smooth. You're aiming for a surface that feels like glass, not a bumpy road. After sanding, wipe down the dust. This is also the point where you paint the base color of your wall – the color that will show through between your chosen **diy accent wall materials**. Painting *before* you put up the trim saves you a massive headache later, trying to get paint into tight corners.
- Clean the wall thoroughly.
- Remove all old hardware (nails, screws, etc.).
- Patch any holes or imperfections with spackle.
- Sand patched areas smooth.
- Wipe away sanding dust.
- Paint the wall your desired base color.
Choosing Your DIY Accent Wall Materials: Why MDF is Your Friend
Choosing Your DIY Accent Wall Materials: Why MDF is Your Friend
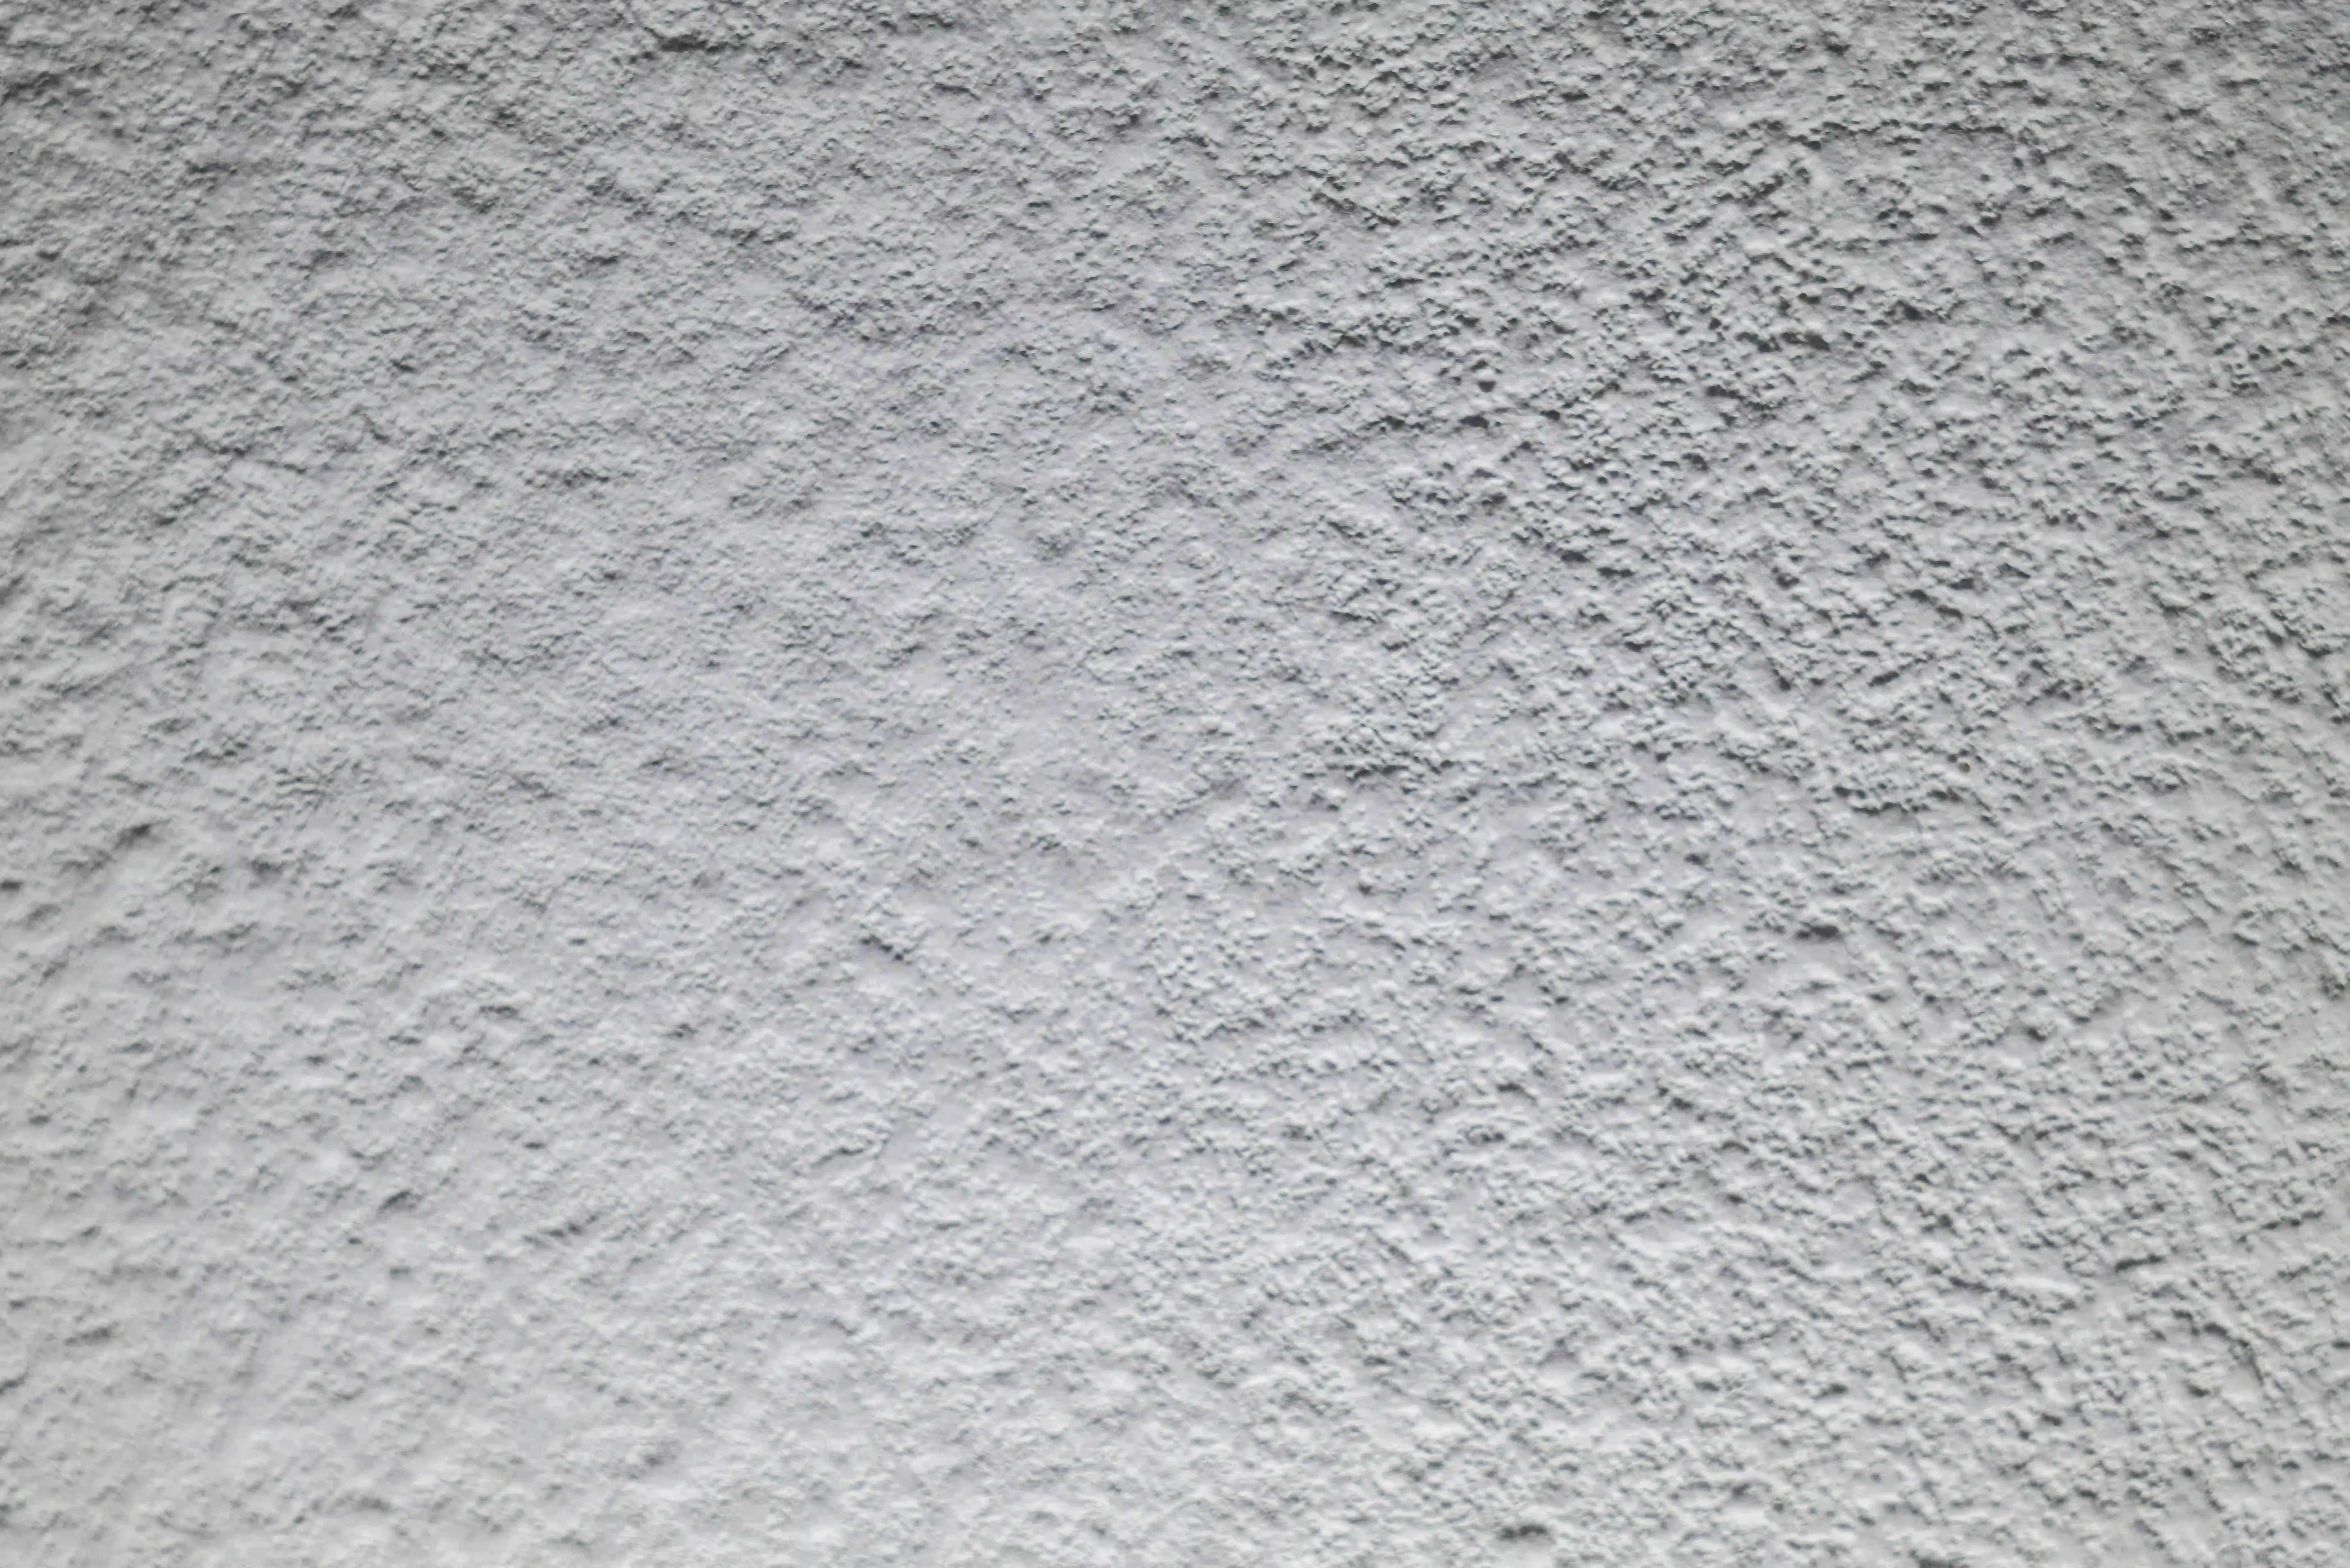
so you've got a clean wall, ready for its glow-up. Now, what are you actually going to stick on it? When you start looking into **diy accent wall materials**, you'll find options from reclaimed wood to fancy tile. But if you're aiming for that modern, clean-line look without dropping serious cash, MDF (Medium-Density Fiberboard) is your unsung hero. Why MDF? Because it's cheap, readily available at pretty much any hardware store, and it's smooth as butter, which makes painting a dream. Unlike solid wood, it doesn't have knots, it's less likely to warp or cup, and it takes paint beautifully without a ton of prep. It's basically the reliable, low-maintenance friend you want on a project like this.
Calculating Needs: How Much DIY Accent Wall Material to Buy

Calculating Needs: How Much DIY Accent Wall Material to Buy
Calculating Needs: How Much DIY Accent Wall Material to Buy
Alright, math time. Don't groan, it's simple addition and division, promise. You need to figure out how many strips of your chosen **diy accent wall materials** will fit on your wall, based on how wide the strips are and how much space you want between them. Measure the width of your wall. Decide on the width of your MDF strips (common sizes are 2.5 inches, 3.5 inches, etc.) and the gap you want between them. A good rule of thumb is to measure the wall, then figure out how many strips plus gaps of your chosen size will fit evenly. Divide the total wall width by the combined width of one strip plus one gap. This gives you a rough number of strips. Always, and we mean *always*, buy a bit extra. Mistakes happen, cuts go wonky, or you might just need a little piece you didn't account for. Running back to the store mid-project is the pits.
So, let's break it down:
- Measure wall width.
- Choose MDF strip width.
- Decide on spacing between strips.
- Calculate how many strips fit.
- Add at least 10-15% for waste.
Cutting and Spacing Your DIY Accent Wall Materials
Cutting and Spacing Your DIY Accent Wall Materials
Getting Your Cuts Right
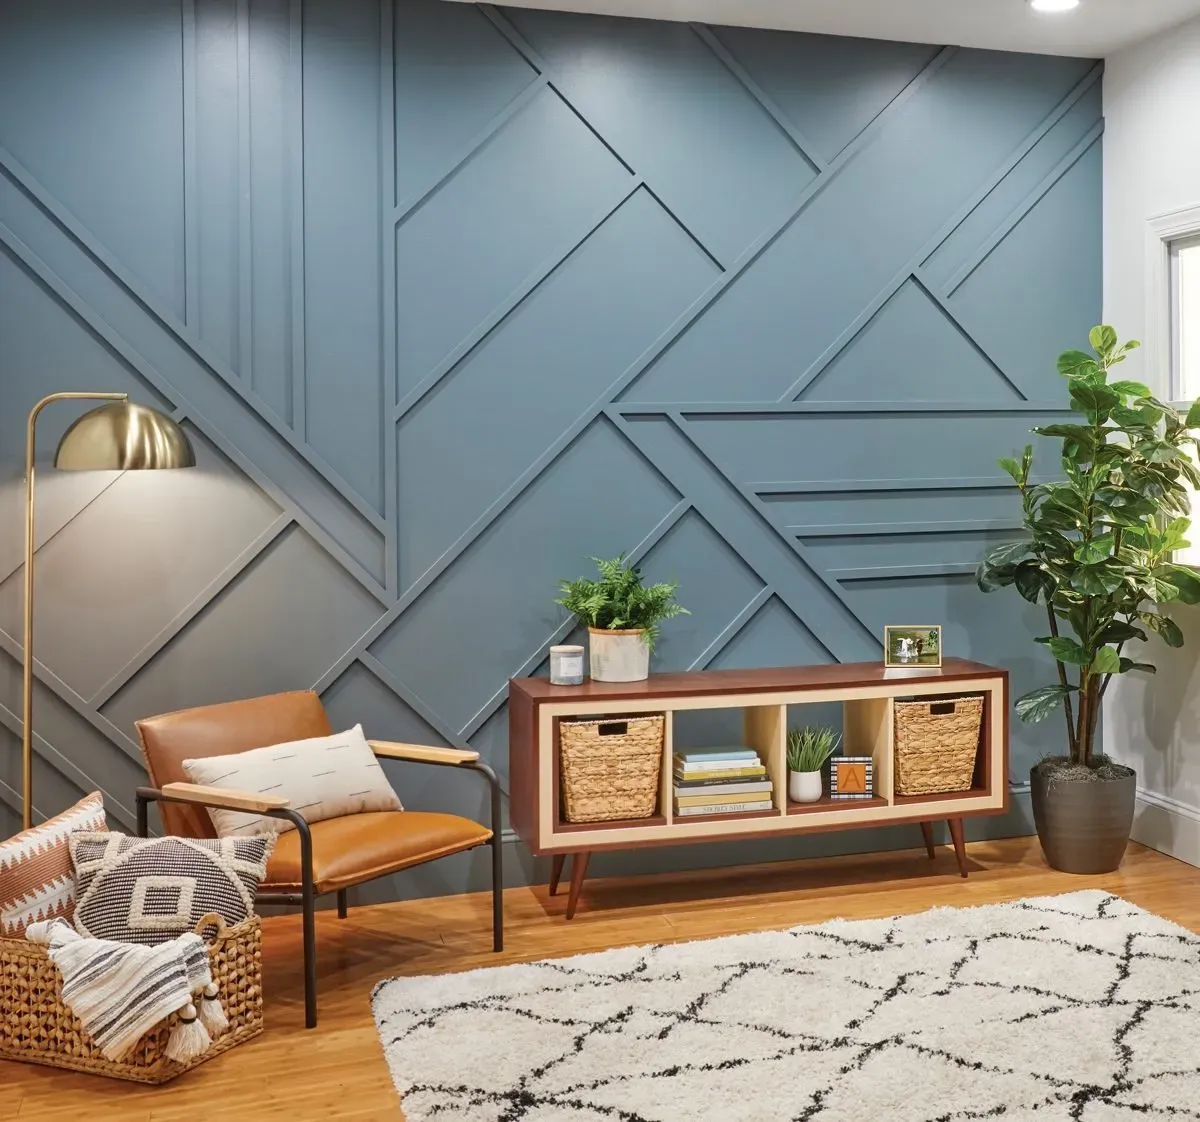
you've done the math, bought your MDF, and now it's time for the fun part: cutting your **diy accent wall materials**. This is where a miter saw or even a circular saw comes in handy. The key here is precision. Measure twice, cut once – it’s an old saying for a reason. If your cuts aren't square, you'll have gaps where you don't want them, and the whole thing will look wonky. If you have multiple pieces of the same length, set up a stop block on your saw. This saves you measuring every single time and ensures consistency. Don't forget your safety glasses; MDF dust is nasty stuff you don't want in your eyes or lungs. Cut all your pieces to length according to your plan. While you're at it, cut some small blocks of wood or scrap MDF to use as spacers – these little guys are crucial for keeping your gaps uniform as you install the trim.
Bringing It Together: Installing and Finishing Your DIY Accent Wall Materials
Bringing It Together: Installing and Finishing Your DIY Accent Wall Materials
Putting the Pieces on the Wall
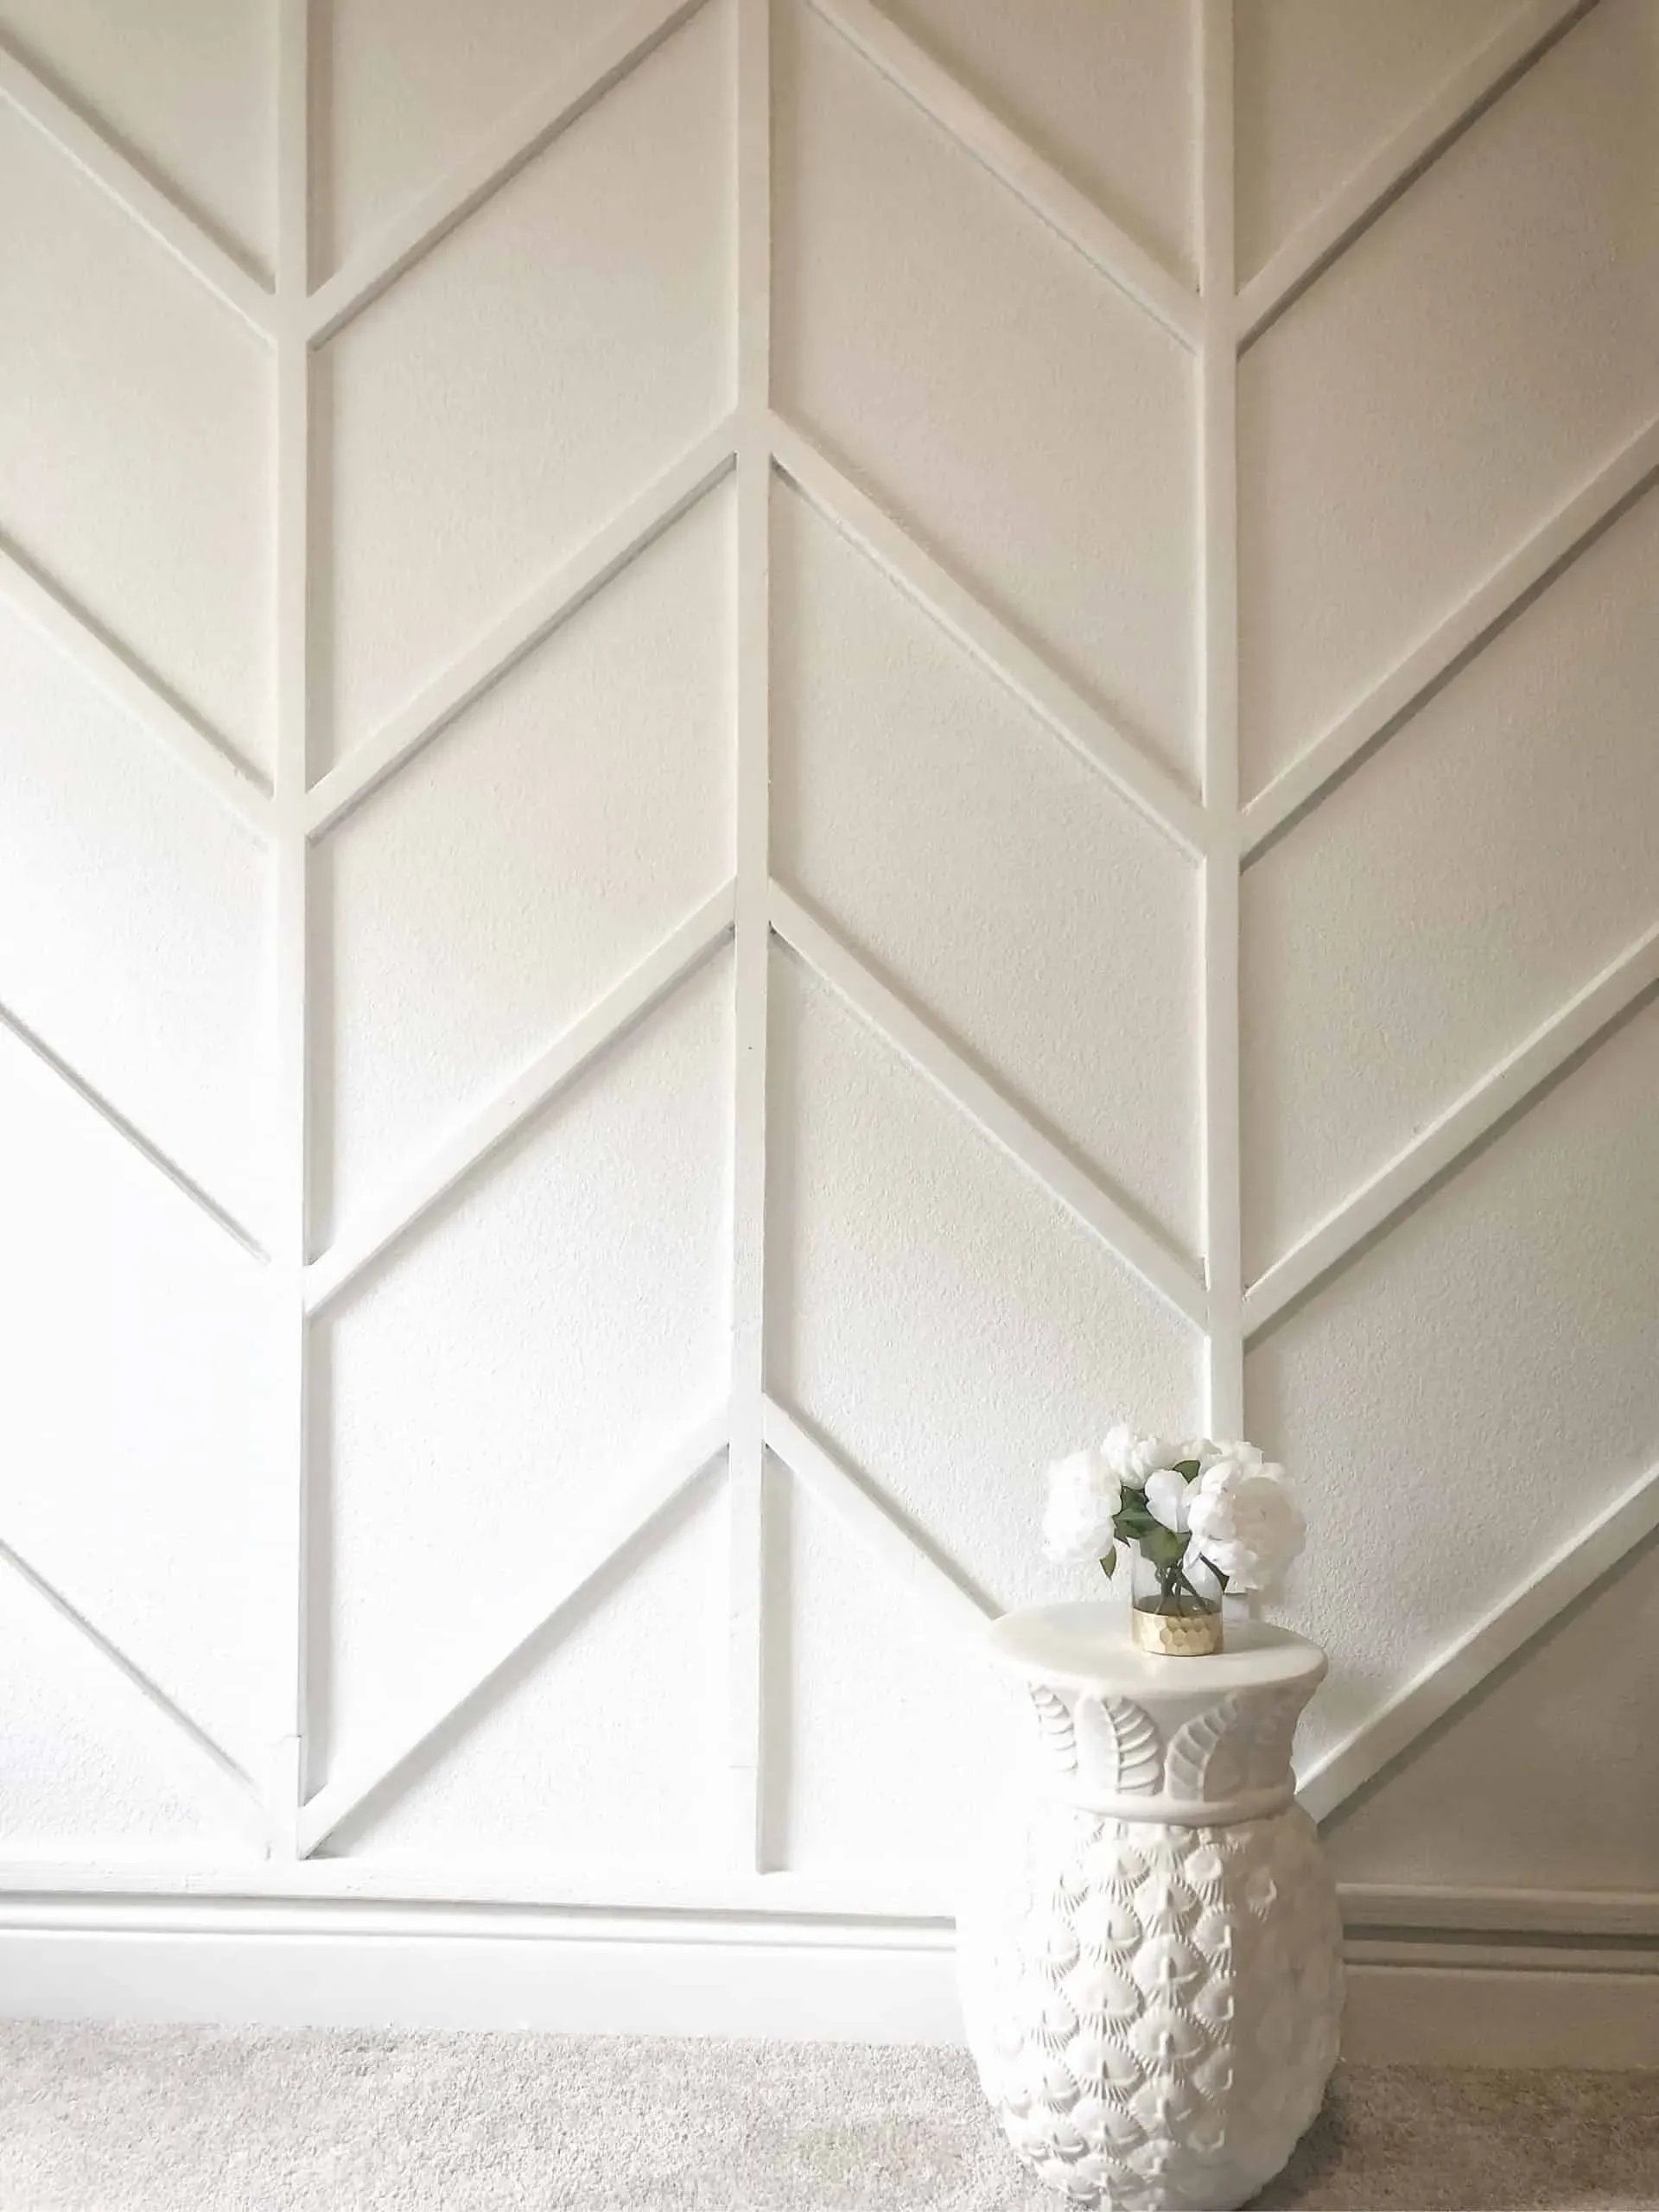
the moment of truth. You've got your perfectly cut strips of **diy accent wall materials** and your little spacer blocks. Start with your first piece, usually along the ceiling or a side edge, depending on your design. Use a level! Seriously, don't skip this. A slightly crooked first piece means *everything* else will be crooked, and you'll notice it every single time you look at the wall. Use a nail gun with 1-1/2" finish nails to secure the trim to the studs if possible, or just into the drywall if not (though hitting studs is better for stability). Some folks swear by construction adhesive here too, but for a simple project like this, nails are usually enough and make removal easier later if you change your mind. Use your spacer blocks to set the gap for the next piece, place the trim, check with your level again, and nail it up. Work your way across or down the wall, using those spacers religiously. It's slow and steady, but it pays off.
Filling the Gaps and Smoothing Things Out
Now that your **diy accent wall materials** are all securely attached, your wall probably looks a bit...holey. That's where the patching and caulking come in. Grab that spackle again and fill every single nail hole. Wipe off the excess with a damp cloth as you go. Once the spackle is dry, sand it smooth. Next, grab a tube of paintable caulk and a caulk gun. Run a thin bead of caulk along every seam where the MDF meets the wall and where pieces of MDF meet each other (if you have joints). Dip your finger or a damp rag in water and run it along the caulk line to create a smooth, clean seam. This step is tedious, but it makes a huge difference in the final look. It hides imperfections and makes the trim look like it's seamlessly part of the wall.
- Fill all nail holes with spackle.
- Sand patched areas smooth once dry.
- Apply paintable caulk to all seams.
- Smooth caulk lines with a damp finger or rag.
- Allow caulk to dry completely.
The Finishing Coat: Priming and Painting
Almost there! Your patched and caulked **diy accent wall materials** are ready for paint. If you used spackle, those spots need to be primed first, or the paint will absorb differently and you'll see dull patches. Use a small brush or roller for this. Once the primer is dry, it's time for the final paint color for your trim. This is the color that will really make your accent wall pop. Use a good quality paint and apply thin, even coats. You'll likely need two coats for full coverage, especially on MDF edges. Cut in carefully along the edges where the trim meets the base wall color. Take your time here; sloppy paint lines can ruin the whole effect. Step back, admire your work, and maybe high-five yourself. You just built an accent wall.
Your Wall's Glow Up: The Final Word
So there you have it. You took a plain, perhaps slightly sad-looking wall, armed yourself with some surprisingly affordable **diy accent wall materials**, and turned it into something that actually makes you happy to look at. No fancy tools, no massive budget, just a bit of planning and some elbow grease. It's proof that you don't need a design degree or deep pockets to make a significant impact on your space. That guest bedroom isn't just a place for Aunt Carol to sleep anymore; it's got character. Pat yourself on the back – you just pulled off a serious room upgrade without selling a kidney.
