Table of Contents
Ever stare at a boring wall and think, "This needs a serious upgrade?" I have, many times. You don't need to be a pro or spend a fortune to create a stunning focal point in your room. That's where the magic of a cheap DIY accent wall comes in. Forget those expensive makeovers, we're talking budget-friendly, weekend-project territory. We'll explore how a simple coat of paint can totally transform a space, and how stencils and wallpaper can add patterns and texture without breaking the bank. Want to add some depth? We'll look at easy board and batten techniques that even a beginner can handle. And for the truly frugal, I'll show you how a simple Sharpie can mimic the look of shiplap. Get ready to grab your tools (and maybe a friend) because we're about to turn those plain walls into something spectacular with these cheap DIY accent wall ideas. Get ready to elevate your space!
Paint: The Easiest Cheap DIY Accent Wall
Paint: The Easiest Cheap DIY Accent Wall
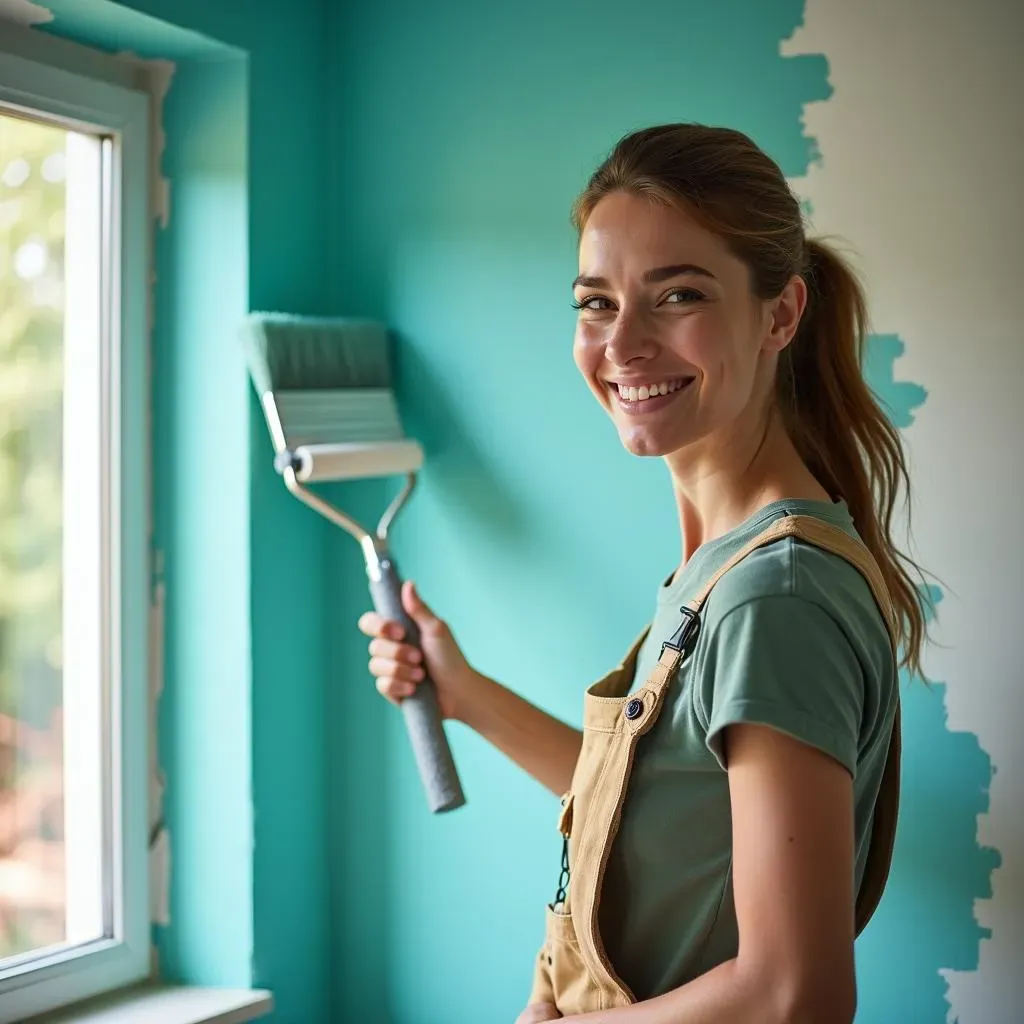
Okay, so you're thinking about a cheap DIY accent wall? Let's start with the absolute easiest thing: paint. Seriously, it's like the superhero of budget makeovers. You don't need any special skills, just a brush (or a roller, if you're feeling fancy), some painter's tape, and a can of paint. I remember the first time I tried this; I was so nervous I'd mess it up, but it's honestly pretty hard to screw up. The trick is picking the right color. You could go a shade or two darker than your existing wall color for a subtle pop or choose a completely different color for a bold statement. I once painted a wall in my living room a deep teal, and it completely changed the vibe of the whole room. It went from blah to "wow" in an afternoon.
DIY Accent Wall Method | Cost | Skill Level | Time Commitment |
|---|---|---|---|
Paint | Low | Beginner | Few Hours |
Stencils | Low to Medium | Beginner to Intermediate | Several Hours |
Board and Batten | Medium | Intermediate | Weekend |
Sharpie Shiplap | Very Low | Beginner | Few Hours |
Stencils and Wallpaper for DIY Accent Walls
Stencils and Wallpaper for DIY Accent Walls
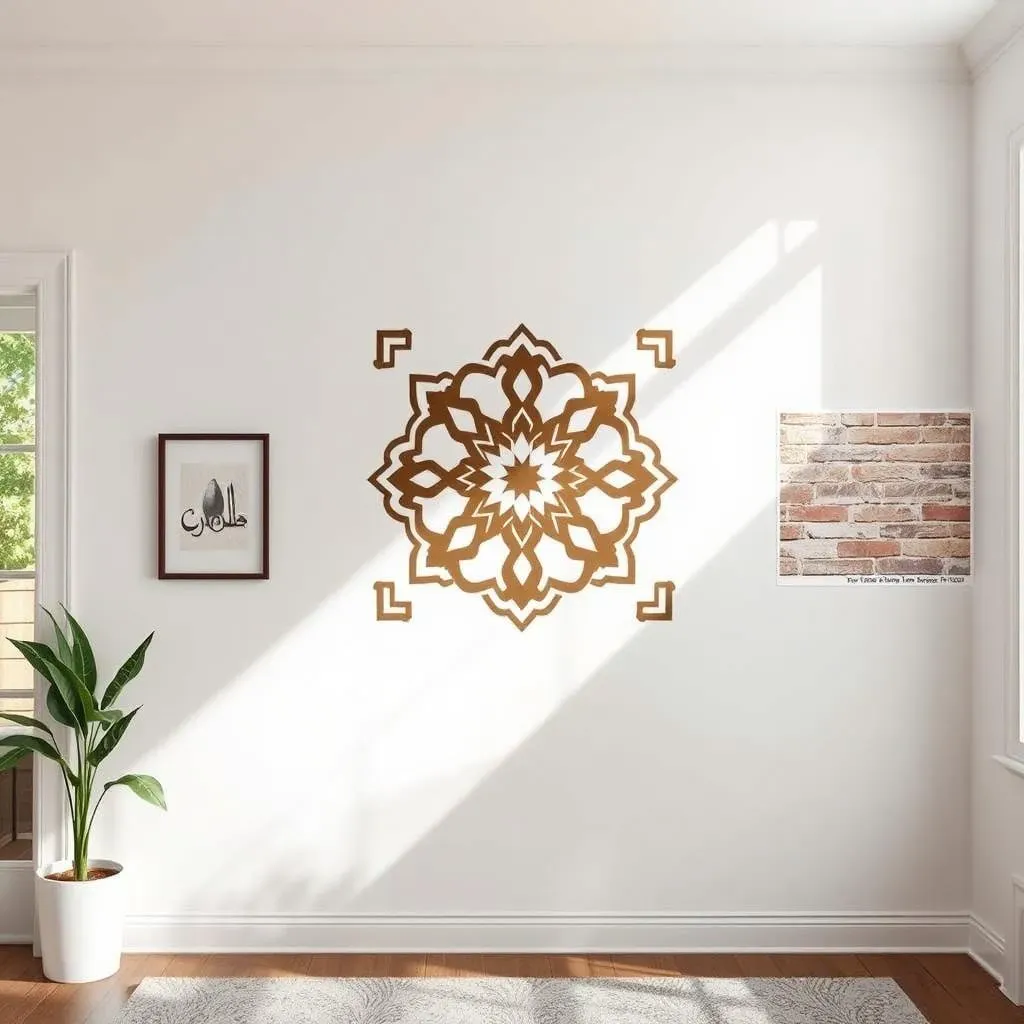
Okay, so paint is cool, but what if you want something with a little more pizzazz? That's where stencils and wallpaper come in. Stencils are awesome because they let you add a design to your wall without needing to be an artist. You can find stencils in all sorts of patterns, from geometric shapes to floral designs. I used a large Moroccan stencil in my bathroom once, and it looks like I hired a professional designer. The best part? You can reuse them, so it's a one-time investment. Wallpaper is another great option, especially if you're renting. Peel-and-stick wallpaper is a lifesaver; it goes up easily and comes down without damaging the walls. I've seen some amazing designs that mimic everything from brick to wood paneling. It's like a temporary tattoo for your walls, but way cooler.
- Stencils: Reusable, various patterns, require some steady hand.
- Peel-and-Stick Wallpaper: Easy to apply, renter-friendly, wide range of designs.
- Traditional Wallpaper: Requires paste, more permanent, can be more complex to install.
Board and Batten: A Cheap DIY Wall Upgrade
Board and Batten: A Cheap DIY Wall Upgrade
What is Board and Batten?
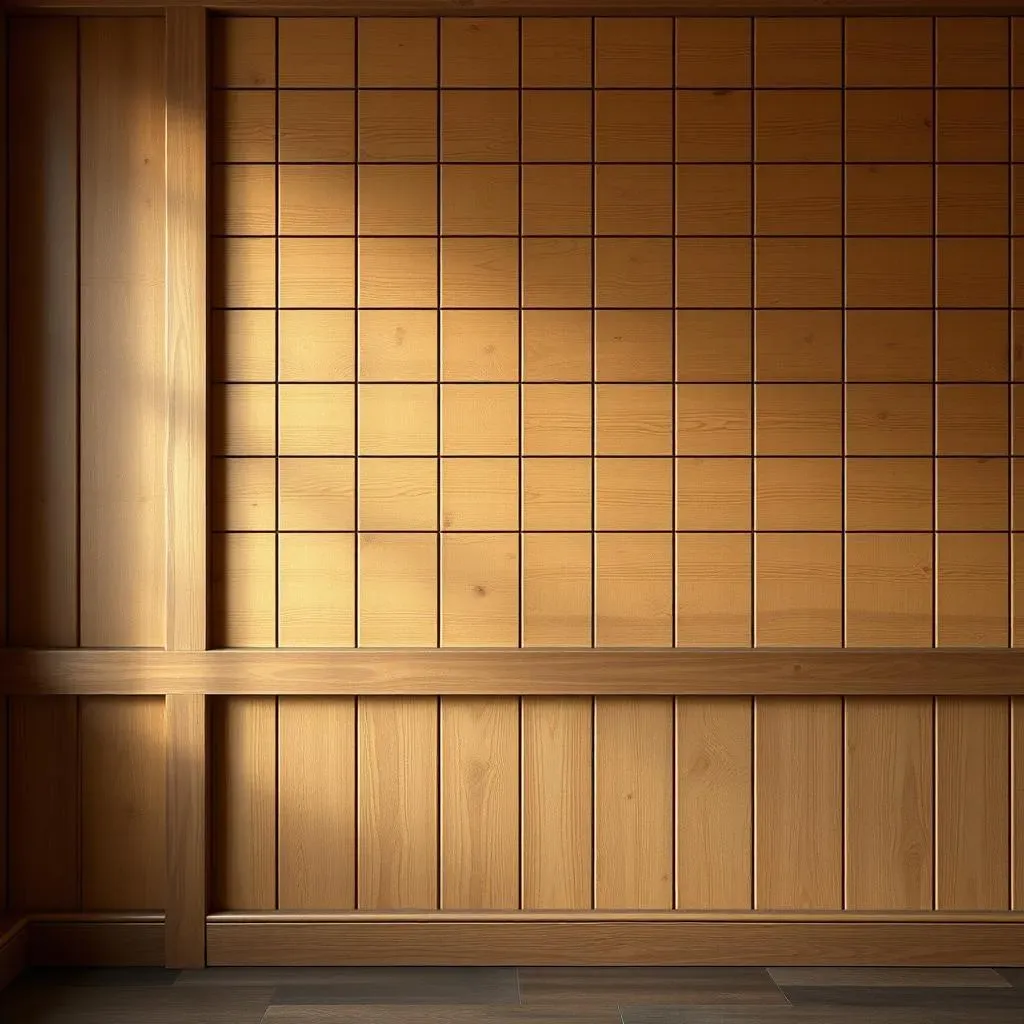
Alright, so you're ready to kick things up a notch? Board and batten is where it's at. It's basically adding strips of wood (the "battens") to a wall, creating a paneled effect. It might sound complicated, but trust me, it's totally doable. I always thought it was some fancy carpentry thing, but it's actually pretty straightforward. The first time I tried it, I was shocked how much character it added to my hallway. It went from "meh" to "oh wow" instantly, and it didn't cost a fortune.
How to Get Started
The best part about board and batten is that you don't need a ton of fancy tools. You'll need some wood (usually MDF or pine), a saw (a miter saw is great, but a hand saw works too), a level, some construction adhesive, and a nail gun (or hammer and nails, if you're feeling old school). First, you measure your wall and decide how far apart you want your battens. Then, you cut the wood to size. I messed up a couple of cuts the first time, but hey, that's part of the learning process. I like to use a level to make sure everything is straight, because nothing is worse than crooked lines.
Step by Step Guide
Once you have all your pieces ready, you start attaching them to the wall. Use construction adhesive on the back of each batten and then nail them in place for extra hold. You can create different patterns, from simple vertical lines to more complex designs. After everything is up, fill any nail holes with wood filler, sand it smooth, and then paint it all. I usually go for a semi-gloss paint, because it's easier to clean. It is like giving your wall a brand new outfit, and it makes a big difference. Seriously, it's like the wall went from wearing sweats to a tuxedo.
Tool | Use |
|---|---|
Miter Saw | Cutting wood at angles |
Level | Ensuring straight lines |
Nail Gun | Securing battens to the wall |
Construction Adhesive | Providing extra hold |
Sharpie Shiplap: The Frugal DIY Accent Wall
Sharpie Shiplap: The Frugal DIY Accent Wall
The Magic of a Marker
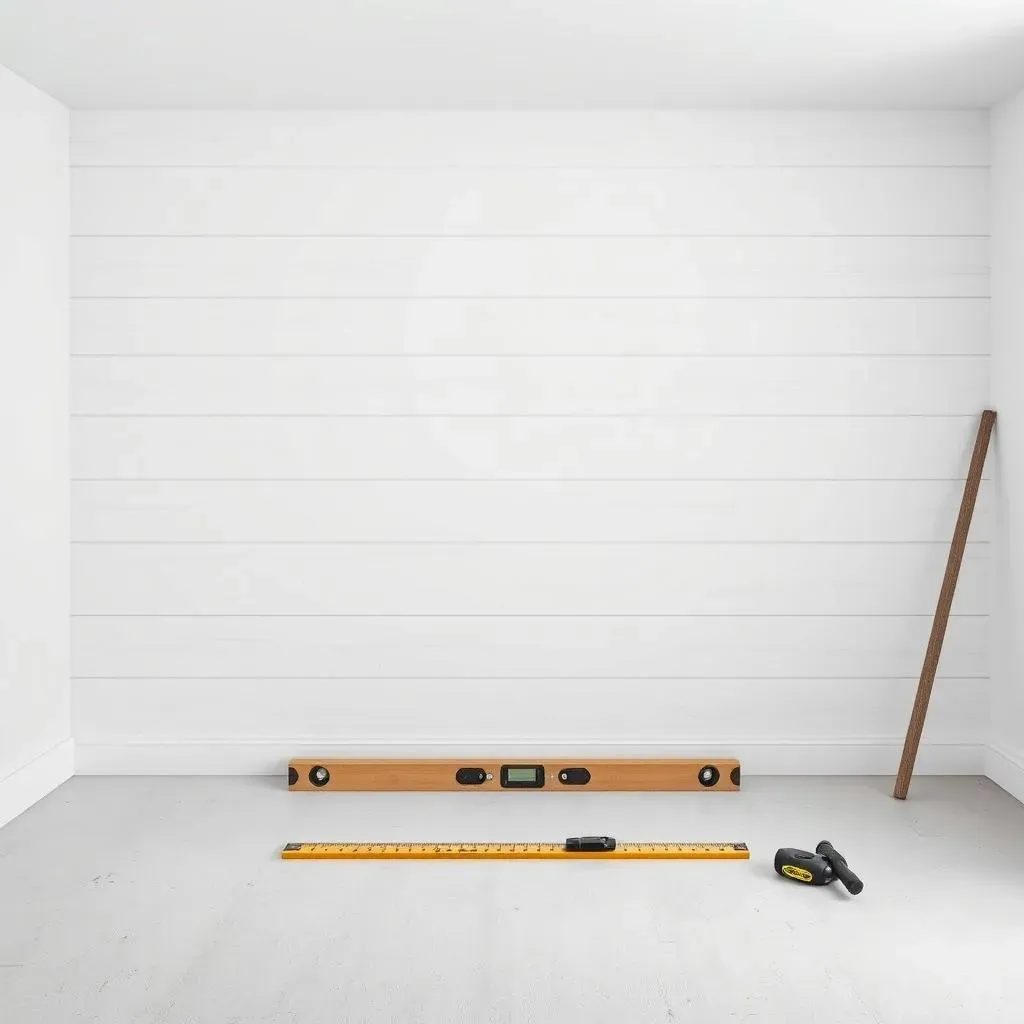
Okay, so you're on a super tight budget, but you still want that cool shiplap look? I've got you covered. This is where the humble Sharpie comes in. Yes, you heard me right, a marker. It's like the ultimate cheap DIY hack. I thought it was crazy when I first saw it, but then I tried it in my laundry room, and it's seriously amazing. You just use a ruler or level to draw lines on your wall, mimicking the look of shiplap boards. It's so simple, a kid could do it, and it costs next to nothing. It’s probably the most frugal way to get a high end look, without the high end price.
How to Rock the Sharpie Shiplap
The trick to making it look legit is to use a level and a ruler. You want those lines straight and evenly spaced. I like to start by marking the top and bottom of the wall and then work my way across. You can use a regular Sharpie, but I've found that using a paint marker gives you a slightly bolder line. The key is to not overthink it; you’re just drawing lines. If you mess up, you can always go over it again, or even use a magic eraser to clean up any mistakes. It’s like drawing on the wall, but with a purpose, and the results are pretty impressive for something so simple. It feels like you’re getting away with something, it’s that easy.
Material | Cost | Where to Get |
|---|---|---|
Sharpie Marker | Very Low | Any Office Supply Store |
Ruler/Level | Low | Hardware Store |
Magic Eraser | Low | Grocery Store |
“The best DIY projects are the ones that make you say, ‘I can’t believe I did that!’” - A very wise DIY-er.
