Table of Contents
Want to spice up a room without a full-blown makeover? Accent walls are your secret weapon, and paint is the easiest way to get there. Forget expensive renovations; a splash of color on a single wall can totally transform your space. This article isn't about complicated techniques, instead we're diving into 23 super achievable DIY accent wall painting ideas. We'll explore everything from simple color blocks to bold geometric designs, and even some textured effects using household items. You'll find that painting an accent wall is not only budget-friendly but also a fantastic way to show off your personality. We'll guide you through various techniques, offering inspiration and practical tips to make the process smooth and enjoyable. Get ready to grab a brush and unleash your creativity, because by the end of this, you'll have the confidence to create an amazing focal point in your home. Let's get started and make those walls pop!
Simple Yet Stunning Accent Wall Painting Ideas

Simple Yet Stunning Accent Wall Painting Ideas
The Power of a Single Color
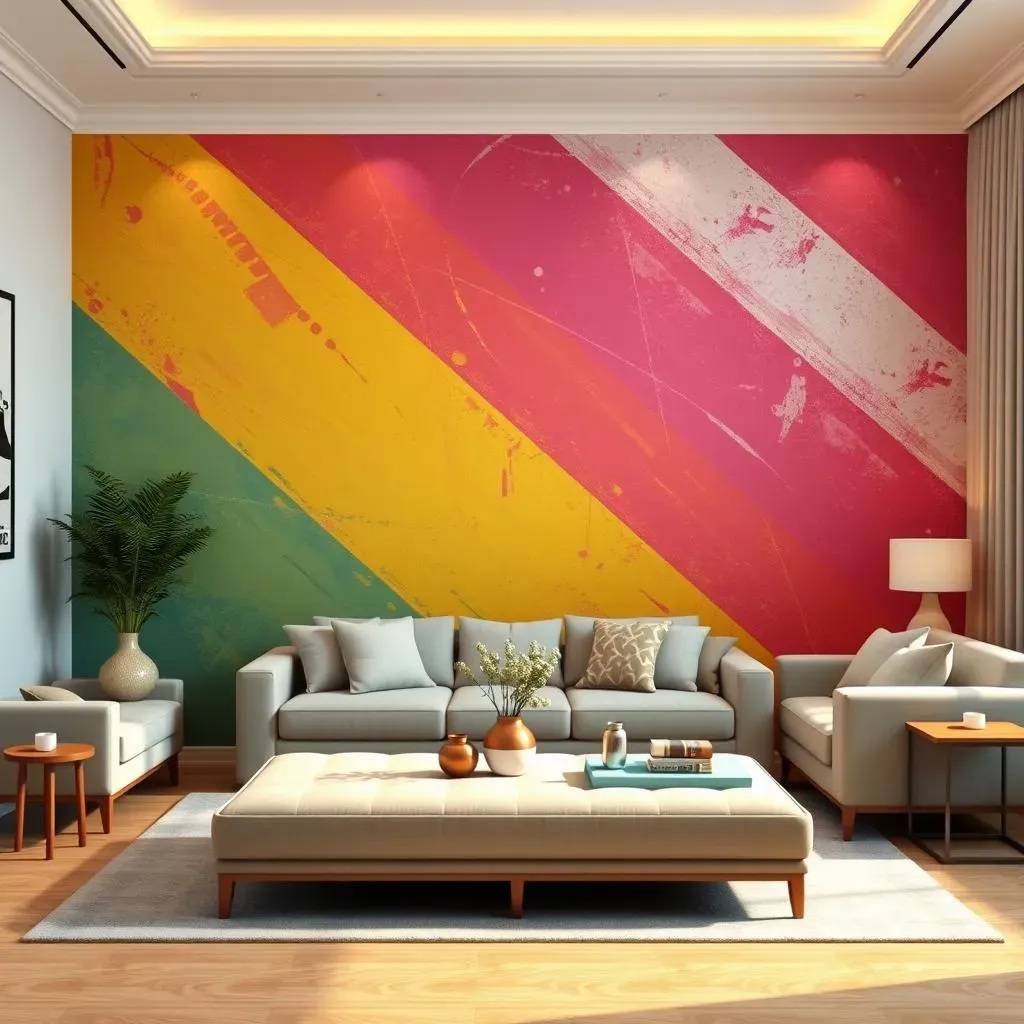
Sometimes, less is more. A single, bold color can create a striking accent wall that's both simple and impactful. Think about deep jewel tones like emerald green or sapphire blue for a luxurious feel. Or, if you prefer something more subtle, consider a warm gray or a soft blush pink. The key here is to choose a color that complements your existing décor but also stands out enough to be noticed. Don't be afraid to go a shade or two darker than you might normally pick, it's just one wall, after all!
I remember when I painted my living room wall a deep charcoal gray; it transformed the whole space from bland to sophisticated in just a couple of hours. It was easy and looked so much more impressive than I thought it would.
Stripes: Classic and Always in Style
Stripes are another fantastic option that are surprisingly easy to achieve. You can go horizontal for a wider, more expansive feel, or vertical to make your ceilings appear higher. The width of the stripes can also dramatically change the look. Thin, pinstripes give a more refined vibe, while wide, bold stripes make a statement. For a modern twist, try using two different shades of the same color instead of contrasting colors. It is a subtle way to add depth and visual interest.
When my friend was doing her guest room, she went with this really interesting blue and white stripes. I thought it was going to be a pain to do, but it was actually pretty straightforward using painter's tape.
Stripe Style | Effect | Best For |
|---|---|---|
Horizontal | Widens the room | Smaller rooms, hallways |
Vertical | Elevates ceilings | Rooms with low ceilings |
Thin Stripes | Refined, subtle | Formal spaces |
Bold Stripes | Statement-making | Playrooms, living rooms |
Geometric Shapes: Adding a Modern Flair
If you are feeling a little more adventurous, consider adding geometric shapes to your accent wall. Think triangles, squares, or even hexagons. You can create these using painter's tape and different colors of paint. It might sound complicated, but it is totally doable, and the result is a fun and eye-catching accent wall. The key is to plan your design beforehand and measure carefully before you start taping. It is a little time-consuming, but the final look is totally worth it.
Once I saw my neighbor did a diamond pattern in her kid's playroom, and it looked like a professional did it. She said it was a bit tedious, but totally worth it for the wow factor.
Creative Techniques for Your Accent Wall Painting
Creative Techniques for Your Accent Wall Painting
Textured Walls: Beyond Just Paint
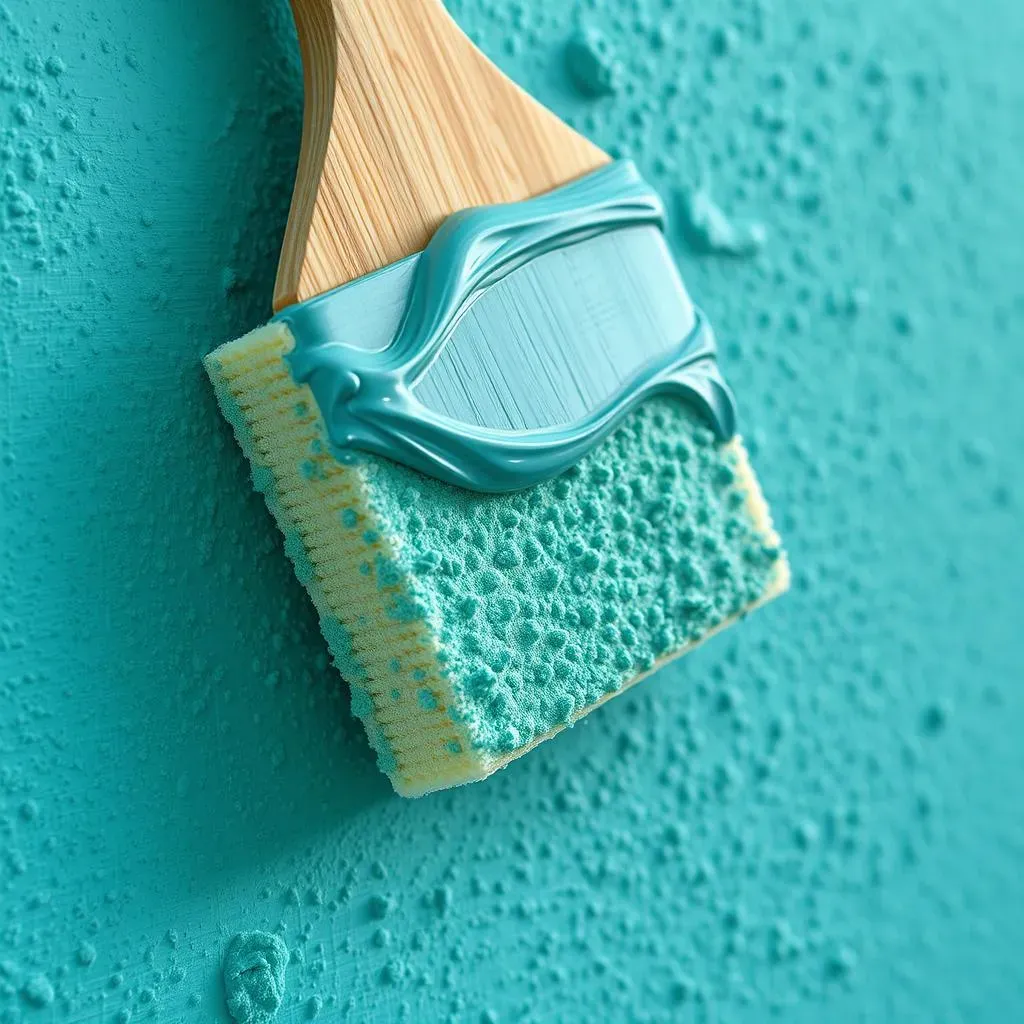
Okay, so you've got your color picked out, but what if you want something more? Textured walls are a fantastic way to add depth and interest. You don't need fancy tools either! Think about using a sponge to dab paint for a stippled effect, or a crumpled-up plastic bag for a more marbled look. I tried the sponge technique in my bathroom, and it gave it this really cool, almost cloud-like appearance. It's all about experimenting with different materials and techniques to see what you like best.
Another cool method is using a rag to apply paint. It gives this soft, almost fabric-like texture that's really unique. Don't worry about being perfect; the beauty of these techniques is in their imperfections. It makes the wall look more organic and handmade. It’s like adding a bit of art to your wall instead of just plain color. I found that some of the most interesting results come from just playing around and seeing what happens.
Ombre Effect: A Gradient of Color
Ever seen an ombre effect and thought it looked too difficult to achieve? It’s actually simpler than you think, and it's a great way to add a touch of elegance to any room. The ombre technique involves blending different shades of the same color, gradually transitioning from light to dark (or vice versa). I did this in my bedroom using three shades of blue, and it created this beautiful, calming effect. The key is to work quickly and blend the colors while they're still wet. It's like a watercolor painting, but on a wall!
You can use a large brush or a sponge to help blend the colors together. Start with your lightest shade at the top (or bottom, depending on your preference) and gradually work your way down, adding the darker shades. It's okay if it's not perfect; that's part of the charm of an ombre wall. The subtle variations in color are what make it so visually appealing. It’s a technique that looks really sophisticated but is totally beginner-friendly.
Technique | Tools | Effect |
|---|---|---|
Sponge Painting | Sponge, paint | Stippled, textured |
Rag Rolling | Rag, paint | Soft, fabric-like |
Ombre | Paint, brushes, sponge | Gradient of color |
Unique Accent Wall Painting Ideas to Try
Unique Accent Wall Painting Ideas to Try
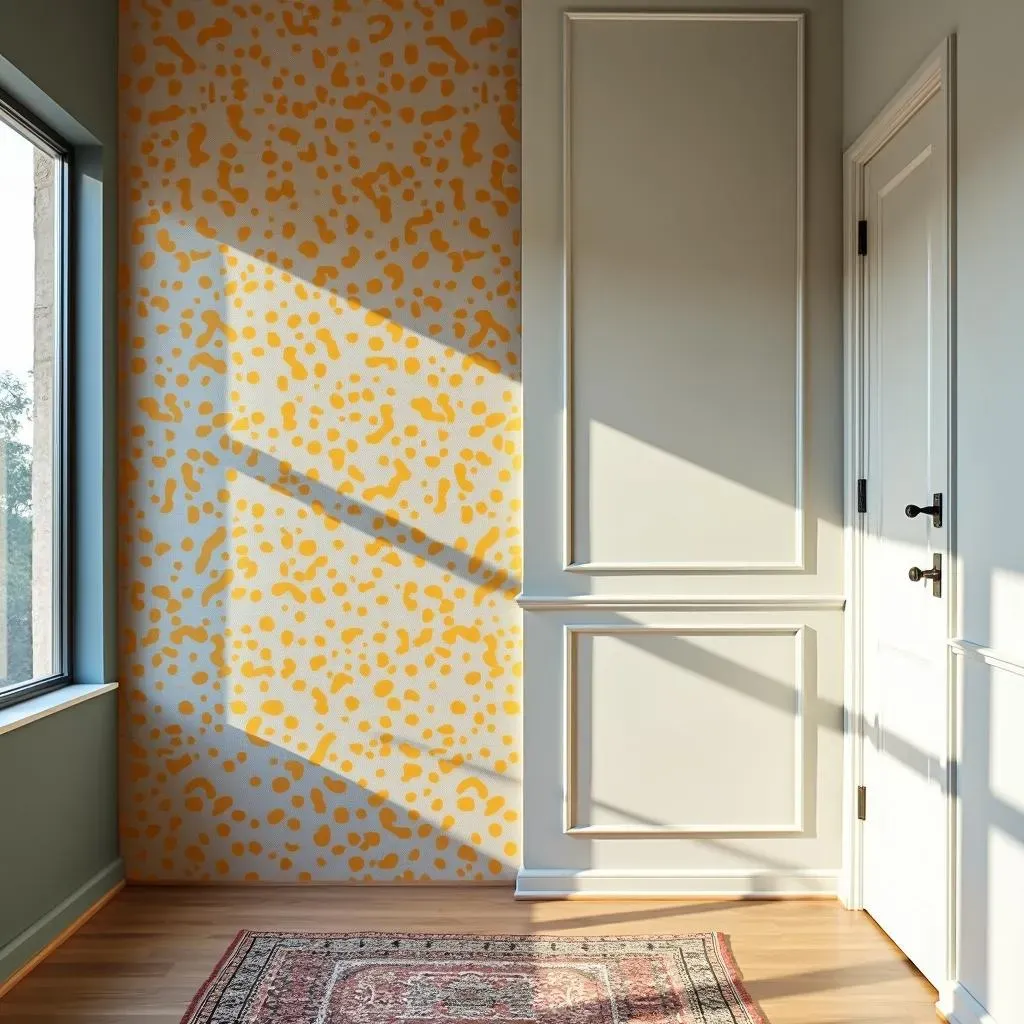
Stenciled Designs: Patterns with Precision
Alright, let's talk stencils! If you're into patterns but don't trust your freehand skills, stencils are your best friend. You can find a ton of cool designs online or at craft stores, from delicate floral patterns to bold geometric shapes. The trick is to make sure the stencil is firmly attached to the wall before you start painting to prevent any paint from bleeding underneath. Use a small foam roller or a stencil brush, and apply thin coats of paint to avoid drips. It’s like coloring within the lines, but for your wall, and the result is super polished and professional-looking.
I once used a Moroccan-inspired stencil in my hallway, and it instantly elevated the space. It looked like I had hired a designer, but it was just me, a stencil, and a bit of patience. It's a great way to get the look of wallpaper without the hassle of actually installing wallpaper. Plus, you can change the stencil whenever you feel like it!
Color Washing: Soft and Dreamy Effects
Ever wanted your walls to look like a watercolor painting? Color washing is your answer! It's a technique where you dilute your paint with water, creating a translucent, layered effect. You apply the paint with a large brush or a rag, allowing the base color to show through. It’s super forgiving, and there's no right or wrong way to do it. It gives your wall this soft, almost ethereal look. I tried this in my guest bedroom using a light blue over a white base, and it created this really calming and dreamy atmosphere. It's like the walls are breathing, and it's just such a unique way to add character to a room.
The key to color washing is to work in thin layers, allowing each layer to dry before applying the next. This helps to build up the color gradually and create depth. You can use different colors for each layer to create a more complex and interesting effect. Don't be afraid to experiment with different brushes and rags to see what textures you can create. It’s a technique that really embraces imperfection and celebrates the handmade look.
Technique | Description | Ideal For |
|---|---|---|
Stenciling | Using a stencil to create patterns | Precise designs, wallpaper look |
Color Washing | Diluting paint for a translucent effect | Soft, dreamy, textured look |
Freehand Murals: Unleash Your Inner Artist
Okay, this one's for the truly adventurous! If you've got an artistic streak, why not create a freehand mural on your accent wall? It doesn't have to be a masterpiece; it could be something as simple as abstract shapes or a nature-inspired scene. I've always wanted to try painting a huge leafy pattern on my bedroom wall, and I think I might finally go for it. It's a great way to make your space totally unique and reflective of your personality. Grab some brushes, some paint, and just go for it. It’s a little scary, but the result is incredibly rewarding.
Start with a sketch of your design on paper, then use a pencil to lightly transfer it to the wall. Don't worry about getting it perfect; the beauty of a mural is in its imperfections. Use different sizes of brushes to create different effects, and don't be afraid to layer colors and textures. It's like turning your wall into a giant canvas, and it's a really fun way to express yourself. Plus, it's a great conversation starter when people come over. It’s not just a wall, it’s a piece of art that you created yourself!
Tips and Tricks for Perfect Accent Wall Painting
Tips and Tricks for Perfect Accent Wall Painting
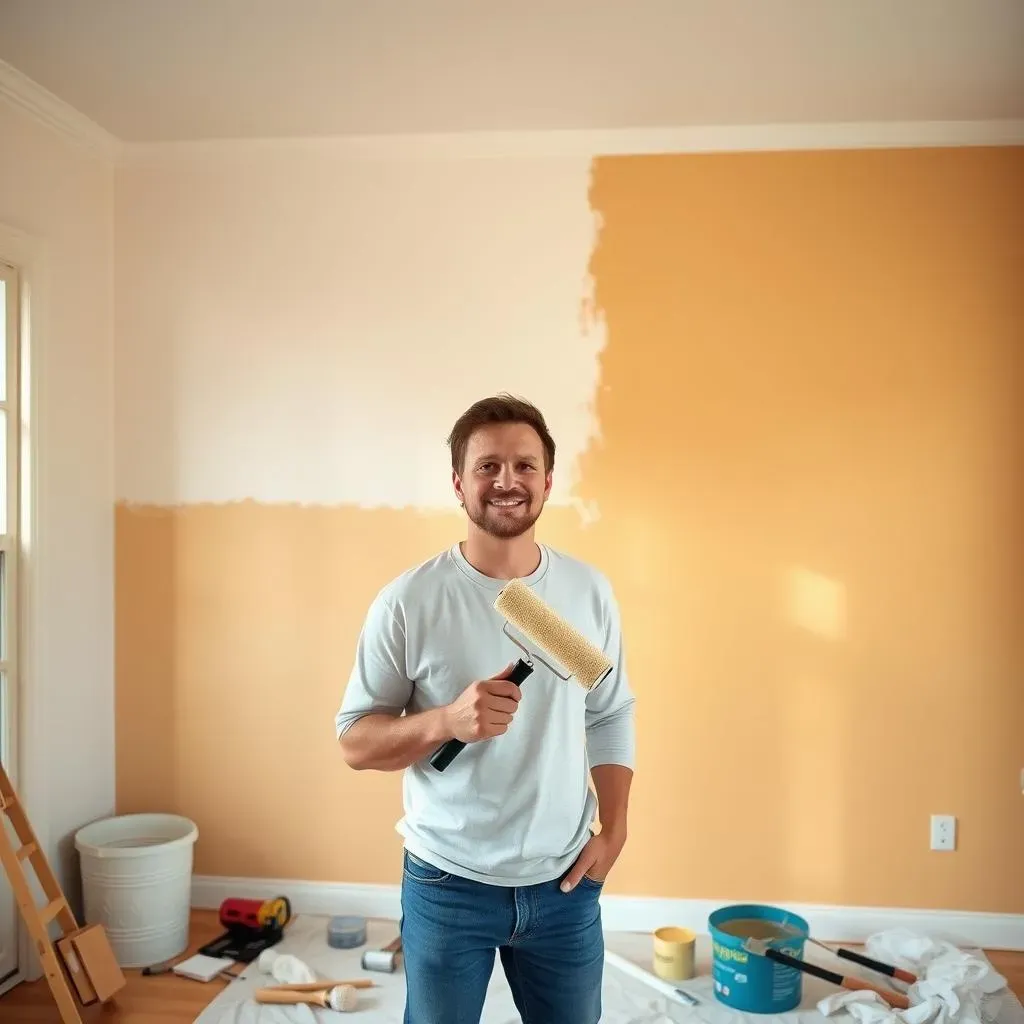
Prep Work: The Key to a Smooth Finish
Alright, let's talk prep because, honestly, it's where most of the magic happens. Before you even think about cracking open a paint can, you need to get your wall ready. Start by cleaning the wall, get rid of any dust, dirt, or cobwebs. A damp cloth or a sponge usually does the trick. Then, grab some painter's tape and carefully outline the edges of your accent wall. Make sure that tape is nice and secure, you don't want any paint bleeding onto your adjacent walls, it’s a pain to fix later. If there are any holes or cracks, fill them with spackle and let it dry completely before sanding it smooth. A little prep now will save you a lot of frustration later, trust me on this one!
I remember when I was younger, I skipped the prep work and just started painting. The result? A mess of uneven paint and blurred lines. It looked like a toddler did it! So yeah, don't be me. Take the time to do the prep, and you'll be amazed at how much better your finished wall will look. It really is the foundation for a flawless result. It's like baking a cake, you wouldn't skip the mixing part, would you?
Painting Techniques: Getting the Best Results
Now that your wall is prepped, let's get to the fun part: painting! When you're applying the paint, don't overload your brush or roller. Use smooth, even strokes, and try to maintain a wet edge to avoid lap marks. If you are doing multiple coats, allow each coat to dry completely before adding the next one. I know it is tempting to rush it, but patience is key here. When you are painting near the tape, use a light touch to avoid pushing paint underneath. If you are working with a textured paint, you might need to use a specific brush or roller for the best results, so do your research before you start.
I learned the hard way that rushing the process always ends up with a less than stellar finish. Take your time, and you'll be rewarded with a beautiful, professional-looking accent wall. It’s not a race, it’s an art! And remember, if you make a mistake, it's okay! You can always fix it. Just keep a damp cloth handy for quick touch-ups and don't be afraid to adjust as you go. Painting is a bit of a learning curve, but the more you do it, the better you’ll get.
Tip | Description | Why It Matters |
|---|---|---|
Clean Wall | Remove dust and dirt before painting. | Ensures better paint adhesion. |
Secure Tape | Apply painter's tape firmly along edges. | Prevents paint from bleeding. |
Even Strokes | Use smooth, consistent strokes when painting. | Avoids lap marks and uneven coverage. |
Dry Time | Allow each coat to dry completely. | Improves color and finish. |