Table of Contents
Is your living room feeling a little...blah? Like it's missing that special something? You're not alone. Many of us stare at our four walls, wishing for a change, a spark, some pizzazz! That's where the magic of an accent wall comes in. It's like giving your room a shot of espresso – suddenly, everything feels more alive and interesting. This article is your guide to transforming your space with stunning accent wall paint ideas for living room. We're not just talking about slapping on any old color; we're going to explore how to pick the perfect wall, find the right paint, and even give you some pro tips to make the job look like it was done by a designer (even if it's just you with a roller). Get ready to unlock the potential of your living room and make it the envy of all your friends, one painted wall at a time. Get ready to explore some exciting and simple ways to make a huge impact on your living room.
Choosing the Right Wall for Your Living Room Accent Wall Paint

Choosing the Right Wall for Your Living Room Accent Wall Paint
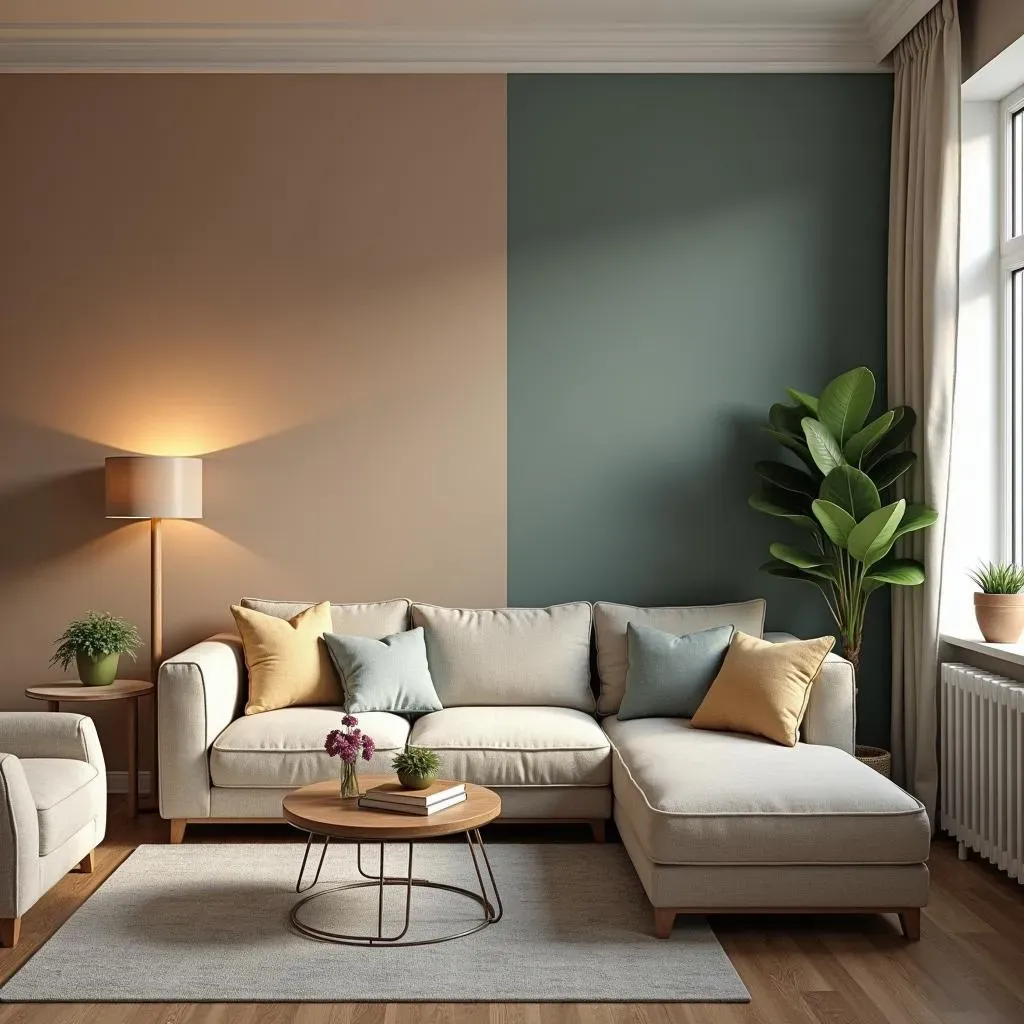
Alright, so you're itching to add an accent wall, fantastic! But before you grab a brush and go wild, let's chat about picking the *right* wall. It's not just about which one is the emptiest, you know. Think of it like this: your accent wall is going to be the rockstar of the room, so it needs to have the best stage. Generally, you want to choose a wall that’s a focal point naturally. It could be the wall behind your sofa, the one with the fireplace, or even the one that has a unique architectural detail. Avoid walls that are broken up by lots of doors or windows, it can make the accent wall look choppy and less impactful. I mean, picture a beautiful mural chopped in half, not very cool, right?
Another thing to consider is the shape of your living room. If you've got a long, rectangular room, an accent wall at the far end can help to bring the space together and make it feel less like a bowling alley. On the other hand, if your room is more square, you can choose a wall that will help to create a sense of depth and dimension. Light is also a key factor. A darker accent wall in a room with lots of natural light can create a dramatic effect, while a lighter color might be better for a room that doesn’t get a lot of sun. Don't be afraid to play around with different options.
Consideration | Why it Matters |
|---|---|
Focal Point | Draws the eye and creates impact. |
Wall Shape | Affects room's sense of proportion. |
Natural Light | Changes how paint colors appear. |
Architectural Features | Enhances unique aspects of the room. |
Exploring Different Accent Wall Paint Ideas for Your Living Room

Exploring Different Accent Wall Paint Ideas for Your Living Room
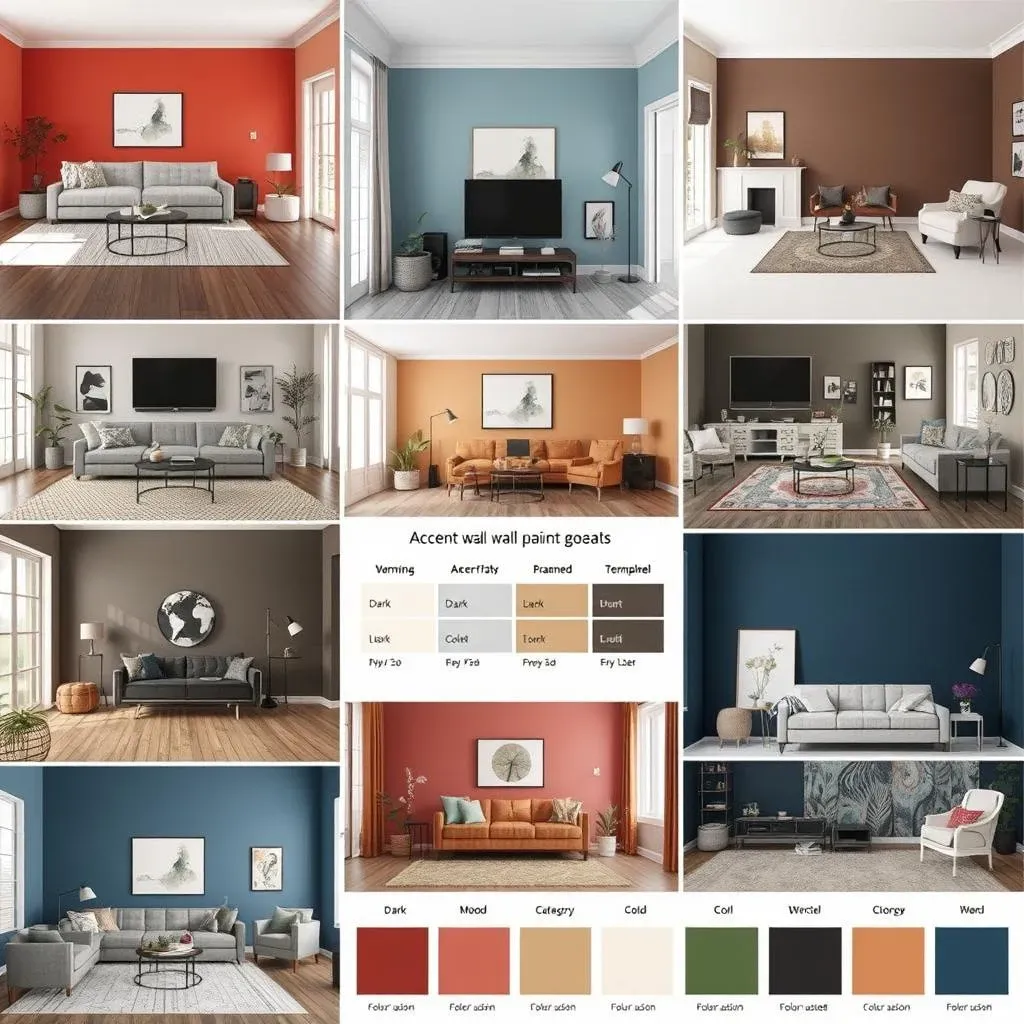
Okay, so you've picked your wall, now for the fun part: color! When it comes to accent wall paint ideas for your living room, the possibilities are pretty much endless. You can go bold, subtle, warm, cool, the world is your oyster. But let's break it down a little, shall we? First, think about the vibe you're going for. Do you want a dramatic, cozy feel, or something light and airy? Darker colors like navy blue, charcoal gray, or even a deep forest green can create a super cozy and sophisticated space. These shades are great for a room where you want to relax and unwind. On the other hand, lighter colors like pale blues, soft greens, or even a warm beige can make your living room feel more open and bright. These are perfect if you want a more uplifting and fresh atmosphere.
Don't forget about the power of color psychology, either! Colors can really affect your mood. Blues and greens are often associated with calmness and relaxation, while yellows and oranges bring energy and warmth. Red is a bold choice, known for passion and excitement, but use it sparingly, unless you want your living room to feel like a fire alarm. And if you're feeling a bit overwhelmed, you can always pull a color from something you already love in your living room, like a throw pillow or a piece of art. It's a foolproof way to make sure your accent wall complements the rest of the space. Consider this, if you have a very neutral living room, then an accent wall could be an opportunity to introduce an unexpected pop of color.
Also, let's not forget about texture and patterns! Paint isn't the only way to create an accent wall. You can use stencils to create patterns, or even use different painting techniques like sponging or color washing to add some depth and interest. I once saw a living room with a faux brick accent wall, and it looked so cool and unique. You can use textured paints for a subtle effect or even use tape to create geometric patterns. The key is to have fun and experiment with different ideas until you find something that you love. And hey, if you mess up, it's just paint, right? You can always paint over it.
One last thing, before you rush to the store, consider the sheen of your paint. Matte paints are great for hiding imperfections, but they can be harder to clean. Semi-gloss paints are easier to clean, but they can show every bump and dent on your wall. Eggshell is a nice middle ground, offering a bit of both. It's all about finding the right balance for your space and your lifestyle. So, go ahead, explore those paint chips, let your imagination run wild, and get ready to create an accent wall that you absolutely adore.
Color Category | Mood/Feeling | Examples |
|---|---|---|
Dark | Cozy, sophisticated | Navy Blue, Charcoal Gray, Forest Green |
Light | Open, bright, airy | Pale Blue, Soft Green, Warm Beige |
Warm | Energetic, inviting | Yellow, Orange, Terracotta |
Cool | Calming, relaxing | Blue, Green, Lavender |
Tips for Painting Your Living Room Accent Wall Like a Pro

Tips for Painting Your Living Room Accent Wall Like a Pro
Prep Like a Pro: It's All in the Details
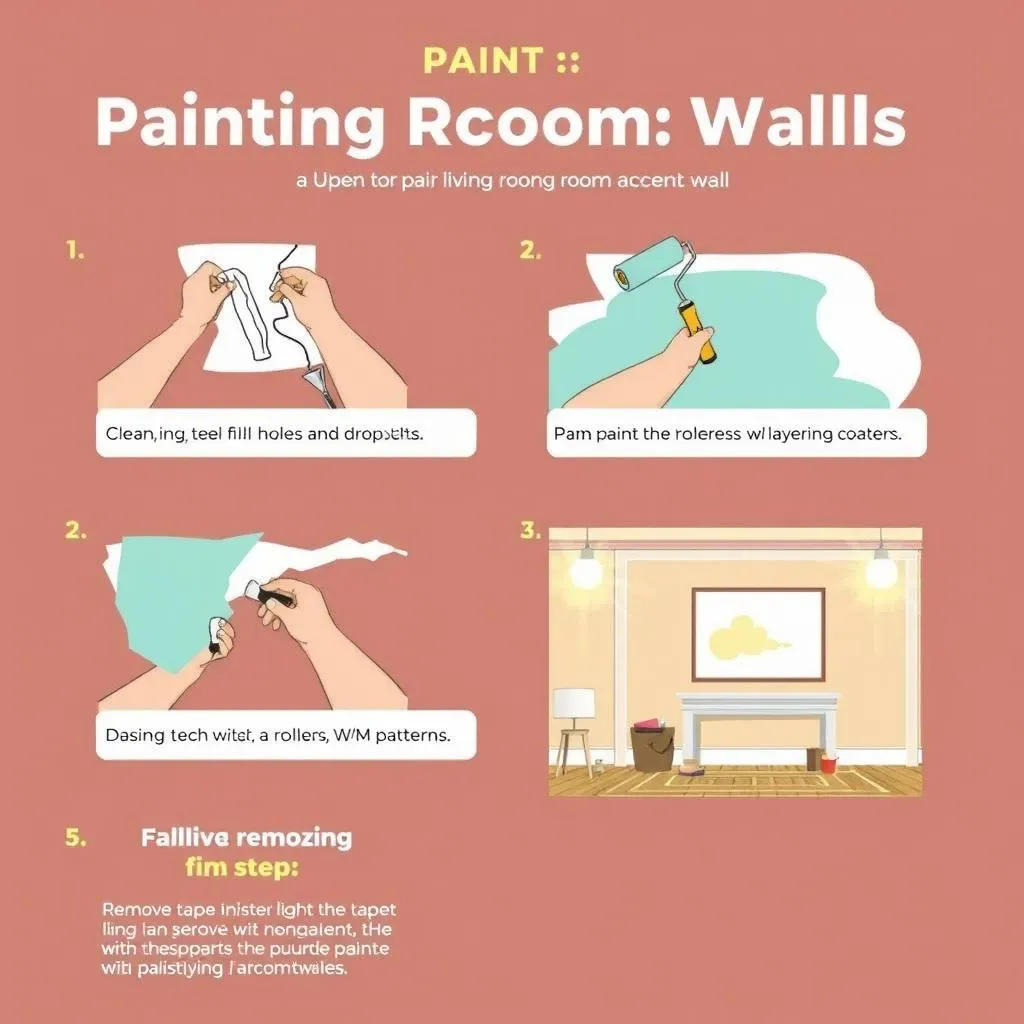
Okay, so you've got your color picked out, you're practically buzzing with excitement to transform your living room. But hold your horses, my friend! Before you even think about opening that can of paint, you absolutely *must* prep your wall. It's like getting ready for a big race – you wouldn't just show up in your pajamas, would you? No way! You need to stretch, warm up, and get your gear in order. Same goes for painting. Start by cleaning your wall. Dust, cobwebs, those mysterious smudges – they've all got to go. Use a damp cloth or a sponge to wipe it down. Next, grab some painter's tape and carefully tape off all the edges, including the ceiling, the baseboards, and any trim. This is not the time to be sloppy. Take your time, be precise, and you'll thank yourself later.
Now, if your wall has any holes or cracks, it's time to break out the spackle. Use a putty knife to fill those imperfections, let it dry, and then sand it down smooth. You want a nice, even surface for your paint to adhere to. Finally, and this is crucial, lay down some drop cloths. Seriously, don't skip this step. Paint has a sneaky way of getting everywhere, and you don't want to be scrubbing it off your floor or furniture later. Trust me, I've learned this the hard way, more times than I'd like to admit. Proper prep work is honestly half the battle when it comes to a professional-looking paint job.
Prep Step | Why It's Important |
|---|---|
Clean the wall | Removes dirt and allows paint to adhere properly. |
Tape off edges | Creates clean lines and prevents paint from going where it shouldn't. |
Fill holes and cracks | Ensures a smooth, even surface. |
Use drop cloths | Protects your floors and furniture from paint splatters. |
Painting Techniques: Smooth Operator
Alright, the wall is prepped, the tape is on, you're practically vibrating with anticipation, I get it. Now comes the moment we’ve all been waiting for: the actual painting! Start by pouring some paint into a paint tray. Don't go overboard, you can always add more. Load up your roller with paint, but don't drench it, you want to avoid drips. Roll it off a bit on the tray to remove the excess. Start painting in a "W" or "M" pattern, making sure to overlap each stroke slightly. This will help to ensure even coverage. Don't press too hard, let the roller do the work. If you're using a brush for the edges, use short, even strokes, and try to avoid getting any paint on the tape. It's a delicate dance, but you'll get the hang of it.
Once you've finished your first coat, let it dry completely. I know it's tempting to rush, but trust me, patience is key. Once it's dry, assess the coverage. If needed, apply a second coat, following the same technique. You want to achieve a nice, even color with no streaks or patches. Remember, multiple thin coats are always better than one thick coat. It'll give you a smoother finish and prevent the paint from cracking or peeling later. And here's a little secret: if you're painting with a dark color, consider using a tinted primer first. It'll help to hide the old color and make your new accent wall pop even more. It’s like a secret weapon for your paint job.
"The best way to learn is by doing. Don't be afraid to experiment and make mistakes. That's how you'll find what works best for you." - Some wise painter, probably.
Finishing Touches: The Grand Finale
So, you've painted your wall, it's looking fabulous, but we're not done just yet! Once the final coat is dry, it's time to remove the painter's tape. Do this carefully, pulling it away at a 45-degree angle. This will help to prevent any paint from peeling off with the tape. If you do happen to get a little bit of paint bleeding under the tape, don't panic. You can use a small brush and some touch-up paint to carefully fix it. And then, stand back and admire your work. You did it! You've transformed your living room with a beautiful accent wall. It's time to celebrate with a well-deserved cup of coffee, or maybe a glass of wine, depending on the time of day. You’re a painting pro now.
Now that the painting is done, take a look at the space and see how your accent wall interacts with the rest of the room. Does it need more light? Maybe add a lamp or two. Does it need some decor? A well-placed piece of art or a mirror can make all the difference. The accent wall is a fantastic way to create a focal point, but it's also a great opportunity to elevate the entire room. So, don’t be afraid to experiment with different ideas, play around with the placement of your furniture, and most importantly, have fun with it. This is your space, after all, make it a reflection of your unique style and personality. And if you ever decide to change things up, well, that's the beauty of paint, you can always start again.
