Table of Contents
Ready to revamp your bathroom without a full-scale renovation? Then get ready to explore the magic of accent walls! This article is your ultimate guide to "accent wall paint ideas for bathroom," offering a wealth of inspiration and practical advice. We'll dive into the exciting world of color selection, matching the perfect shade to your bathroom's style and size. Discover how a strategic accent wall can completely transform the mood and feel of your space, whether you're aiming for a spa-like oasis, a modern minimalist haven, or a vibrant, playful retreat. We'll cover accent wall ideas for various bathroom styles, from classic to contemporary, ensuring you find the perfect look to express your personality. But it's not just about choosing a color; we'll also walk you through the application process, providing simple tips and tricks to achieve a professional finish that will leave you feeling proud of your DIY accomplishment. Get ready to unlock your bathroom's full potential with the power of paint! Let's transform your bathroom into the stylish sanctuary you've always dreamed of.
Choosing the Perfect Accent Wall Paint Color for Your Bathroom

Choosing the Perfect Accent Wall Paint Color for Your Bathroom
Understanding Your Bathroom's Style
Picking the right paint color is like choosing the perfect outfit – it needs to complement your existing style. Do you have a modern bathroom with sleek lines and minimalist fixtures? Or is it a cozy, traditional space with vintage charm? A bold, vibrant color might be perfect for a modern bathroom, adding a pop of personality, while a softer, more muted shade could work wonders in a traditional setting, enhancing the sense of calm and tranquility. Consider the overall feel you want to create; do you want to energize the space or create a relaxing retreat? For instance, calming blues and greens are often associated with spas, while brighter yellows or oranges can add warmth and energy. Think about the mood you want to evoke and let that guide your color choice.
Don't forget about the size of your bathroom! A smaller bathroom can feel cramped with dark colors, while lighter shades can make it feel more spacious. If you have a small bathroom, check out our post on paint colors for small rooms for some extra tips. Larger bathrooms can handle bolder choices with more impact. The lighting in your bathroom also plays a crucial role. Natural light will affect how the color appears throughout the day, so it’s important to consider the time of day when you’ll be using the space most.
Bathroom Style | Recommended Color Palette |
|---|---|
Modern Minimalist | Neutral grays, crisp whites, muted blues |
Traditional | Warm creams, soft greens, gentle blues |
Coastal | Light blues, sandy beiges, seafoam greens |
Considering Color Psychology
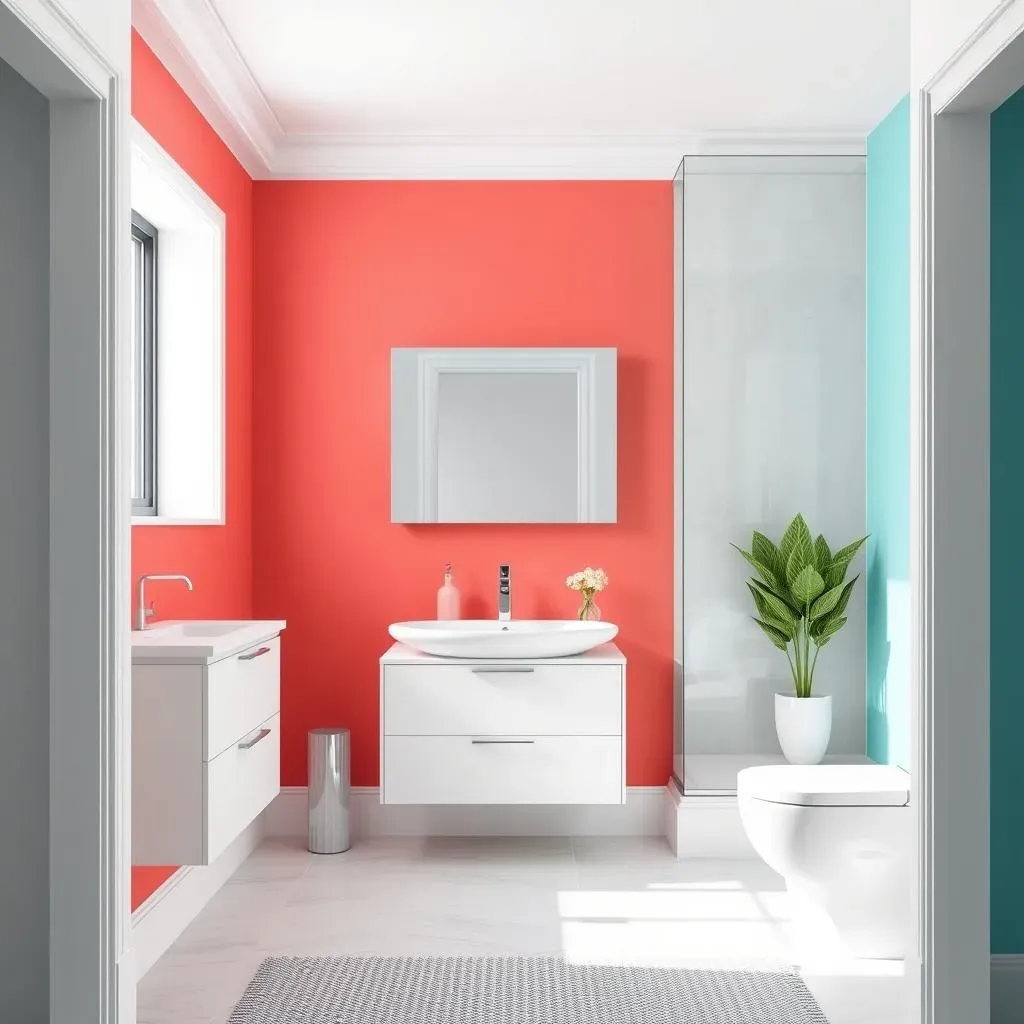
Did you know that colors can actually influence your mood? Warm colors like reds and oranges are energizing, while cool colors like blues and greens are calming. For example, a warm, inviting red might be a great choice for a powder room, but a relaxing blue might be ideal for a master bathroom. Think about how you want to feel when you're in your bathroom and choose a color that reflects that. If you're feeling adventurous, you could even try a two-tone effect! Check out some great two-tone ideas to get you started.
Remember to consider the existing colors in your bathroom. Your accent wall should complement, not clash, with your tiles, fixtures, and other decor. If you have a lot of neutral tones, you can afford to be more adventurous with your accent wall color. However, if your bathroom already has a lot of bold colors, a more neutral accent wall might be a better choice. Try holding up some paint swatches against your existing walls to see how the colors interact with each other in your space. If you want to see how different colours work with specific colours, you can check out our guides on colors that go with gray, beige, white, blue, green, or brown.
- Warm Colors (reds, oranges, yellows): Energetic, inviting
- Cool Colors (blues, greens, purples): Calming, relaxing
- Neutral Colors (grays, beiges, whites): Versatile, adaptable
Accent Wall Paint Ideas for Different Bathroom Styles
Modern Minimalist Bathrooms
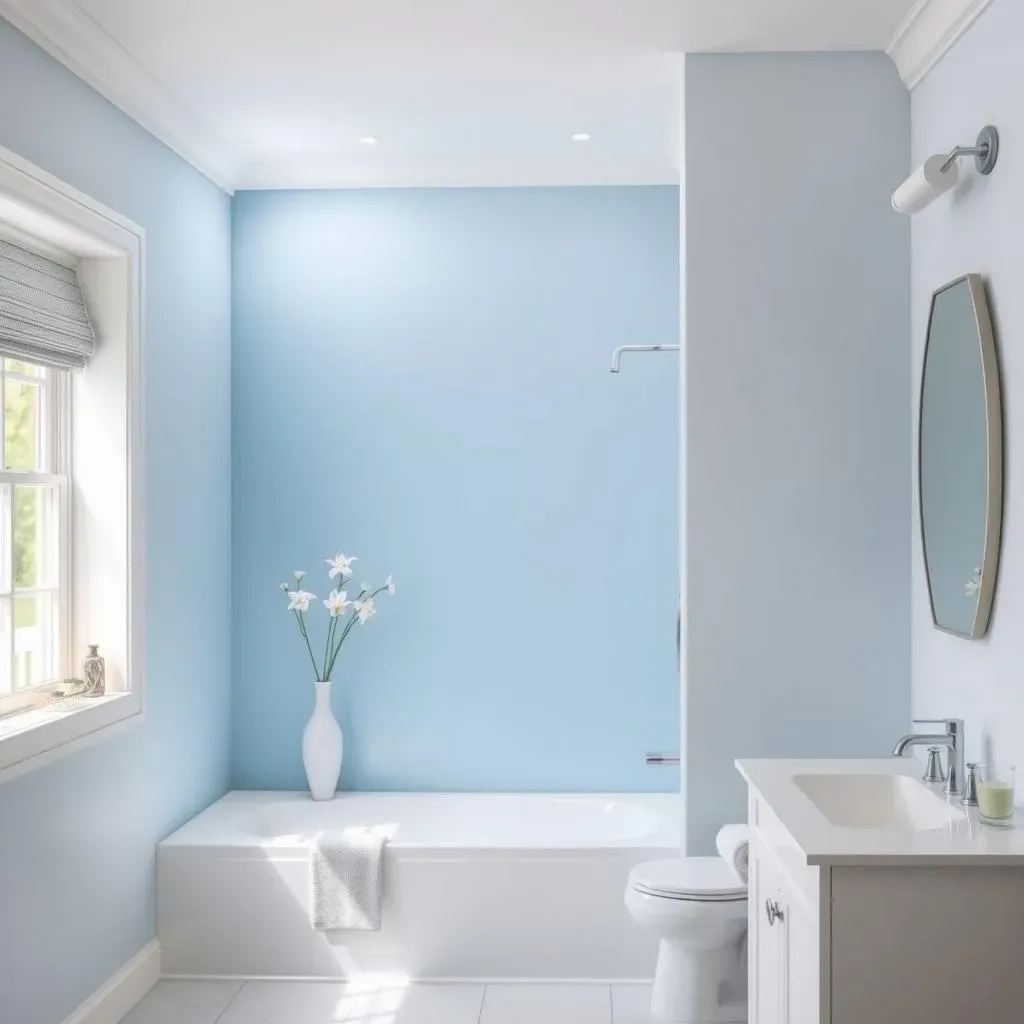
For a modern minimalist bathroom, think clean lines and a neutral palette. A crisp white or light gray accent wall can create a sense of spaciousness and serenity. Subtle textural paints, like those with a slight sheen or metallic fleck, can add a touch of sophistication without overpowering the minimalist aesthetic. Consider a calming pale blue or a sophisticated muted green for a subtle pop of color. These choices create a spa-like atmosphere, perfect for a relaxing start or end to the day. If you need more inspiration, you can check out some great paint colors that go with white.
To avoid making the space feel sterile, introduce natural elements like plants or wooden accessories to warm up the space and complement your chosen color scheme. A simple, sleek mirror or a modern piece of art above the vanity can also add a focal point to the room. Remember, less is more in a minimalist setting.
- Light grays
- Crisp whites
- Subtle blues
- Muted greens
Traditional Bathrooms
Traditional bathrooms often feature classic elements like clawfoot tubs, ornate mirrors, and detailed tiling. For an accent wall, consider warmer tones that enhance this style. Creamy whites, soft greens, or gentle blues can create a sense of timeless elegance. A subtle pattern or texture within the paint itself can further elevate the traditional feel without being overwhelming. Think about incorporating a soft, muted floral pattern for a more feminine touch or a textured paint reminiscent of plaster for a more rustic vibe. Check out our article on accent wall ideas for bathrooms for more inspiration.
To add a touch of personality to a traditional space, incorporate vintage-inspired accessories such as antique mirrors, decorative towel racks, or a beautifully patterned rug. These elements will complement the accent wall’s color and overall tone, creating a cohesive and visually appealing space.
Color | Texture | Accessories |
|---|---|---|
Creamy White | Smooth | Antique mirror |
Soft Green | Slightly textured | Vintage towel rack |
Gentle Blue | Matte | Patterned rug |
Bohemian/Eclectic Bathrooms
Bohemian or eclectic bathrooms celebrate individuality and a mix of styles. Here, you can really let your creativity shine! Think bold colors, unexpected patterns, and a fusion of textures. A vibrant jewel-tone like emerald green, sapphire blue, or ruby red can add a dramatic pop to this style. Alternatively, a warm terracotta or a sunny yellow can bring a sense of playfulness and energy. Consider adding a subtle geometric pattern or an ombre effect for an extra layer of visual interest. For more options, check out our article on bold accent wall colors.
To complete the eclectic look, incorporate a variety of textures and patterns through your accessories. Mix and match textiles, add unique artwork, and incorporate vintage or repurposed elements to create a space that is truly one-of-a-kind. Don’t be afraid to experiment and express your personal style!
Applying Your Accent Wall Paint: Tips and Tricks for a Professional Finish
Prep Work is Key
Before you even think about touching a paintbrush, proper preparation is crucial for a flawless finish. Start by thoroughly cleaning the wall to remove any dust, dirt, or cobwebs. A quick wipe down with a damp cloth should do the trick. Next, use painter's tape to mask off areas you don't want to paint, such as trim, baseboards, or the ceiling. This will prevent messy lines and save you a lot of cleanup time later. Trust me, this step is worth the extra effort! For more detailed guidance, check out our post on paint finish ideas – it covers everything you need to know about surface preparation.
If your wall has any imperfections, like holes or cracks, fill them with spackle and sand them smooth before painting. This ensures a smooth, even surface for your paint to adhere to, resulting in a professional-looking final product. A smooth surface means less paint is needed for even coverage. This saves you money and time! Once the wall is clean and smooth, consider using a primer. Primer helps the paint adhere better to the wall and prevents the existing wall color from showing through, especially if you're going for a bold color change. Don't skip this crucial step, especially if you're working with dark or bright colors.
- Clean the wall thoroughly
- Mask off areas with painter's tape
- Fill and sand imperfections
- Apply primer (especially for dark or bright colors)
Painting Techniques for a Perfect Finish
Now for the fun part – painting! Use a high-quality paintbrush or roller for the best results. Apply thin, even coats, allowing each coat to dry completely before applying the next. This prevents drips, runs, and an uneven finish. Work in sections, starting at the top and working your way down. This prevents accidental smudges or streaks. For sharp edges, use an angled brush for precise application against the tape. If you’re feeling adventurous, consider using a unique painting technique like sponging or stippling to add texture and dimension to your accent wall. Want to know more about achieving textured walls? Our guide on textured accent wall paint ideas can help.
Don't forget to stir the paint regularly to ensure even color consistency. It's also a good idea to use a paint tray to keep your brush or roller loaded with paint. This allows for a smoother and more controlled application. For a truly professional look, consider using a paint sprayer. A paint sprayer provides an even, flawless finish, especially for larger walls. But if you're not comfortable using a sprayer, don't worry – a good quality brush and roller will still deliver fantastic results. Remember patience is key. Take your time, and don't rush the process. A rushed job will show, and you'll end up having to redo sections.
Tool | Pros | Cons |
|---|---|---|
Paintbrush | Precise application, good for details | Can be time-consuming |
Roller | Fast coverage, good for large areas | Can leave streaks if not used properly |
Paint Sprayer | Even finish, fast application | Can be messy if not used properly |
Finishing Touches and Cleanup
Once the paint is completely dry, carefully remove the painter's tape at a low angle to avoid pulling up any of the wet paint. If you notice any imperfections or drips, lightly sand them down and touch them up with another coat of paint. For extra protection, consider applying a sealant or topcoat, especially in high-moisture areas like bathrooms. This will help protect your accent wall from water damage and make it easier to clean. Our guide on accent wall paint colors for bathrooms also offers tips for longevity.
Finally, clean up your brushes and rollers immediately after use with warm, soapy water to prevent the paint from hardening. Dispose of any leftover paint according to local regulations. Now stand back and admire your handiwork! You've successfully transformed your bathroom with a stunning accent wall. Remember, a little patience and attention to detail can make all the difference in achieving a truly professional-looking finish. You'll be amazed at how much a simple accent wall can change the look and feel of your bathroom.
