Table of Contents
Tired of staring at the same old boring walls? I get it. A fresh coat of paint can only do so much. That's where the magic of wood trim accent walls comes in. They're not just a trend; they're a fantastic way to inject personality, texture, and a whole lot of visual interest into any space. Forget flat and dull; we're talking about adding dimension and character. In this article, we will explore 15 fantasticaccent wall ideas with wood trim, from the ever-popular board and batten to some seriously creative geometric designs. We will also discuss different wood types, design tips and tricks to help you achieve your dream accent wall. Whether you're a seasoned DIYer or a complete beginner, get ready to transform your room into a space that truly reflects your style. So, grab your measuring tape, and let's dive in!
Classic Board and Batten Wood Trim Accent Walls

Classic Board and Batten Wood Trim Accent Walls
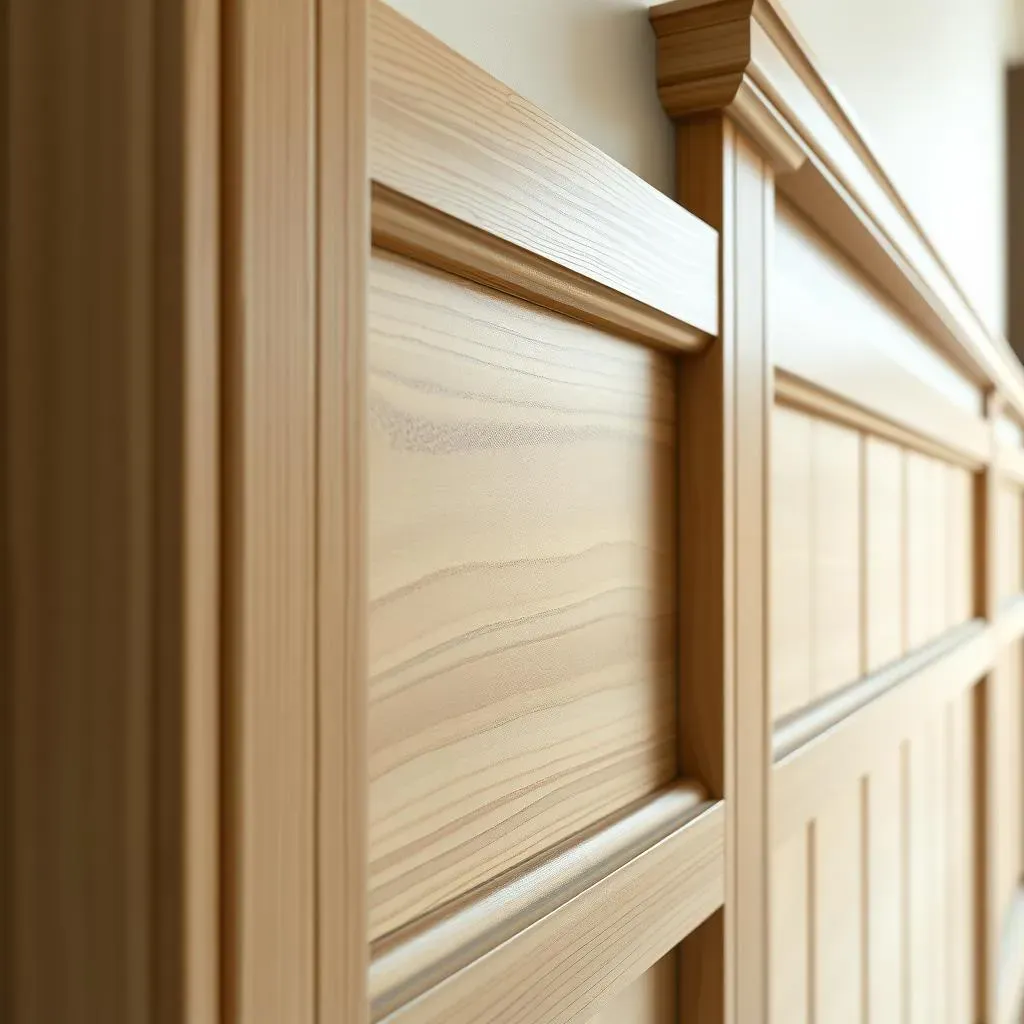
let's talk about the OG of wood trim accent walls: board and batten. This style is like the comfy sweater of interior design – it's always in style and makes any room feel instantly cozier. Basically, you're adding vertical strips of wood (the battens) to a wall, creating a grid-like or paneled effect. It's so versatile, you can go super bold with dark paint for a dramatic look, or keep it light and airy with soft, neutral colors. I think it is a great way to add texture without being overwhelming. I've seen it in everything from modern farmhouses to chic city apartments, so don't think it's only for one kind of space. The best part? It’s not as hard to DIY as you might think, and the impact it makes is huge.
Design Element | Description | Style |
|---|---|---|
Battens | Vertical wood strips | Can be thin or thick |
Spacing | Distance between battens | Evenly spaced, or with varying widths |
Top Rail | Horizontal trim at the top | Optional, but adds a finished look |
Color | Paint or stain of the wood | Can be bold or neutral |
Modern & Unique Wood Trim Accent Wall Designs

Modern & Unique Wood Trim Accent Wall Designs
Picture Frame Molding: Classic with a Twist
so you know board and batten, but let's crank up the sophistication a notch. Picture frame molding is where it’s at for adding a touch of elegance. We're talking about creating these beautiful, framed panels directly onto your wall. Think of it like hanging artwork, but the art *is* the wall. You can achieve a classic, timeless look or go for a more modern vibe by playing with different shapes and sizes. I've seen it with simple rectangles for a traditional feel, or with overlapping squares for something more contemporary. It’s all about your taste. And the best part? You can paint it any color you want, making it super adaptable to your space.
Beyond the Basics: Thinking Outside the Box
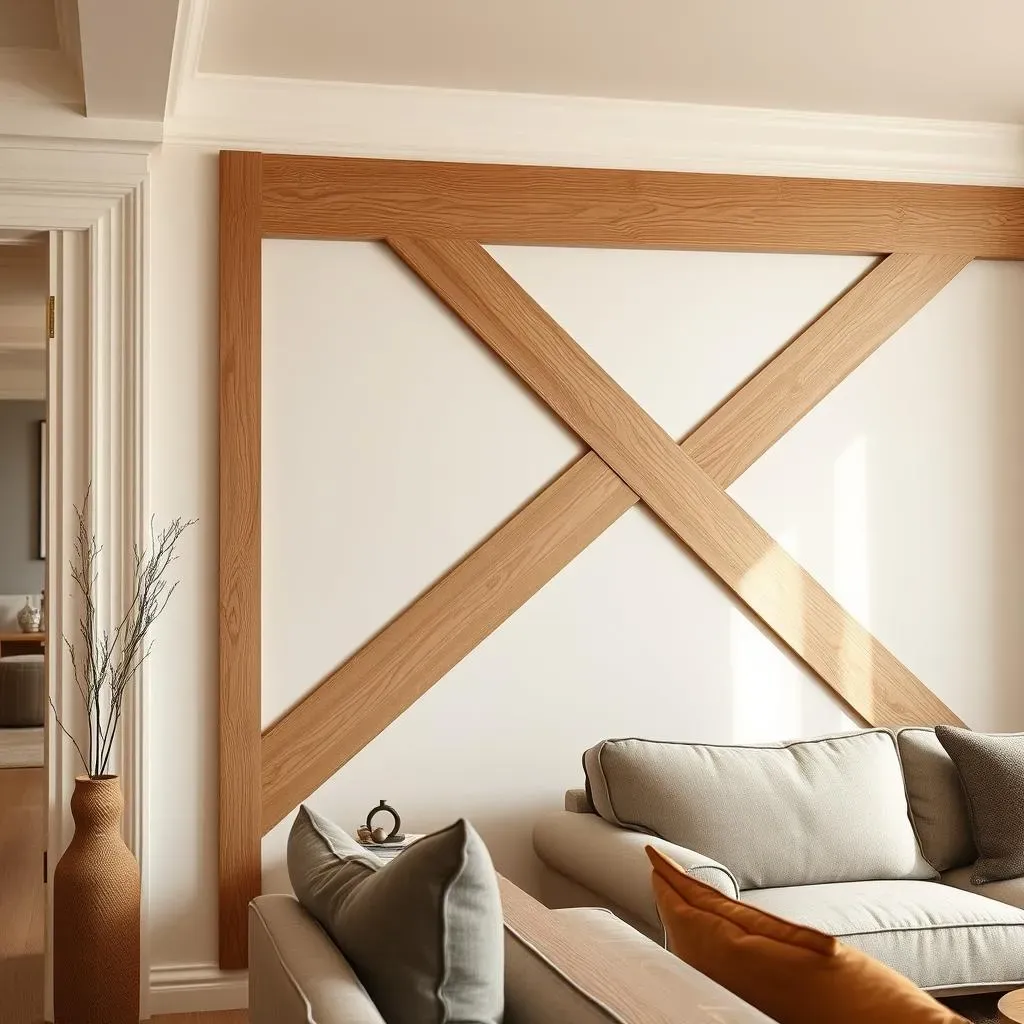
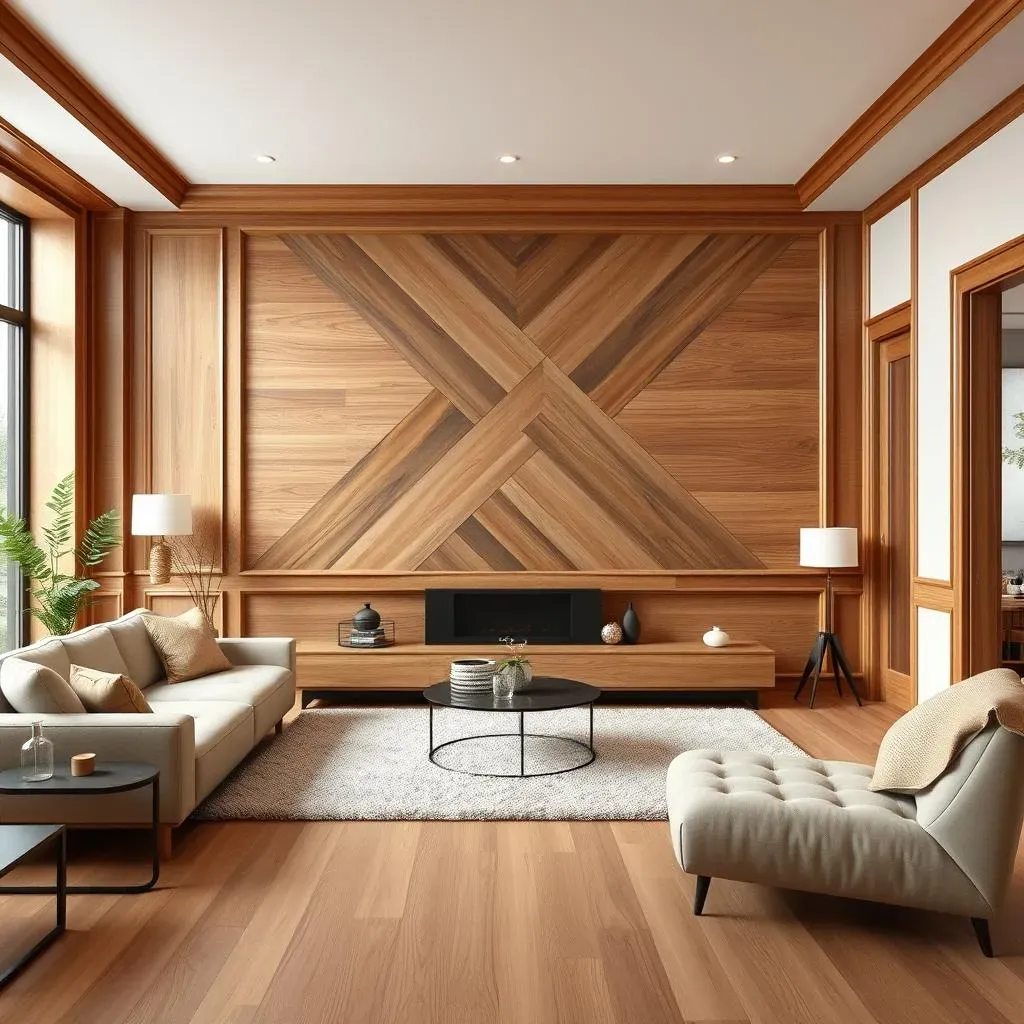
Now, let's get a little funky. Who said wood trim had to be straight? What about framed wallpaper panels? Picture this: a bold, patterned wallpaper piece framed by sleek wood trim. It’s like a gallery wall, but way more integrated. Or, consider fluted wood trim. Those vertical grooves add so much texture and visual interest. I saw one recently that looked like a piece of art. And don't even get me started on raised geometric designs. We can create these amazing 3D effects with different wood thicknesses and angles. It's like your wall is having its own little sculpture show.
Design Idea | Description | Style |
|---|---|---|
Framed Wallpaper | Wallpaper panel surrounded by wood trim | Modern, eclectic |
Fluted Trim | Vertical grooved wood | Textural, sophisticated |
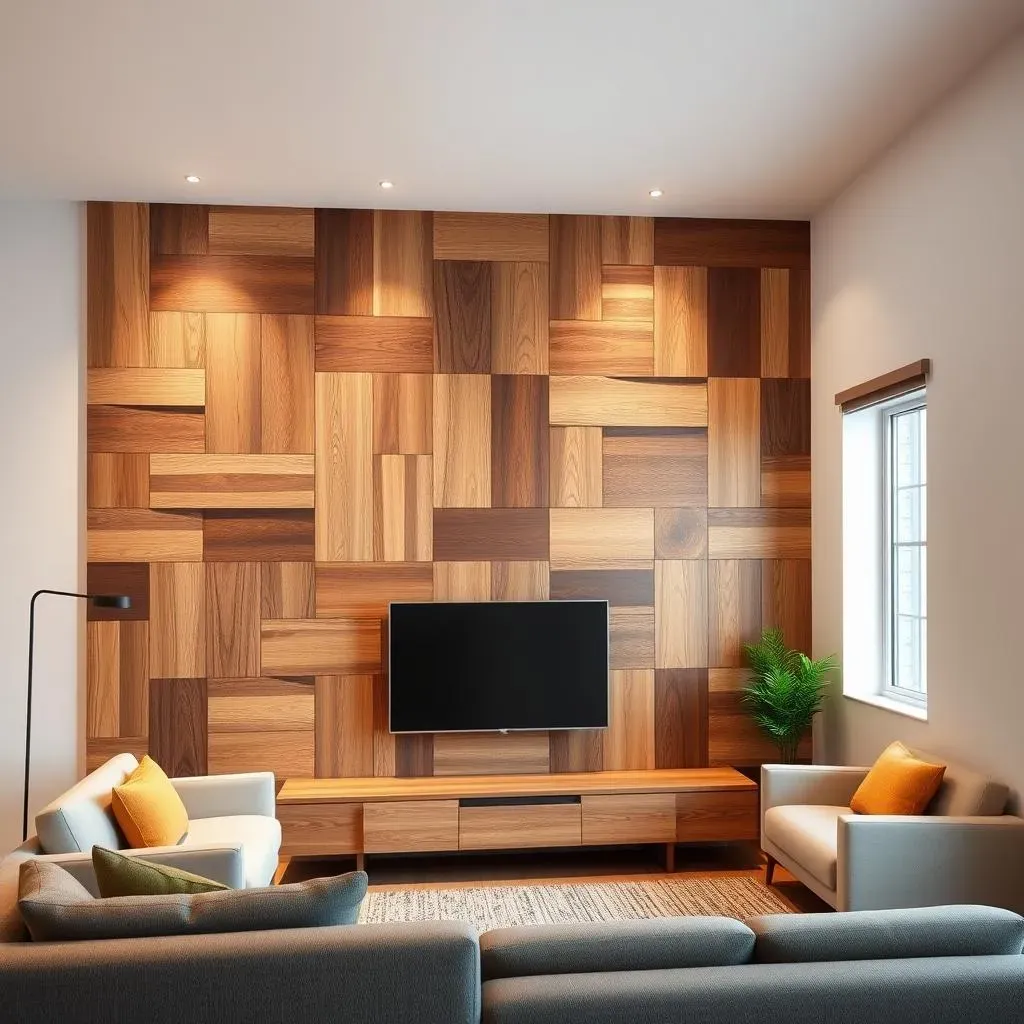
Geometric Designs | Raised patterns with different wood shapes | Modern, artistic |
Reclaimed Wood & Natural Planks: Rustic Charm
If you're craving a more natural and rustic feel, reclaimed wood or natural wood planks are the way to go. Think weathered wood with all its unique imperfections. Each piece tells a story, adding a ton of character to your wall. Shiplap is another cool option for a more relaxed, coastal vibe. You can install the planks horizontally, vertically, or even in a herringbone pattern if you're feeling adventurous. I love how the natural wood tones bring warmth and a sense of the outdoors inside. It's like bringing a little piece of nature into your home, and honestly, who doesn't love that?
DIY Tips and Tricks for Your Wood Trim Accent Wall

DIY Tips and Tricks for Your Wood Trim Accent Wall
Choosing the Right Wood & Tools
so you're ready to get your hands dirty, right? First things first, let's talk wood. For painted trim, primed MDF is your best friend, it’s cost-effective, easy to work with, and takes paint like a champ. If you're going for a stained look, pine or oak are good options, they have a nice grain that shows through. Now, tools. You're gonna need a measuring tape, a level (crucial for straight lines, trust me), a pencil, a saw (a miter saw is ideal for angled cuts), a nail gun or hammer and nails, and some wood filler to hide those nail holes. Oh, and don't forget safety glasses! I once skipped those and almost took an eye out, not a good look for a DIY project.
Another important thing is to think about your design. Are you doing straight lines? Then you just need to cut the wood to the right length. But if you're doing picture frame molding or a geometric design, you’re going to need to make miter cuts, where the ends of the wood are cut at an angle so they fit together perfectly. This can be a bit tricky, but there are tons of tutorials online to help you out. Take your time with the cuts, measure twice, cut once, as they say. It's better to have a slightly longer piece than a too-short one!
Wood Type | Best Use | Pros | Cons |
|---|---|---|---|
Primed MDF | Painted trim | Cost-effective, easy to paint, smooth finish | Not ideal for staining, can be prone to moisture damage |
Pine | Stained or painted trim | Affordable, good for staining, easy to work with | Can be prone to dents and scratches, may have knots |
Oak | Stained trim | Durable, beautiful grain, good for staining | More expensive, can be harder to work with |
Installation & Finishing Touches
Alright, so you've got your wood and your tools, now it's time to get that trim up on the wall. Before you start nailing, mark everything out with your pencil and level. This will save you a lot of headaches later. Start with the vertical pieces, then add the horizontal ones. Use a nail gun if you have one, it's way faster than hammering and you can control it better. If you don't, no worries, just be careful and make sure your nails are going in straight. It's a good idea to use construction adhesive in addition to nails. This will make sure the trim is firmly attached to the wall. Once your trim is up, it's time to fill those nail holes with wood filler. Let it dry, then sand it smooth so it's flush with the wood surface.
Now for the fun part: painting! Use painter's tape to protect any areas you don't want to get paint on. Apply a primer first, this helps the paint adhere better and prevents it from soaking into the wood. Then, apply your paint in smooth, even coats. I usually do two coats for good coverage. And there you have it: a custom wood trim accent wall that you created with your own two hands. Step back and admire your handiwork. It is a pretty great feeling, isn’t it?
Wrapping Up Your Wood Trim Accent Wall Project
So, there you have it, a whirlwind tour of 15 incredibleaccent wall ideas with wood trim. From classic to contemporary, there's a design here to spark your creativity and make your space truly unique. Remember, the key is to choose a style that resonates with you and complements your existing decor. Don't be afraid to experiment with different wood types, colors, and patterns to achieve a look that's all your own. And hey, if you mess up a bit, that's okay too; it's all part of the fun. With a little planning, patience, and maybe a few YouTube tutorials, you can absolutely nail this DIY project. Now, go forth and transform those boring walls into something amazing!
