Table of Contents
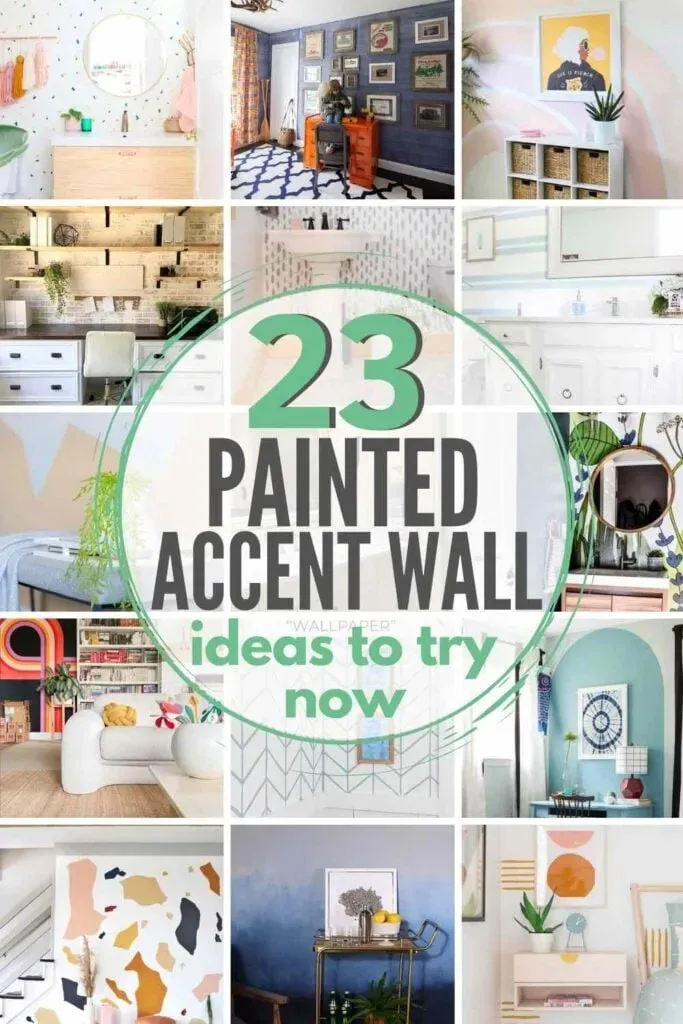
Ever stare at a blank wall and think, "Something's missing"? Maybe your living room feels a bit flat, or your bedroom needs a punch of personality. You're not alone. Many of us crave a little visual excitement in our homes without wanting to undertake a massive, expensive renovation. That's where the magic of an accent wall comes in. It’s a simple, effective way to inject color, pattern, or texture into a room, making a big impact with minimal effort.
Why Paint Your Own Accent Wall?
Why Paint Your Own Accent Wall?
It's Seriously Wallet-Friendly
Let's be real, home decor costs add up fast. Wallpaper can run you a pretty penny, especially if you're eyeing those fancy patterns. Hiring someone to hang it? Even more. Painting an accent wall is perhaps the most budget-conscious way to make a dramatic change in a room. You need a can or two of paint, some tape, a roller, and maybe a brush for edges. Compare that to rolls of wallpaper, paste, and specialized tools, or the hourly rate of a pro. It's not even close.
You can grab a gallon of quality paint for less than fifty bucks sometimes, and that's usually enough for a few coats on a standard wall. Even if you go for a premium finish or a bold, saturated color, the cost remains significantly lower than alternative wall treatments. This affordability means you can experiment more freely. If you hate it, you're not out a fortune, just a bit of time and a relatively small amount of cash.
Unleash Your Inner Artist (Without Going Full Bob Ross)
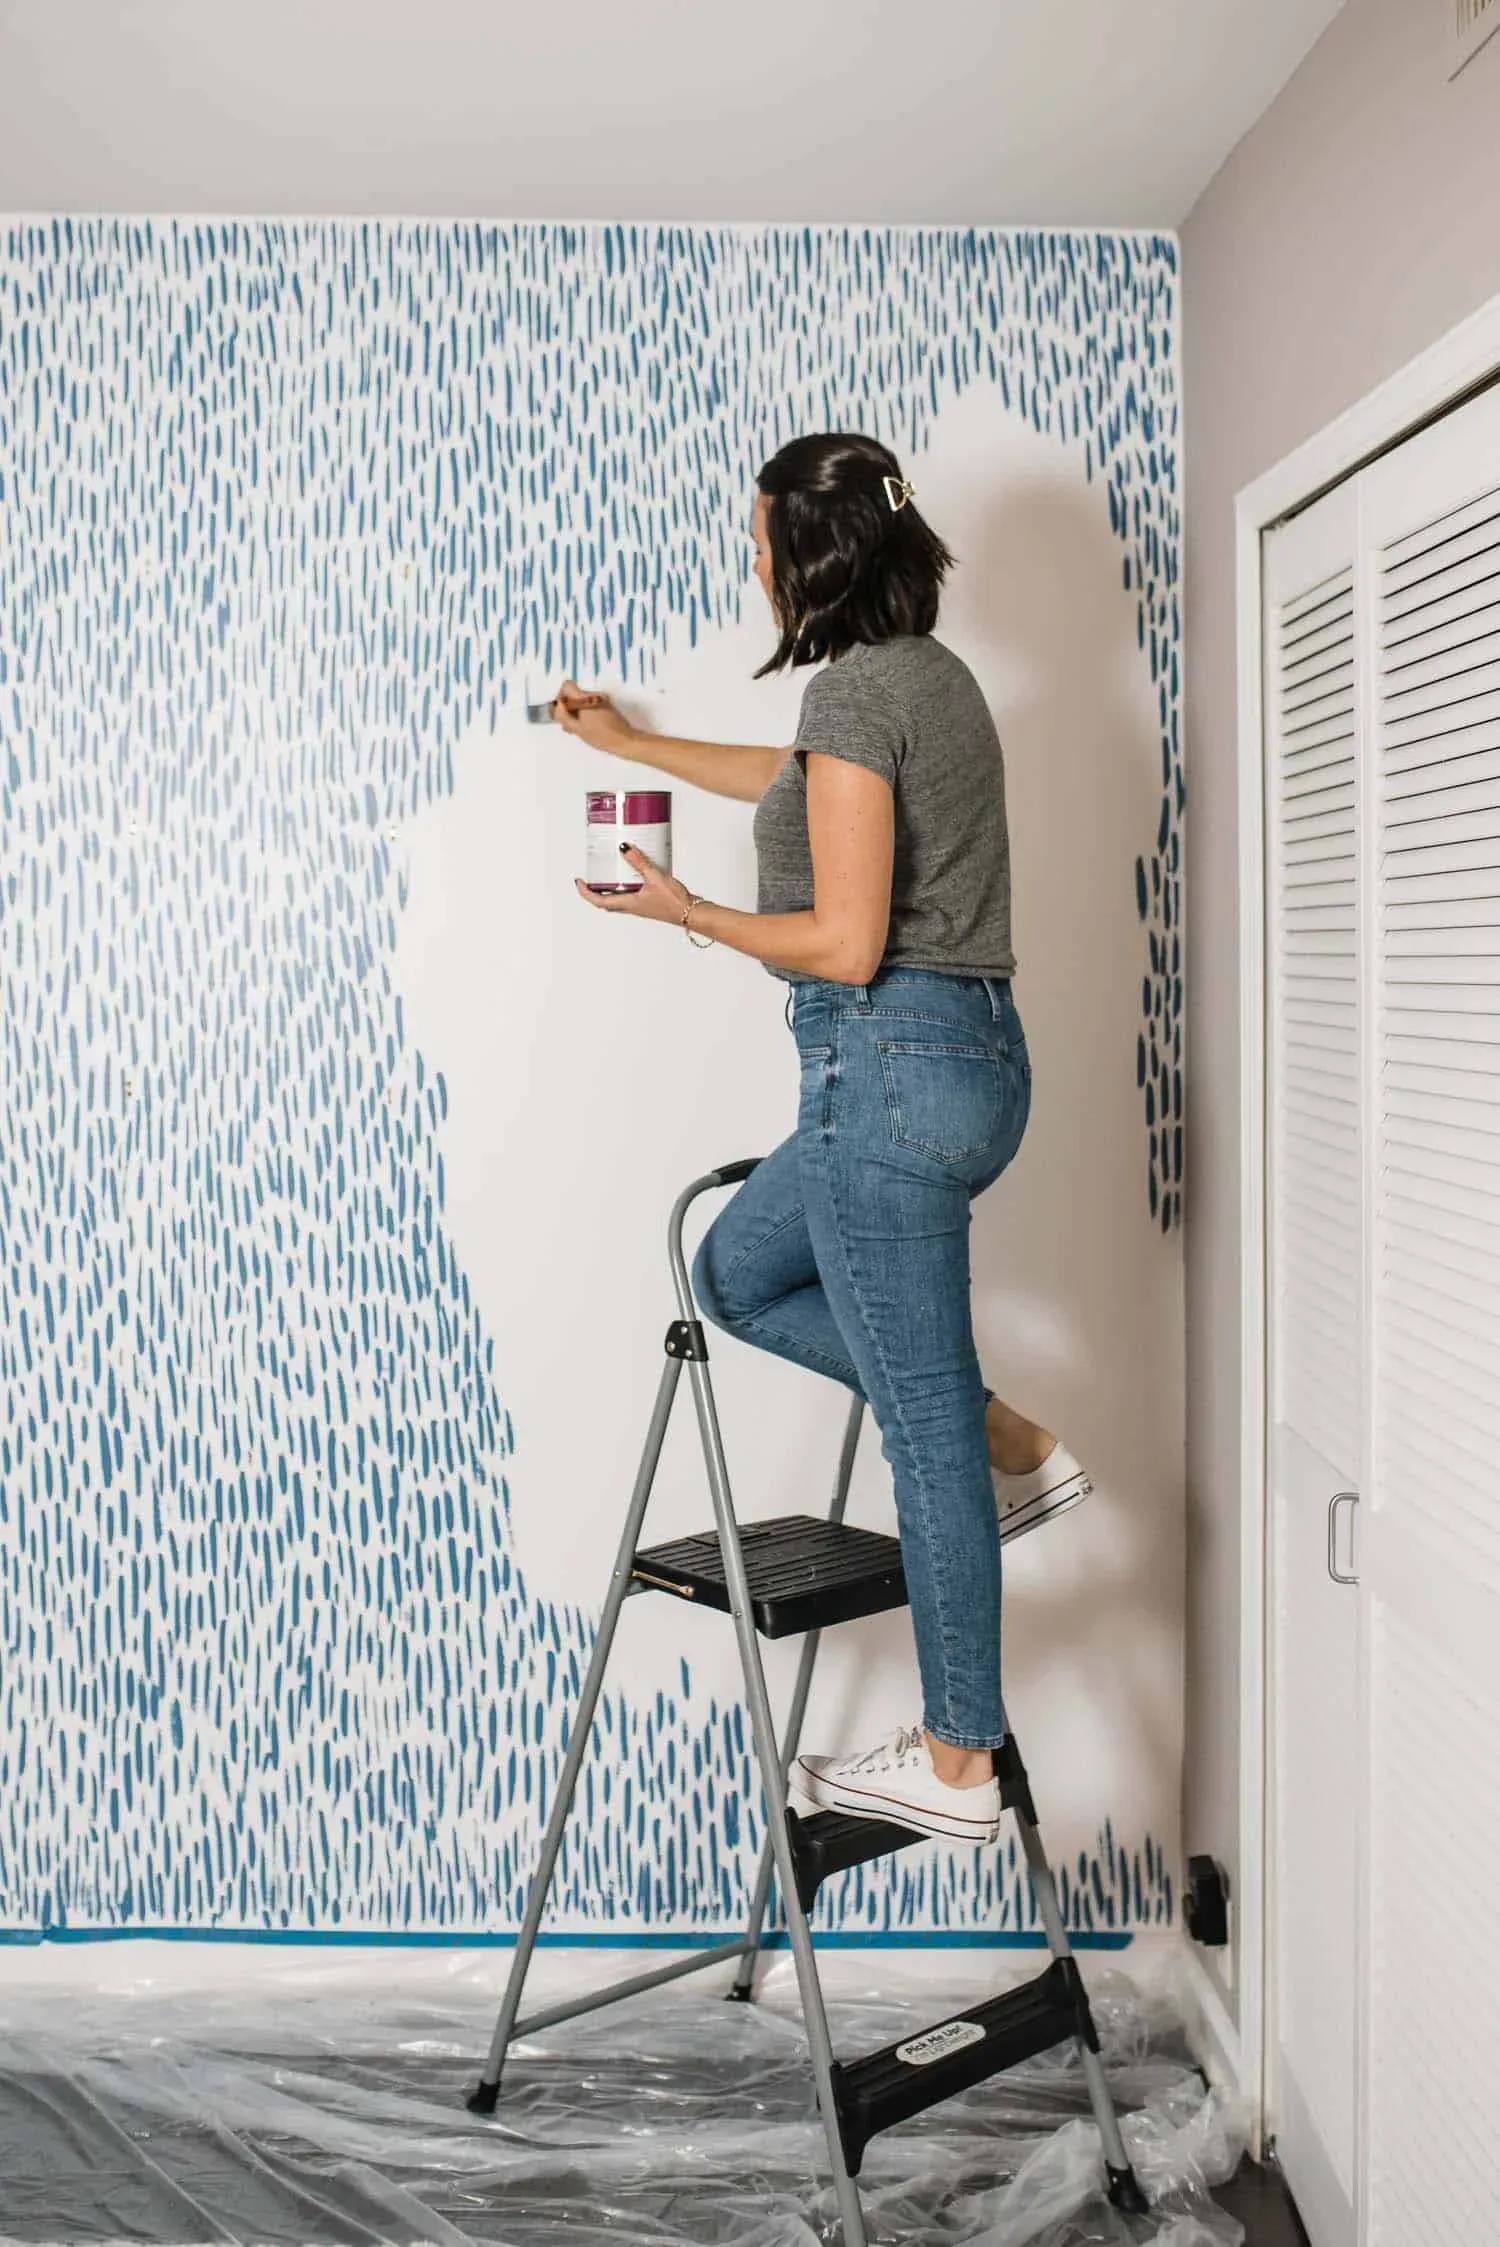
This isn't about needing a fine arts degree. Painting your own accent wall is your chance to put a personal stamp on your space that you just can't get from a store-bought product. Want a specific shade that perfectly matches that vintage chair? You can get it mixed. Dreaming of a pattern that doesn't exist in any wallpaper catalog? You can paint it yourself. It’s about expressing your style directly onto the architecture of your home.
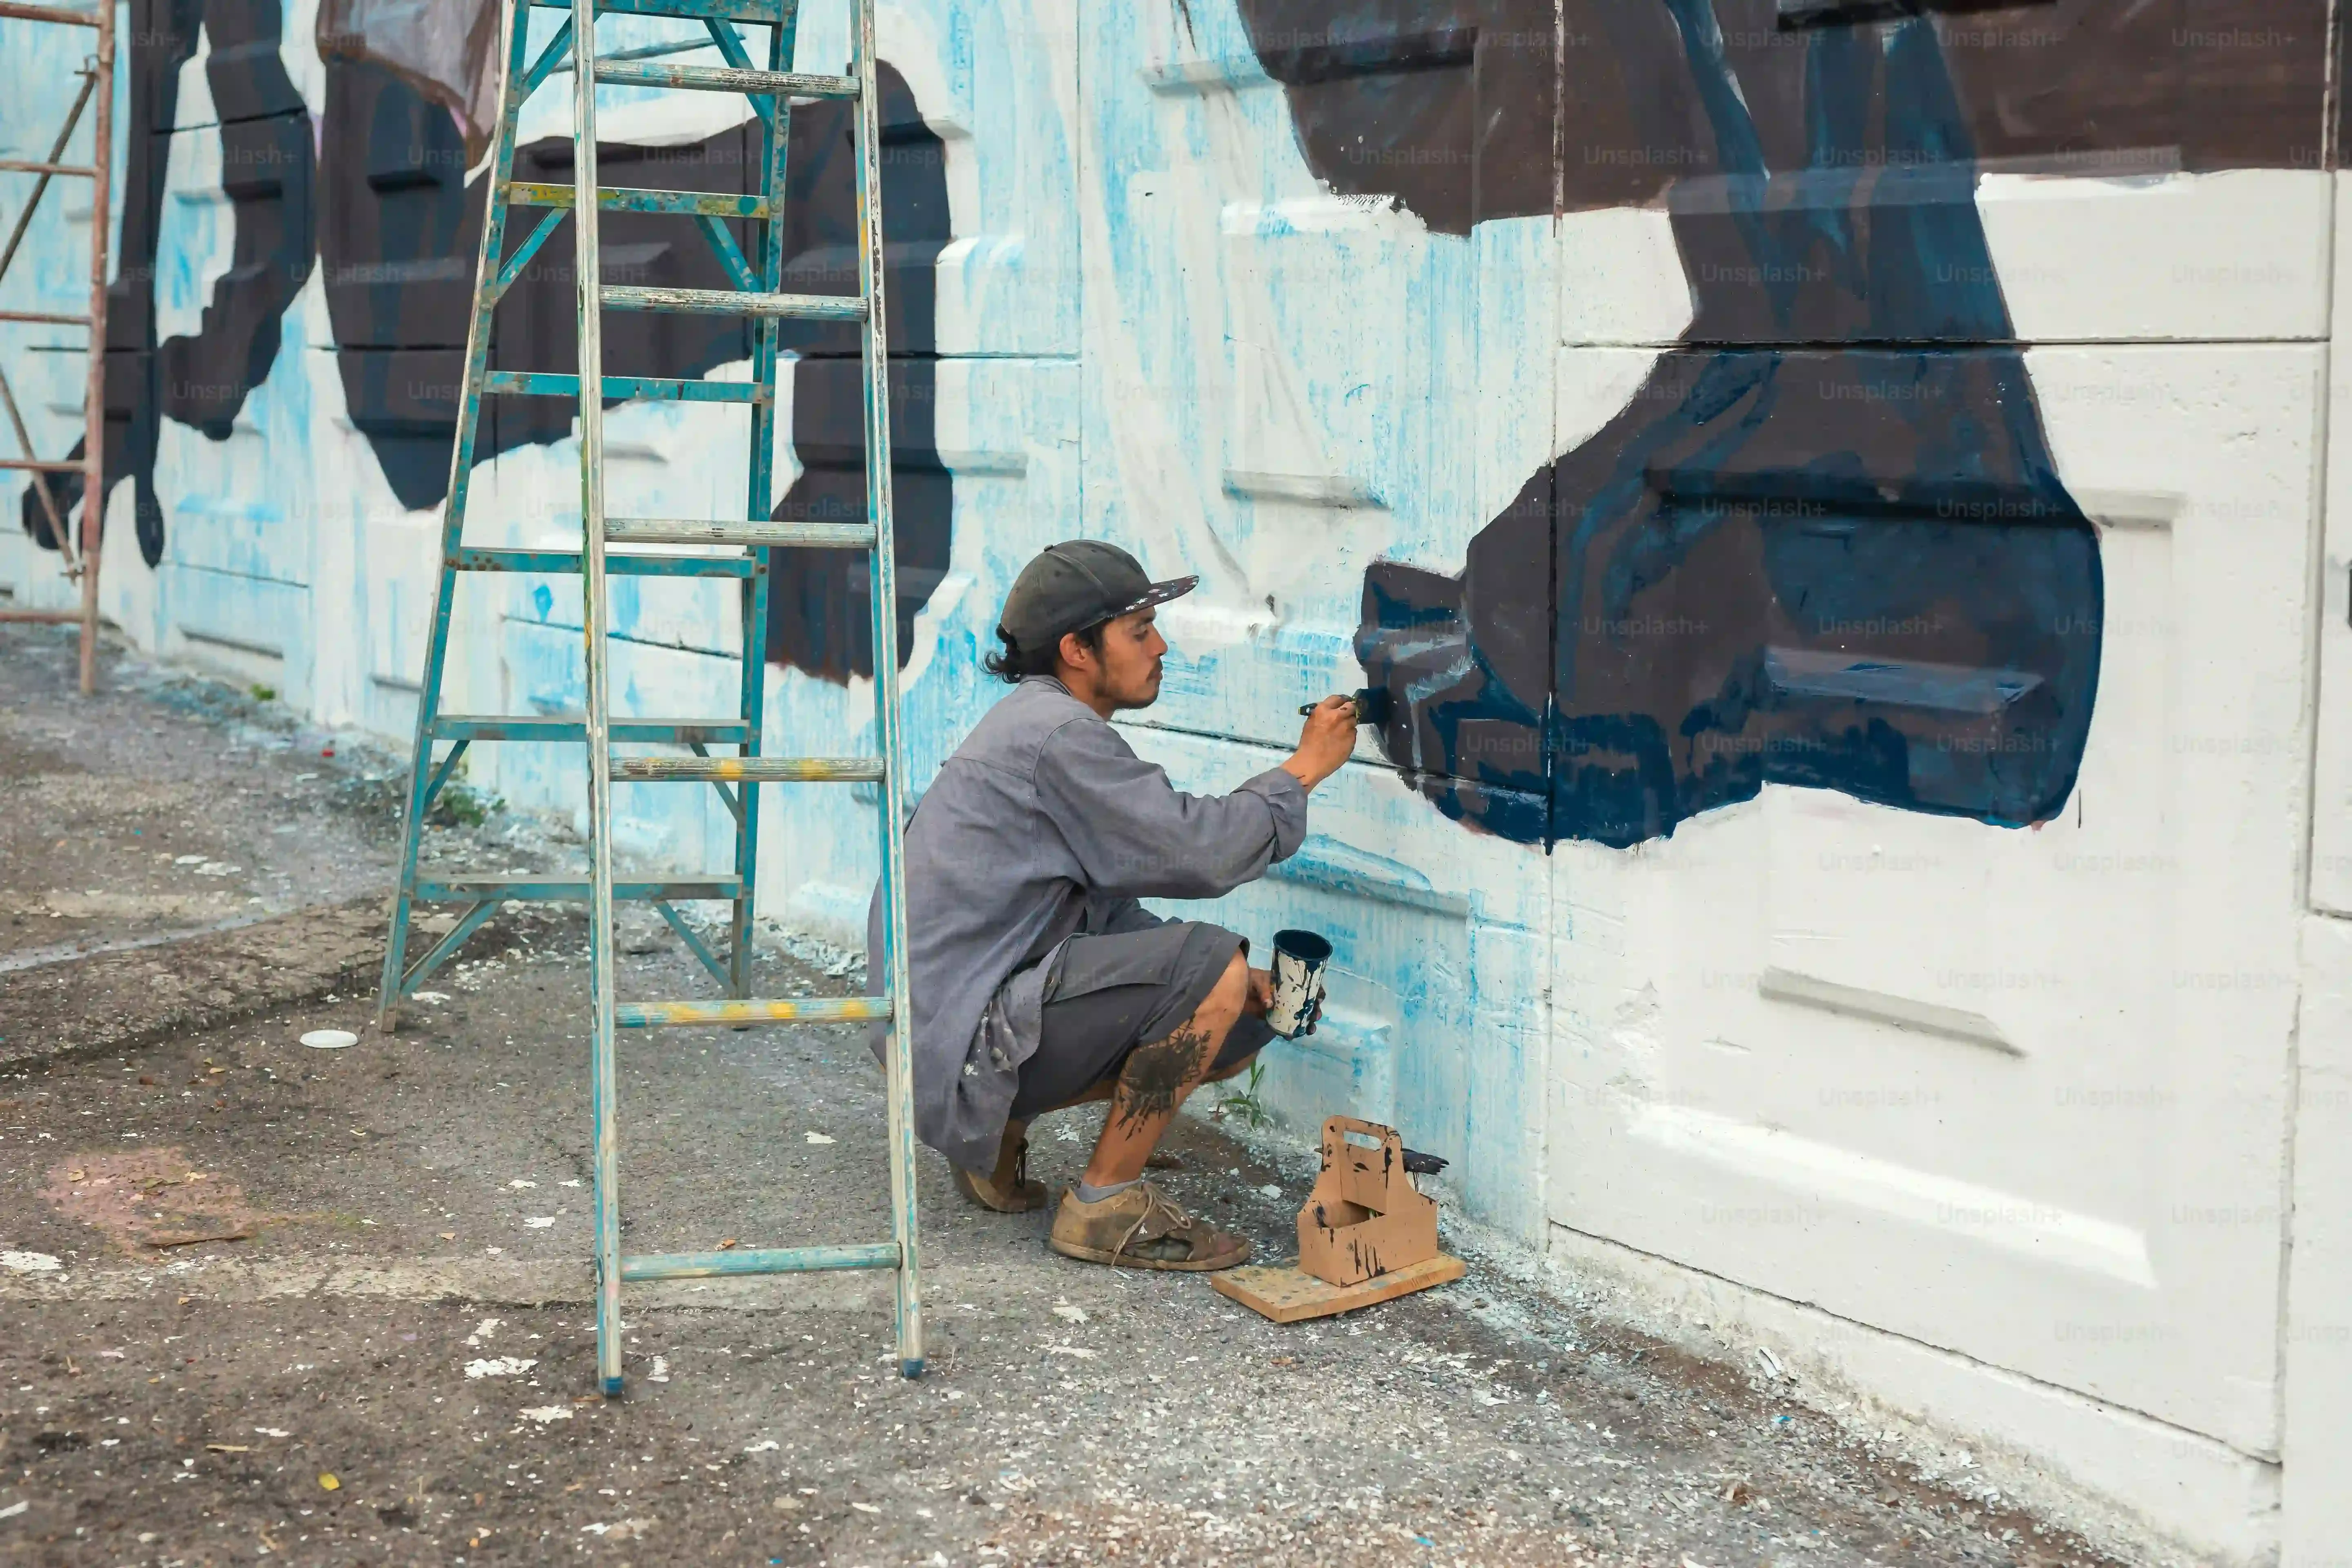
Think beyond just a single block of color. You can try geometric shapes, stripes, a faux texture, or even freehand a simple mural if you're feeling brave. The process itself can be surprisingly meditative – the rhythmic stroke of the roller, the careful application of tape. It's a tangible project with a visible result, which is pretty satisfying in a world filled with intangible tasks.
- Cost Savings: Significantly cheaper than wallpaper or professional installation.
- Personalization: Choose *exactly* the color or design you want.
- Creative Control: Experiment with techniques beyond solid color.
- Sense of Accomplishment: Finish the day with a visibly transformed space.
- Easy to Change: Bored with it? Paint over it!
The Power to Change Your Mind (Easily)
Trends change. Your taste evolves. What felt perfect last year might feel tired today. One of the biggest arguments for painting an accent wall versus wallpaper is how easy it is to undo. If you decide that chartreuse geometric pattern was a terrible idea six months down the line, painting over it is a straightforward process. A couple of coats of primer, then your new color, and you're done.
Removing wallpaper, especially older varieties, can be a nightmare involving steamers, scraping, and potential wall damage. Painting offers flexibility. It allows you to update your room's look seasonally, or simply whenever the mood strikes, without a major commitment. It's the low-stakes way to make a high-impact design statement.
Planning Your Accent Wall Ideas Paint DIY Project
Planning Your Accent Wall Ideas Paint DIY Project
Picking the Perfect Wall and Palette
Alright, you're sold on the idea of an accent wall. Great. Now, which wall gets the star treatment? Don't just pick the biggest one. Think about the room's layout and where your eye naturally lands when you walk in. Often, it's the wall behind the sofa in the living room, the one behind the bed in the bedroom, or maybe the wall with a fireplace or a cool piece of art you want to highlight. Consider the function of the wall too; a bold color might be too distracting behind a TV, but perfect for a dining area.
Choosing the color is where the real fun – and sometimes paralysis – sets in. Look at the existing colors in your room – furniture, rugs, artwork. Your accent color should complement these without clashing. Do you want a dramatic, moody statement, a vibrant pop of energy, or a subtle shift in tone? Grab some paint chips, tape them to the wall you're considering, and look at them in different lights throughout the day. What looks amazing under bright daylight might feel dull or overwhelming at night.
Prep Work: Not Glamorous, Absolutely Necessary
Nobody likes prep work. It's tedious, it's messy, and you don't see immediate results. But skipping this step is a surefire way to end up with a paint job that looks less "DIY masterpiece" and more "my kid got hold of a roller." Start by emptying the wall. Move furniture away, take down pictures, and remove switch plates and outlet covers. Clean the wall thoroughly. Dust, grime, and cobwebs will mess up your paint adhesion.
Next, patch any holes or cracks. Use spackle for small nail holes and joint compound for larger imperfections. Sand these smooth once they're dry. Then, and this is crucial, tape off everything you don't want painted. Use good quality painter's tape along baseboards, door frames, window frames, and the ceiling line. Press the edges down firmly to prevent bleed-through. A little extra time with the tape saves you a lot of time scraping paint off surfaces it doesn't belong on later.
Prep Step | Why It Matters | Tool/Material |
|---|---|---|
Clear the Wall | Access & Protection | Your hands, maybe a friend |
Clean the Surface | Paint Adhesion | Soap, water, sponge/rag |
Patch & Sand | Smooth Finish | Spackle/joint compound, sandpaper |
Tape Edges | Crisp Lines | Quality painter's tape |
Exploring Creative Accent Wall Ideas Paint DIY Techniques

Exploring Creative Accent Wall Ideas Paint DIY Techniques
Beyond the Solid Color Block: Stripes and Geometrics
so a single bold color is cool, but maybe you want to kick your accent wall ideas paint diy game up a notch. Stripes are a classic for a reason – they add visual height or width and can be surprisingly easy. You'll need good quality painter's tape (the kind designed for delicate surfaces if you're painting over existing paint). Decide on your stripe width and spacing. Measure carefully, mark lightly with a pencil, and apply the tape, pressing the edges down *firmly*. Paint your chosen color, let it dry completely, and then peel the tape *slowly* before the paint cures fully for the cleanest lines.
Geometric patterns are just stripes' more adventurous cousins. Think chevrons, hexagons, or abstract shapes. This takes a bit more planning and taping, but the effect is dramatic. You can draw your design lightly first, then tape it off. For more complex shapes, consider making a stencil or using a projector to get your lines right before taping. The key is patience with the tape and multiple thin coats of paint rather than one thick, drippy one.
- Measure Twice: Essential for straight lines and even spacing.
- Good Tape is Gold: Don't skimp here; cheap tape means fuzzy lines.
- Press Firmly: Ensure tape edges are sealed to prevent bleed.
- Thin Coats: Build up color gradually for best results.
- Peel Early: Remove tape when paint is dry but not fully cured.
Adding Texture and Pattern with Stencils or Faux Finishes
If you love the look of wallpaper but hate the hassle (and cost), stencils are your best friend for accent wall ideas paint diy. You can find stencils in thousands of patterns online, from intricate florals to modern geometrics. Stenciling takes time and precision, but the result can mimic expensive wallpaper beautifully. Secure the stencil to the wall, use a stencil brush or roller (with very little paint!), and apply the paint with an up-and-down dabbing motion or light rolling to avoid pushing paint under the edges. Let the paint dry slightly before carefully moving the stencil to the next section, aligning it with the pattern.
Faux finishes are another way to add depth and texture. Techniques like sponging, rag rolling, or color washing can create looks that resemble stone, plaster, or aged surfaces. These often involve layering different colors or using special glaze mediums mixed with paint. While some faux finishes require a bit more practice, simpler ones like sponging are very forgiving and can hide minor wall imperfections while adding visual interest. It’s about experimenting and embracing a less-than-perfect, organic look.
Finishing Strong: Tips for Your DIY Painted Accent Wall
Finishing Strong: Tips for Your DIY Painted Accent Wall
Finishing Strong: Tips for Your DIY Painted Accent Wall
the painting is done, the color looks great, and you’re probably itching to put everything back. Hold up just a second. The most critical step after applying your final coat is removing the painter's tape. Do this when the paint is dry to the touch but not fully cured – usually within a few hours of the last coat. Pull the tape off slowly, pulling it back onto itself at a 45-degree angle to get the cleanest lines possible. If you wait too long, the paint can bond to the tape and peel off with it, ruining your crisp edge. If you spot any small bleeds or areas needing touch-up, a small artist's brush is perfect for fixing those imperfections carefully. Let the paint cure fully according to the can's instructions before hanging pictures or leaning furniture against the wall, which can take anywhere from a few days to a couple of weeks depending on humidity and paint type. Patience here prevents scuffs and marks on your fresh work.
Your Painted Masterpiece Awaits
So there you have it. Ditching the drab and adding a punch of personality with an accent wall isn't some mythical task reserved for design gurus. It's a completely doable project, even if your last painting experience involved a grade school art class. Armed with a few supplies, a bit of planning, and some creative paint techniques, you can transform a wall from forgettable to fantastic. Stop scrolling through endless inspiration boards and start making your own. Your space, and likely your wallet, will thank you. Now go on, get painting.