Table of Contents
Tired of your living room feeling a little…blah? You're not alone. Many of us stare at the same four walls, wishing for a change that doesn't involve a full-scale renovation. Well, good news! There's a simple yet powerful way to inject personality and style into your space: an accent wall. And when we talk about accent walls, we're not just talking about a splash of paint. We're talking about wallpaper. Yes, wallpaper! It's back and bolder than ever. In this article, we will be exploring "accent wall ideas for living room with wallpaper," and we'll show you how to use this versatile design element to create a space that reflects your unique taste. We'll cover everything from why wallpaper is a fantastic choice for an accent wall, to the latest trends, how to pick the right pattern, and even some DIY tips to make the installation process smoother than a freshly ironed shirt. So, if you're ready to ditch the dull and embrace the dazzling, let's get started!
Why Choose Wallpaper for Your Living Room Accent Wall?
Why Choose Wallpaper for Your Living Room Accent Wall?
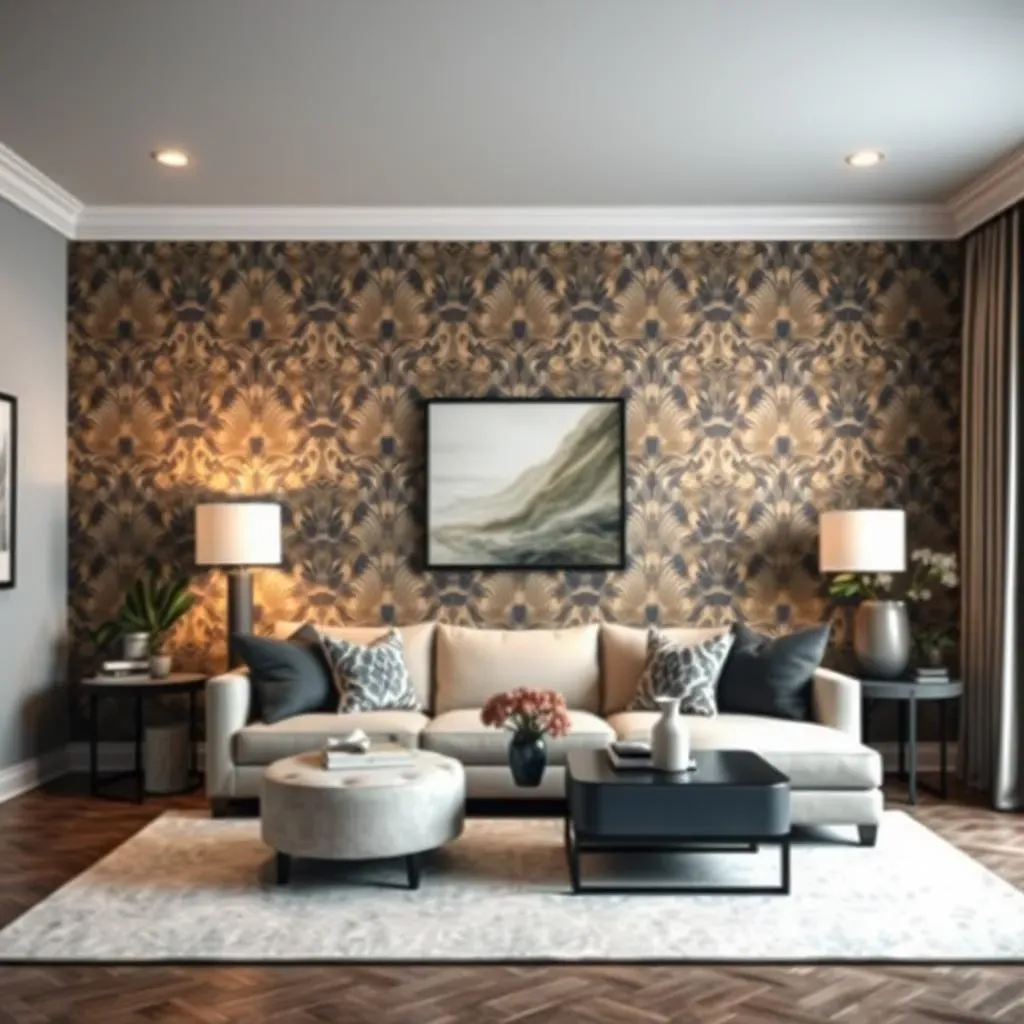
so you're thinking about an accent wall, right? Maybe you're picturing a fresh coat of paint. That's cool, but let me tell you, wallpaper is where the real magic happens. Why? Because it's like paint's cooler, more stylish cousin. Wallpaper brings texture, pattern, and depth that paint just can't match. It's not just about color; it's about adding a whole new dimension to your room. Think about it: a subtle geometric print can add a touch of modern sophistication, while a bold floral design can create a vibrant, energetic vibe. Plus, wallpaper can disguise imperfections on your wall, a trick paint definitely can’t pull off. And let's be honest, who doesn't love a good excuse to add a little drama?
It's also incredibly versatile. You can find wallpaper in just about any style you can imagine, from minimalist to maximalist, from classic to contemporary. This means you can really tailor your accent wall to your personal taste and the overall look you're going for in your living room. Not sure about commiting? Many wallpapers are peel-and-stick these days, making it easier than ever to change things up without a huge mess. Let's say you're renting, or you have a habit of switching styles frequently. Peel and stick is your friend. You can create a bold, statement-making wall, then change it up when you get tired of it. No commitment, no drama. Just pure design freedom.
Let’s break it down:
- Texture and Depth: Wallpaper adds a tactile element that paint can’t achieve.
- Pattern Variety: From subtle to bold, there's a wallpaper pattern for every style.
- Hides Imperfections: Wallpaper can cover up minor wall flaws.
- Versatility: Endless styles to match your unique taste.
- Easy to Change: Peel-and-stick options make it simple to update your look.
Trending Wallpaper Styles for an Accent Wall
Trending Wallpaper Styles for an Accent Wall
Bold Geometrics and Abstract Patterns
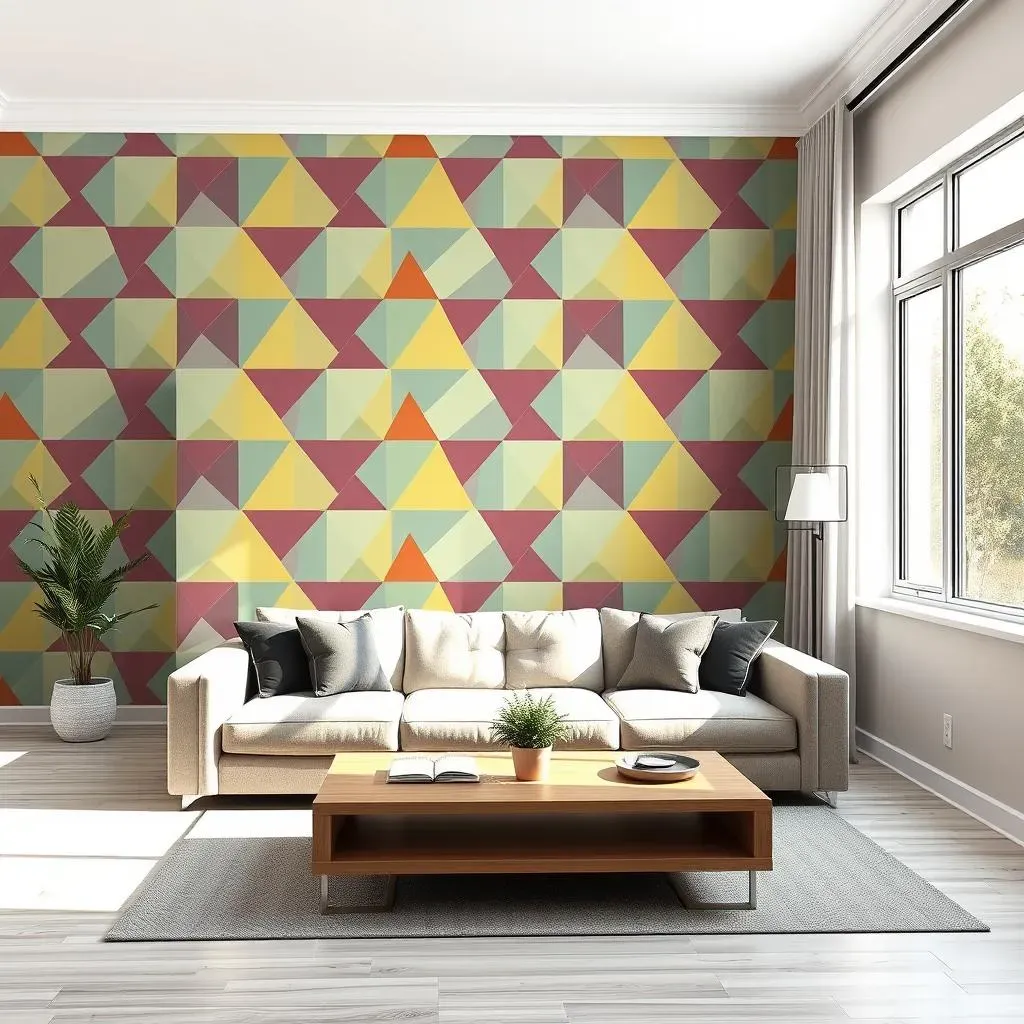
Alright, let's talk trends! If you're looking to make a statement, geometric and abstract patterns are where it's at. We're seeing a huge surge in bold shapes, clean lines, and eye-catching designs. Think of it as art for your walls. These patterns aren't shy; they demand attention and can instantly elevate the sophistication of your living room. Whether it's a repeating triangle motif or an abstract swirl of color, these styles can bring a modern, almost gallery-like feel to your space. They're perfect for those who want a touch of the avant-garde without going too overboard.
And don't think it's all just black and white! These designs come in a rainbow of colors. You can opt for a monochrome look for a subtle effect or go all out with vibrant hues that pop. The beauty of geometric and abstract patterns is their ability to fit into various design schemes. From mid-century modern to contemporary minimalist, they can adapt and add that extra layer of visual interest that makes a room feel complete. It's about finding a pattern that speaks to you and your style, and then letting it take center stage on your accent wall. It's a real conversation starter, trust me.
Trend | Description | Best For |
|---|---|---|
Bold Geometrics | Clean lines, shapes, repeating patterns | Modern, Minimalist, Mid-Century |
Abstract Patterns | Swirls, splashes, non-repeating designs | Eclectic, Contemporary, Artistic |
Nature-Inspired and Textured Wallpapers
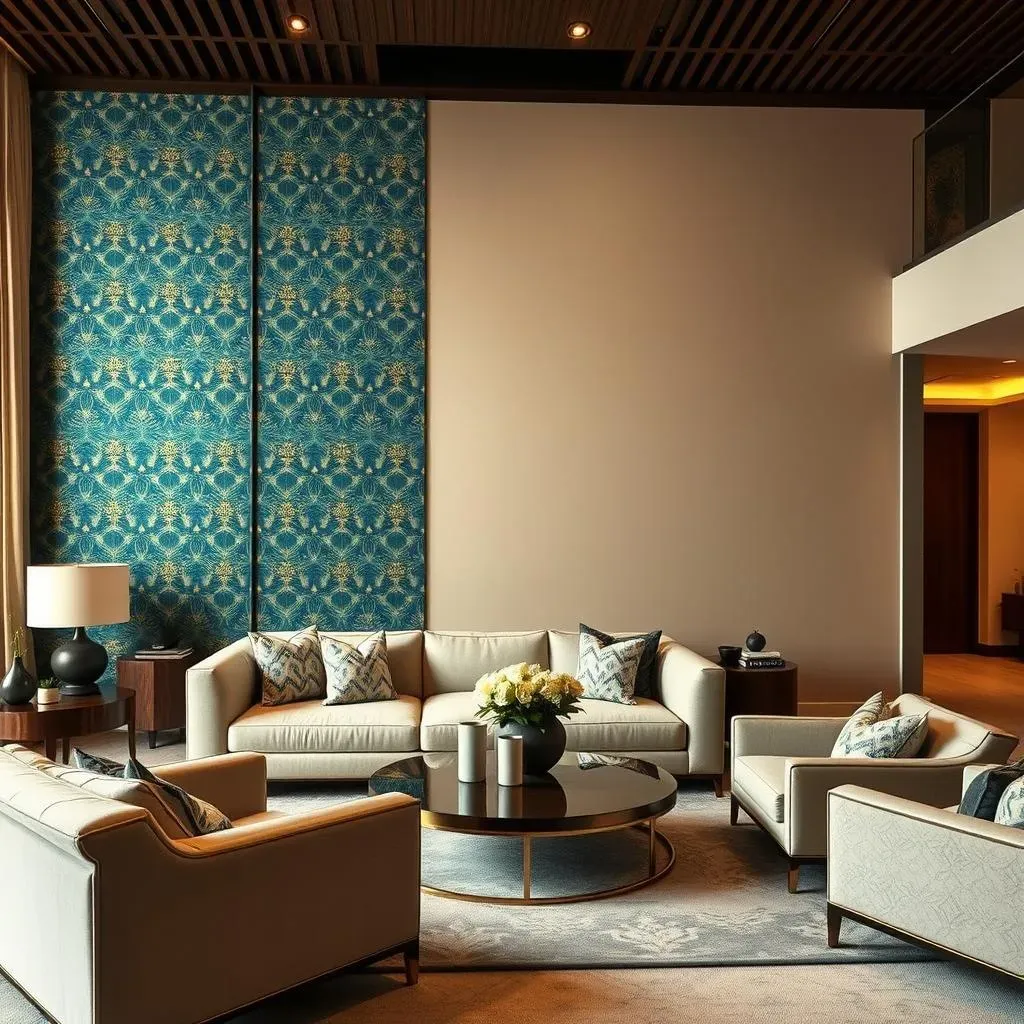
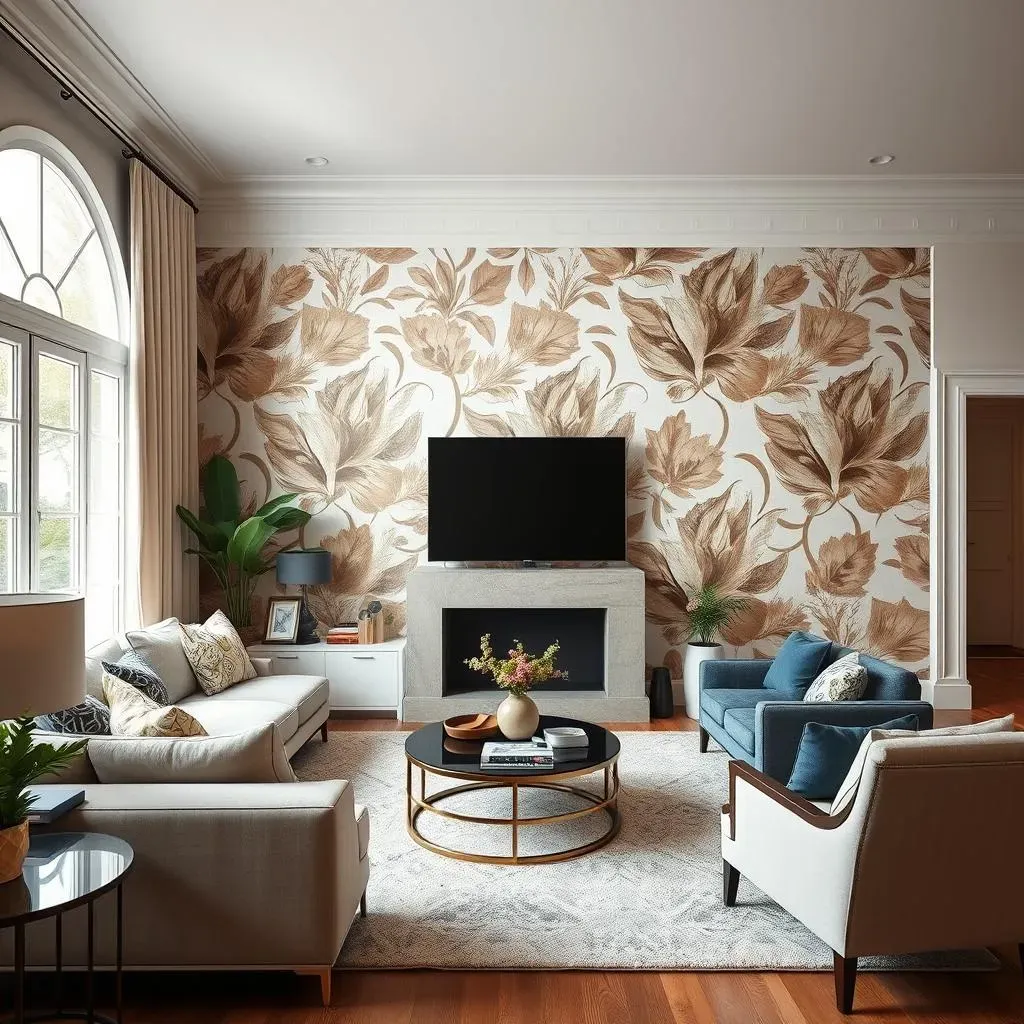
Now, if you're more of a nature lover, you're in luck because nature-inspired wallpapers are also having a moment. Think lush tropical prints, delicate floral patterns, and calming botanical designs. It's like bringing the outdoors in, creating a serene and inviting atmosphere. These aren't your grandma's floral prints either; they're often stylized, with bold colors and large-scale motifs that make a real impact. And if you want to get really fancy, there are textured wallpapers that mimic natural materials like wood, stone, or even grasscloth, which add a tactile element and a touch of organic warmth to your living room. It's a great way to create a cozy and comfortable space.
Beyond just the visual aspect, nature-inspired wallpapers can make you feel more relaxed and grounded. The greens, blues, and earthy tones often found in these patterns can have a calming effect. The textures, too, create a sense of depth and interest that can make your living room feel more inviting. It's all about creating a space that feels both stylish and soothing. It is like a little escape from the hustle and bustle of everyday life. So, if you’re aiming for a space where you can unwind, these are the wallpapers you need to check out.
How to Select the Perfect Wallpaper for Your Living Room Accent Wall
How to Select the Perfect Wallpaper for Your Living Room Accent Wall
so you're sold on the idea of a wallpaper accent wall, but now comes the big question: how do you pick the *right* one? It's not as simple as just grabbing the prettiest pattern you see. You've got to think about the overall vibe of your living room, the amount of natural light you get, and even the size of the space. First things first, consider the scale of the pattern. If you have a small living room, a large, bold pattern might overwhelm the space, making it feel cramped. In that case, you might want to go for a smaller, more delicate design, or maybe a vertical stripe to add the illusion of height. If your room is large, then go wild! A large pattern could add a real focal point. It's all about balancing the visual weight of the wallpaper with the size of your room.
Next, think about the colors. Do you want your accent wall to blend in with the rest of your decor, or do you want it to stand out? If you're aiming for a cohesive look, choose colors that complement your existing furniture and accessories. If you're feeling adventurous, go for a contrasting color to create a dramatic effect. Just make sure the colors you choose don't clash with the rest of your space. Also, consider the amount of natural light your living room gets. If it's a dark room, you'll want to choose lighter colors to brighten things up, and maybe patterns with a bit of sheen to reflect light. Darker colors can work well in a well-lit room, creating a cozy, intimate atmosphere. Remember, it’s about creating a space that feels balanced and inviting, not chaotic and overwhelming.
Factor | Consideration | Example |
|---|---|---|
Room Size | Scale of Pattern | Small room = smaller pattern, large room = larger pattern |
Existing Decor | Color Harmony | Complementary or contrasting colors |
Natural Light | Color Brightness | Dark room = lighter colors, well-lit room = darker colors |
Don't forget about the texture! Texture can add depth and dimension to your accent wall, making it feel more luxurious and interesting. Think about grasscloth, embossed patterns, or even faux finishes that mimic natural materials. The texture you choose can change the entire feel of the room. A soft, plush texture can make the space feel more inviting and cozy, while a sleek, metallic texture can add a touch of modern glam. And most important, always order samples before making a final decision. Looking at a small swatch online is not the same as seeing the actual wallpaper in your space. You need to see how the colors and patterns look under your lighting conditions, and how the texture feels to the touch. It's an extra step, but it's essential for making sure you'll love your accent wall for years to come. It is like trying on clothes before buying it.
Finally, don't be afraid to trust your gut. Ultimately, the best wallpaper for your living room accent wall is the one that you love. It's your space, and it should reflect your personal style. Don't worry too much about following all the rules or trends. If a particular pattern or color makes you happy, then go for it! Designing your home should be a fun and creative process, not a stressful one. So, take your time, explore different options, and choose a wallpaper that makes your heart sing. It’s the space you’ll be living in, so make sure you love it. It is your canvas, so paint it with your style.
DIY Tips and Tricks for Installing Your Wallpaper Accent Wall
DIY Tips and Tricks for Installing Your Wallpaper Accent Wall
Prep Work is Key
so you've picked out your dream wallpaper, and now you're itching to get it up on the wall. Hold your horses! Before you even think about unrolling that gorgeous paper, you've got to do some prep work. It's like baking a cake; you can't just throw all the ingredients together and expect it to turn out perfect. First, make sure your wall is clean. Wipe it down with a damp cloth to remove any dust or grime. Then, if there are any holes or cracks, fill them with spackle and let it dry completely. It is like giving the wall a clean canvas to work on. If your walls are freshly painted, let them cure for at least two weeks before applying wallpaper. This will ensure that the adhesive sticks properly. Don't forget to remove any outlet covers and switch plates, too. You'll want a smooth, clean surface to work with.
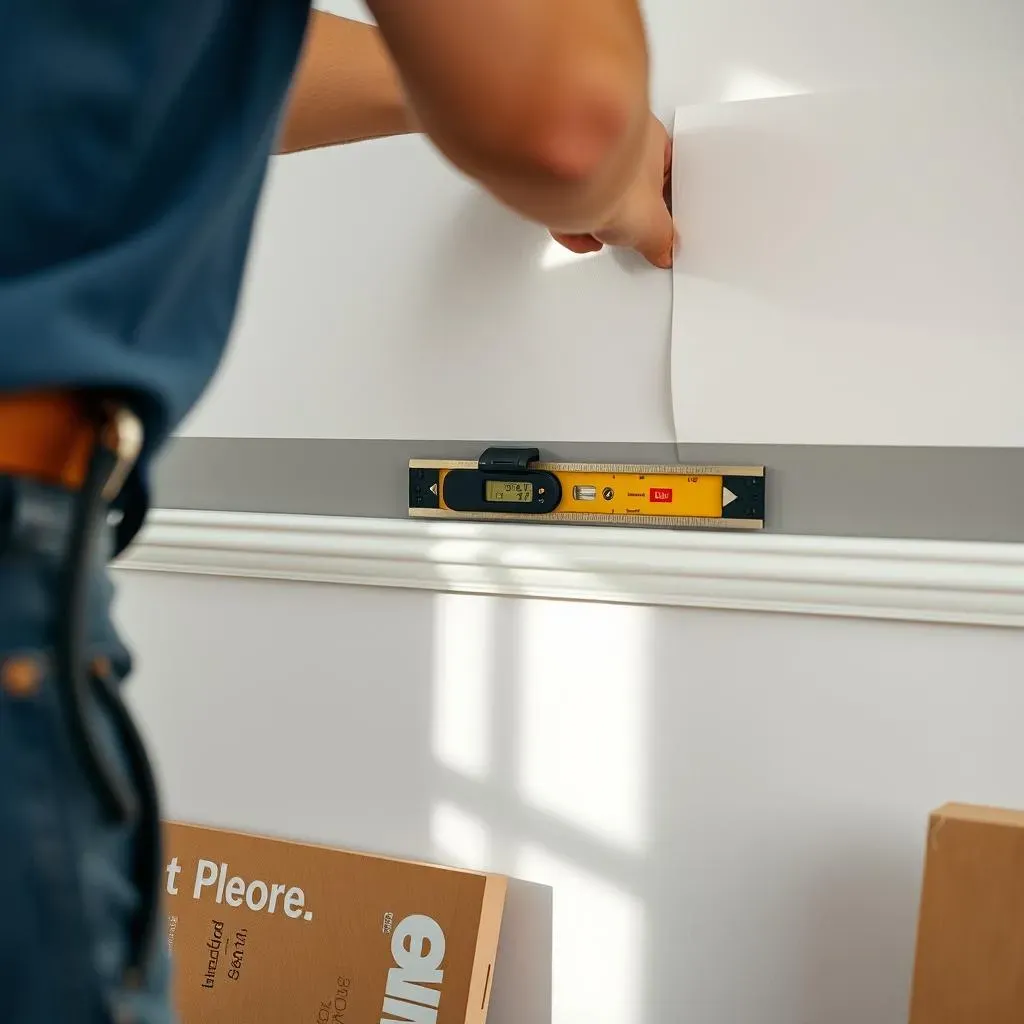
Next, gather all your tools. You'll need a tape measure, a level, a pencil, a smoothing tool (like a plastic smoother or even a credit card), a utility knife or a sharp blade, a sponge, and a bucket of clean water. If you're using pre-pasted wallpaper, you'll need a water tray. If you're using unpasted wallpaper, you'll need wallpaper paste and a pasting brush or roller. Having all your tools handy will make the process much smoother and less frustrating. It’s like getting all your ingredients for a meal before you start cooking. Now, let's talk about your first wallpaper strip. Measure the height of your wall and add a few extra inches at the top and bottom. This will give you some wiggle room for trimming. Cut your first strip, and you’re ready to start the fun part!
Here's a quick checklist to get you started:
- Clean your wall with a damp cloth
- Fill any holes or cracks with spackle
- Remove outlet covers and switch plates
- Gather all your tools
- Measure and cut your first strip with extra inches
The Art of Hanging Wallpaper
Alright, now for the main event: hanging the wallpaper. If you're using pre-pasted wallpaper, dip the strip into the water tray, following the manufacturer's instructions. If you're using unpasted paper, apply the paste evenly to the back of the strip. Fold the pasted sides together, allowing the paste to activate. This is called “booking” the wallpaper. Then, carefully unfold the top half and align it with the top corner of your wall, allowing the extra inches to overlap onto the ceiling. Use your smoothing tool to press the wallpaper onto the wall, working from the center out to the edges. This will help remove any air bubbles and ensure a smooth finish. If you have a pattern, make sure the pattern matches up with the previous strip. This is where a little patience comes in handy.
Once the top half is smooth, unfold the bottom half and repeat the process. Use your smoothing tool to press out any air bubbles and make sure the wallpaper is securely attached to the wall. If any paste seeps out, wipe it away with a damp sponge. Now, trim the excess wallpaper at the top and bottom with your utility knife or a sharp blade. Use your smoothing tool as a guide to make a clean, straight cut. It is like giving your wall a custom-made suit. Work slowly and carefully, and don't be afraid to ask for help if you need it. Having a friend or family member assist you can make the process much easier and faster. Remember, the first strip is always the hardest, but once you get the hang of it, it’s smooth sailing from there.
Step | Action | Tip |
|---|---|---|
Pre-Pasted | Dip in water, book | Follow manufacturer's directions |
Unpasted | Apply paste, book | Ensure even paste coverage |
Hanging | Align, smooth, trim | Work from center to edges, use a level |
Finishing Touches and Troubleshooting
Congratulations, you've hung your first few strips of wallpaper! Now, let’s talk about the finishing touches. Once you've completed the entire wall, take a step back and admire your work. Look for any seams that might need a little extra attention. Use your smoothing tool to gently press down any loose edges, and wipe away any excess paste. If you have any bubbles that just won’t go away, you can use a pin to gently poke a small hole and then smooth out the air. It's like giving the wall a final polish. If you encounter any difficult spots, like corners or around windows, take your time and use small pieces of wallpaper to fit the area. It’s like putting together a puzzle.
And what about those pesky air bubbles? Sometimes they just don't want to leave. If you've smoothed them out and they are still there, try using a pin to poke a tiny hole and then smooth the air out with your smoothing tool. It's a little trick that can make a big difference. Remember to clean your tools and any excess paste right away. You'll want to be ready for your next project! And most importantly, don't be too hard on yourself if it's not perfect. Even professionals sometimes have to make adjustments, and with practice, you'll get better with each project. The key is to enjoy the process and the transformation of your living room. It’s about the journey, not just the destination.
“The details are not the details. They make the design.” - Charles Eames
Wrapping Up Your Wallpaper Accent Wall Journey
Creating a wallpaper accent wall in your living room isn't just about following trends; it's about crafting a space that truly feels like you. From selecting the perfect pattern that screams "this is me," to getting your hands a little sticky with the installation, every step is a chance to personalize your home. We've explored why wallpaper is a fantastic choice, peeked at some of the hottest styles, and given you the know-how to make it happen. Remember, the most important thing is to have fun with it and create a space that you love. So go ahead, embrace the pattern, and let your living room walls do the talking!